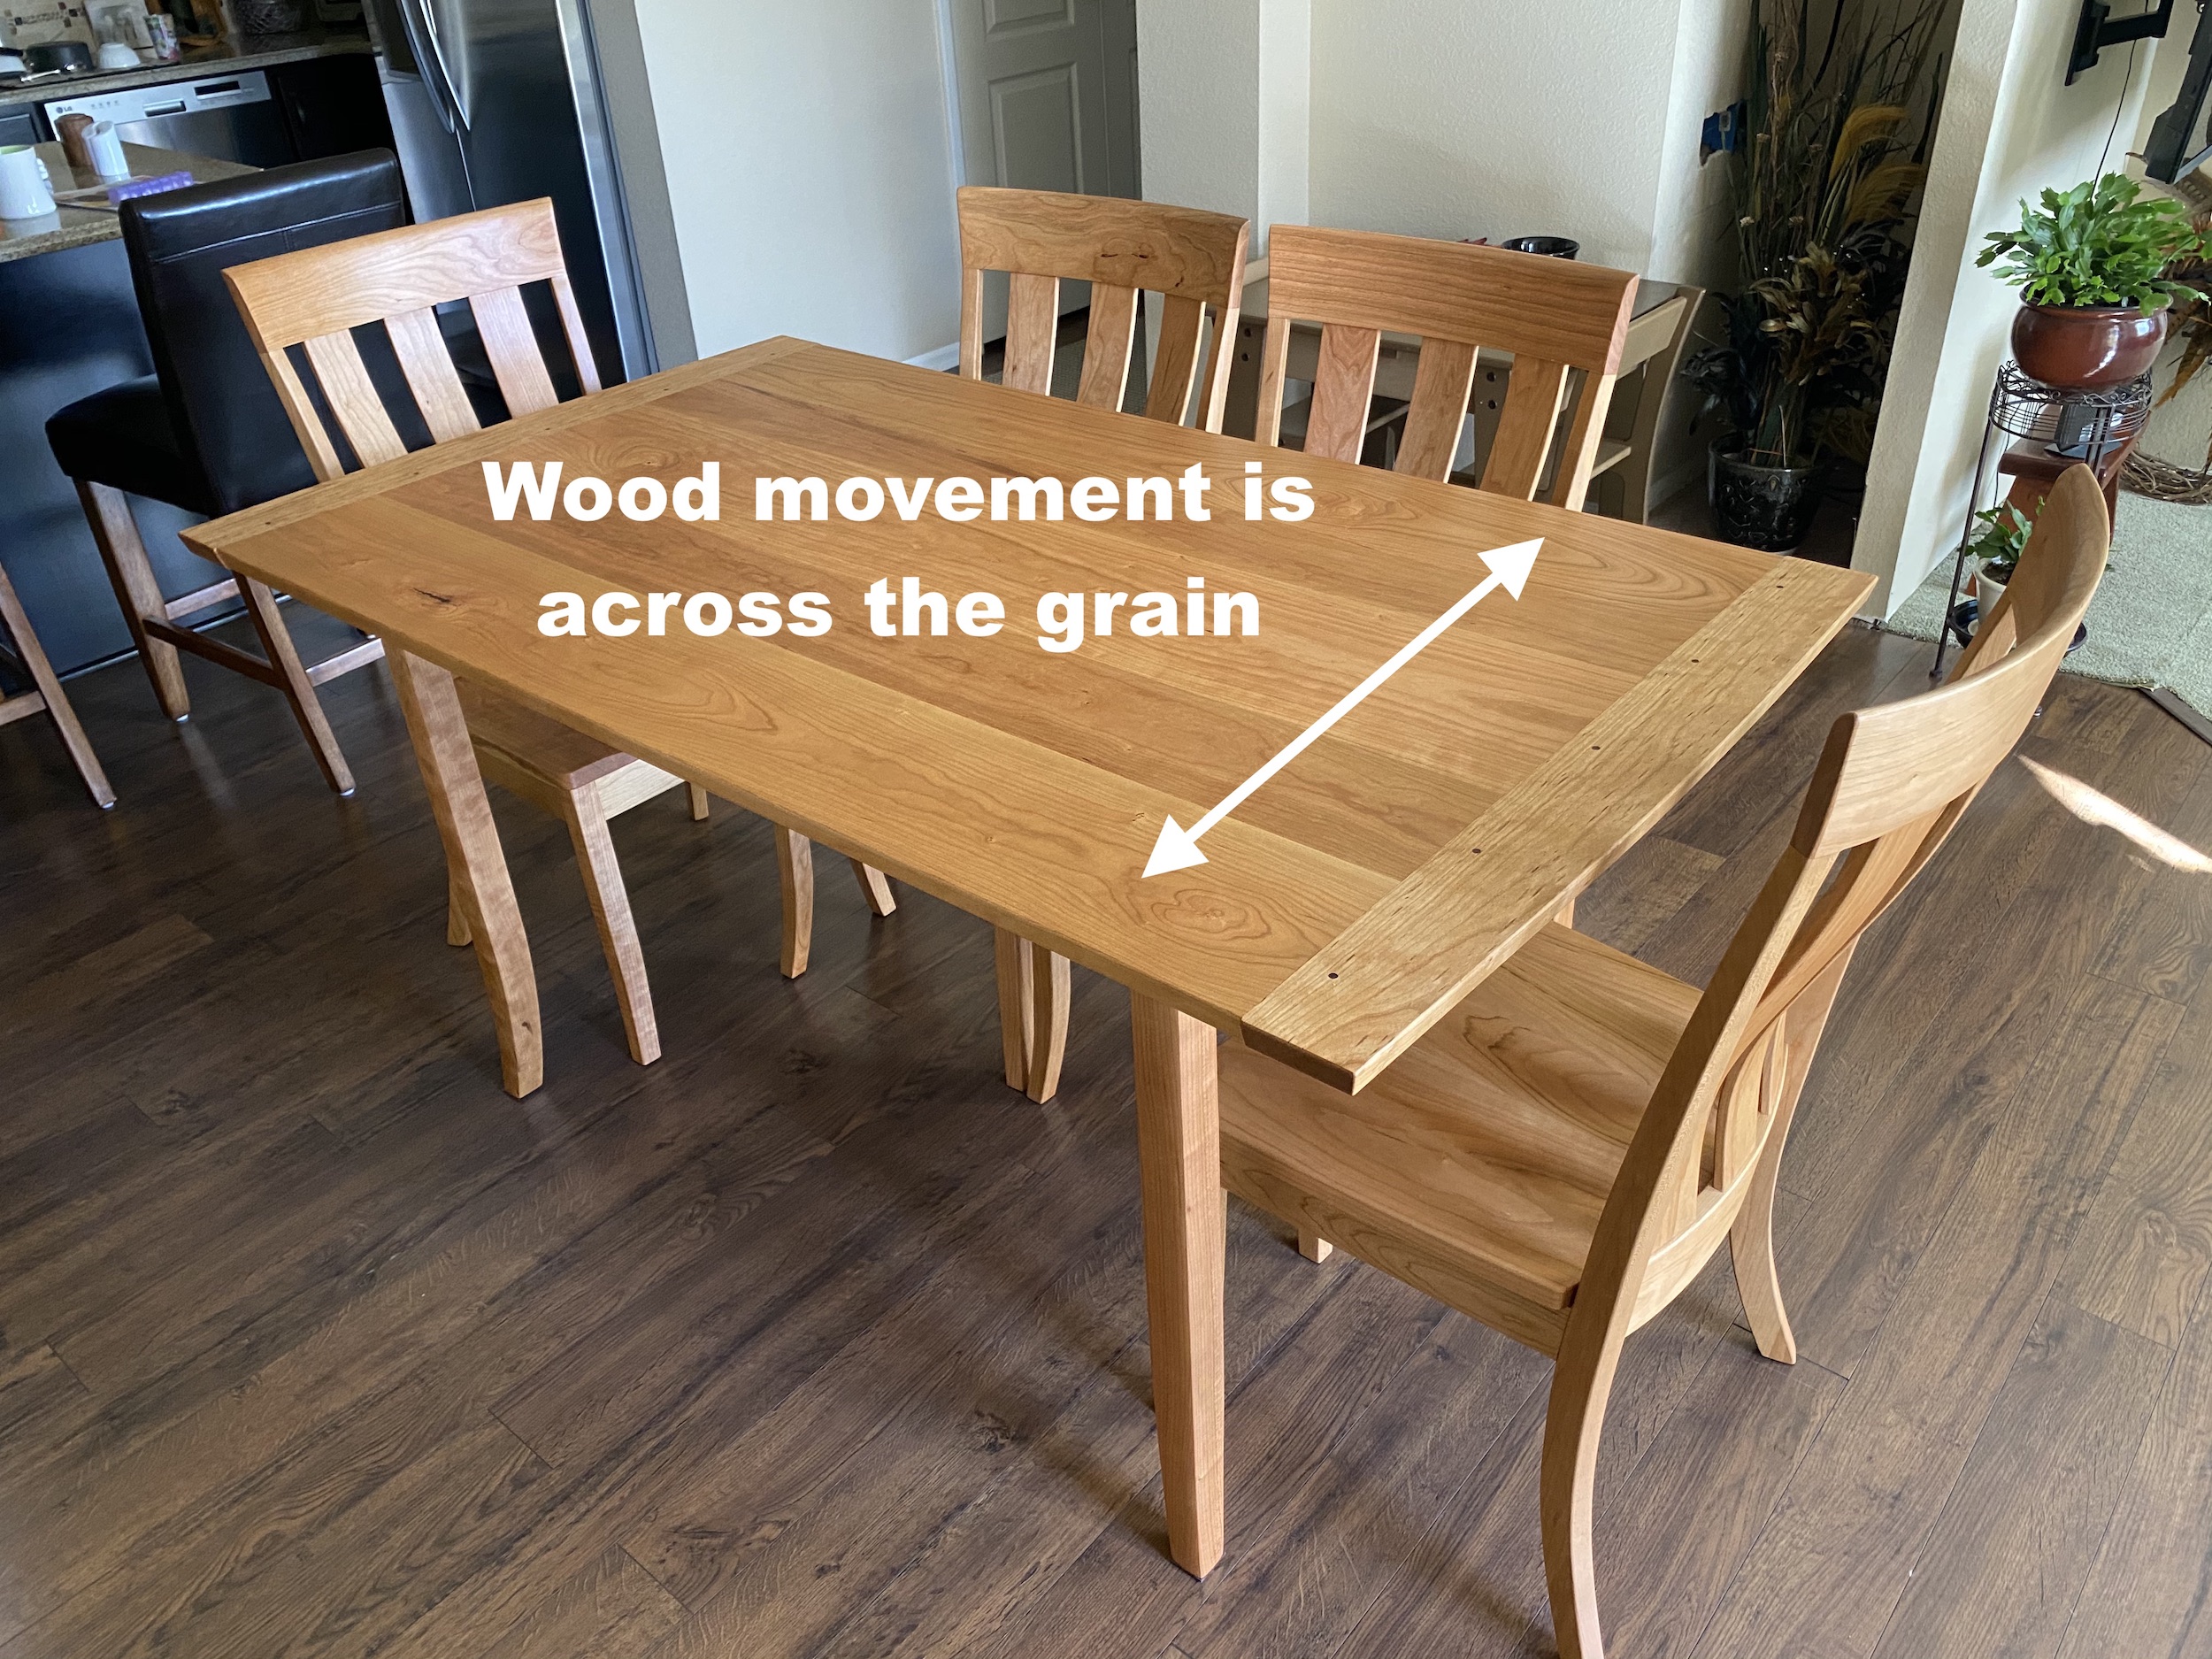
Breadboard ends can be an attractive addition to table tops or panels. When made properly, they can also help stabilize panels and keep them flat. Unfortunately, many folks get them wrong. Before we dig into that let’s first establish what a breadboard end is. Have you ever seen a large farmhouse style table where the ends feature cross-grain boards (something like the picture below)? That’s a breadboard end. What many people fail to consider is that simply gluing and screwing a board to the end of a panel is actually a recipe for disaster. As the table top expands and contracts with seasonal humidity across its width, the breadboard fights that movement. Tension builds up and eventually the top will crack. The breadboard may also begin to pull away from the table creating unsightly gaps. So the real magic of a breadboard end happens when you allow for that seasonable movement. Using good joinery and drawbore pins, we can pull the breadboard end tight to the table while still allowing the table the grow and shrink as needed.
Consider this your guide for how to do that using four different methods.
Please note that breadboards are NEVER necessary. A properly-milled and constructed panel should generally stay flat under normal conditions, so the only time I add a breadboard end is if I think the design benefits from it visually. Learn to make nice flat panels here.
Download our handy quick-reference PDF! Download here.
1: The Haunched Tenon Method
This is the classic and most effective method for making a breadboard. It’s also the most involved. A series of deep mortise and tenon joints keep the breadboard securely attached and a short tenon/tongue keeps the breadboard aligned with the panel along its length. Drawbore pins through the tenons pull the breadboard in nice and tight. Learn more about the drawboring technique here. Glue is only added in the middle tenon and the outer tenons are left dry. The holes in the outer tenons are also elongated side to side to allow the tenon to move in spite of a pin running through it. The outer tenons are also undersized in their mortises slightly to accommodate expansion and contraction.
2: The Long Tenon Method
This method shares a lot in common with the Haunched Tenon Method except there’s no haunch. In other words, the tenon is continuous with no interruptions. We still, however, apply glue at the center and employ drawbore pins and elongated holes on the outside. This method is a little easier to make than the Haunched Version but that simplicity comes at the cost of breadboard integrity. A long deep mortise slot weakens the breadboard and allows it to flex under pressure. So when it comes time to pound in the drawbore pins, you might find that the breadboard bows slightly and needs to compressed so that it stays flat and flush with the table top.
3: The G&G Inspired Screw Method
This version is inspired by techniques I’ve learned from great woodworking instructors like Darrell Peart and William Ng. It’s a technique that I’ve only seen used in Greene & Greene Style furniture but it’s a good practical solution that’s pretty easy to make. The breadboard is held to the panel via a simple 1/2″ tongue and groove joint. Screws are driven in from the edge into the end grain of the table top. The outer screw holes in the breadboard are slotted to allow for movement and the tongue on the panel has some material removed at each screw location. Once again, glue in the middle but no glue anywhere else. The only downfall of this technique is that you have screw heads on the outer edge of the breadboard, but those are easily covered with plugs or dowels.
4: The Domino Method
This is a method that requires a little nuance. Dominos are small and even if you have the Domino XL, it can be tricky pulling off proper drawbores and elongated slots. I used the Domino 500 with 10x50mm Dominos just to show it can be done. The trick is to use wider slots in the outer tenon locations in the breadboard and to glue the Dominos into the panel first. After gluing, they Dominos can be treated as integral tenons and are drawbored and slotted accordingly.
If you want to know my favorite of the four methods, I’d say the traditional Haunched Tenon Method. It’s strong, elegant, and will outlast your lifetime. If I’m feeling a bit lazy and I’m in a rush, I think the Greene & Greene Method gives the best bang for the buck.
Please note that there are more methods than what I’ve shown here and if you are making a much larger table, your options become a little more limited. Perhaps we’ll do another video in the future showing how to do this on a larger scale. Happy breadboarding!


