196 – Platform Bed (3 of 4) – The Rails
Video - March 21, 2013
The Tenons
 The massive bed rails are 82 1/2″ long, 6″ wide, and 3″ thick. But we need to start with standard 8/4 (1 3/4″) stock first. The tenons are cut at the tablesaw using a cross-cut sled and a dado stack. I actually had to sacrifice my regular cross-cut sled for this task, but it’s just as well since I needed a dedicated dado sled anyway.
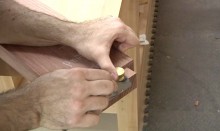 After a test fit, the tenons were finessed with a rabbeting block plane. The great thing about using hand tools to fine-tune the fit is the fact that they give you so much control. Each pass removes only a few thousandths of an inch worth of material. So even if you go one pass too far, the joint still fits reasonably well.
The Headboard Hardware
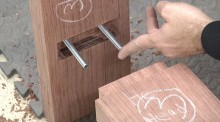 The rails are held in the headboard mortise with carriage bolts. I start by drilling through the back of the mortise and into the tenon itself. The drill bit only goes so far but makes a deep enough hole in the tenon that it’s easy enough to extend the hole to full depth after disassembly. Both bolts have some lateral movement for expansion and contraction.
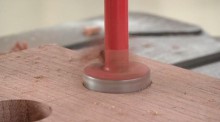 The bolts aren’t very helpful we we don’t have a way to tighten them down. So in order to have access to the bolt, we need to drill a flat-bottomed hole with a forstner bit. This hole gives us plenty of room to install a washer and a nut.
The Footboard Hardware
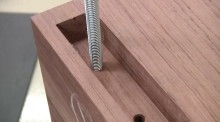 For the footboard side of the rails, the hardware is going to be a little different. Because the footboard is so thick, I decided to use a tap to create threaded holes. The rails will receive the same nut access holes they did on the headboard side and a piece of threaded rod will be used to make the connection. If you want more information on the wood-tapping process, check out Episode 167 – Tapping Threads in Wood.
Beefing Up – Outside Strip
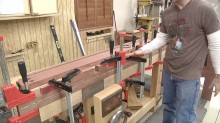 The rails need to be brought up to a full 3″ thick. We’ll do that by adding a few strips of bubinga to each side. This will not only give the rails a thicker appearance, but it will also help them resist sagging. Furthermore, it creates an additional shoulder for the tenon joint which will help to further stabilize the structure. With careful attention to grain direction and materials, the rail will appear as one piece.
Beefing Up – Inside Strip
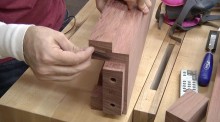 The inside strip is treated a little differently and receives a long rabbet. The rabbet will create a ledge that will later serve as a support for our horizontal mattress supports. The strip is attached to the inside of the rail with epoxy and screws for extra strength. The screws go in at a slight angle so we’ll need to pre-drill at that same angle. A small shim under the workpiece did the trick at the drill press.
Plug it Up!
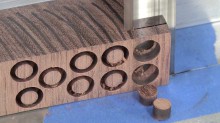 To cover the screw heads, I cut my own plugs from scrap and drive them in with glue. Once the glue is dry, I trim them flush with a flush trim saw.


