Hardware Modifications
The hardware for our bed is sourced from the big box store. I’m not using anything too fancy, just some carriage bolts, washers, and threaded rod. To make the hardware work better and look better, we’ll make some basic modifications.
 We’re going to paint the carriage bolt heads matte black. Because the bolt heads have raise markings, I use a file to level everything out. Sandpaper does the final smoothing and provides a nice mechanical tooth for the paint to bind to. The paint is matte black enamel in a rattle can. I gave each bolt two coats. The bolt heads will only be seen behind the headboard, but if anyone ever looks back there I’d prefer they see the painted bolt heads instead of the manufacturer’s markings.
Because the nut access holes have flat bottoms, we can make our lives a bit easier if we flatten one end of each washer. A grinder does this job with ease. The washers are then pressed into a nice curve to match the profile of the nut access hole. If you recall, the footboard has threaded holes, so we won’t be using carriage bolts here. Instead, we’ll cut a piece of threaded rod to the specific length required.
The Supports
 The center support rail is held by a modified French cleat, which I made from small pieces of bubinga scrap. The center rail itself will receive a series of notches to accept the cross supports. The ends of the rail receive a notch and the French cleat angle is chiseled by hand for a perfect fit. The French cleat brackets are then glued and screwed to the footboard and headboard.
The support slats will be made from maple and each one receives a notch that mates perfectly with the notches in the center support rail. For additional support, I’m making two block feet that will sit under the center rail as you see here.
The Finish
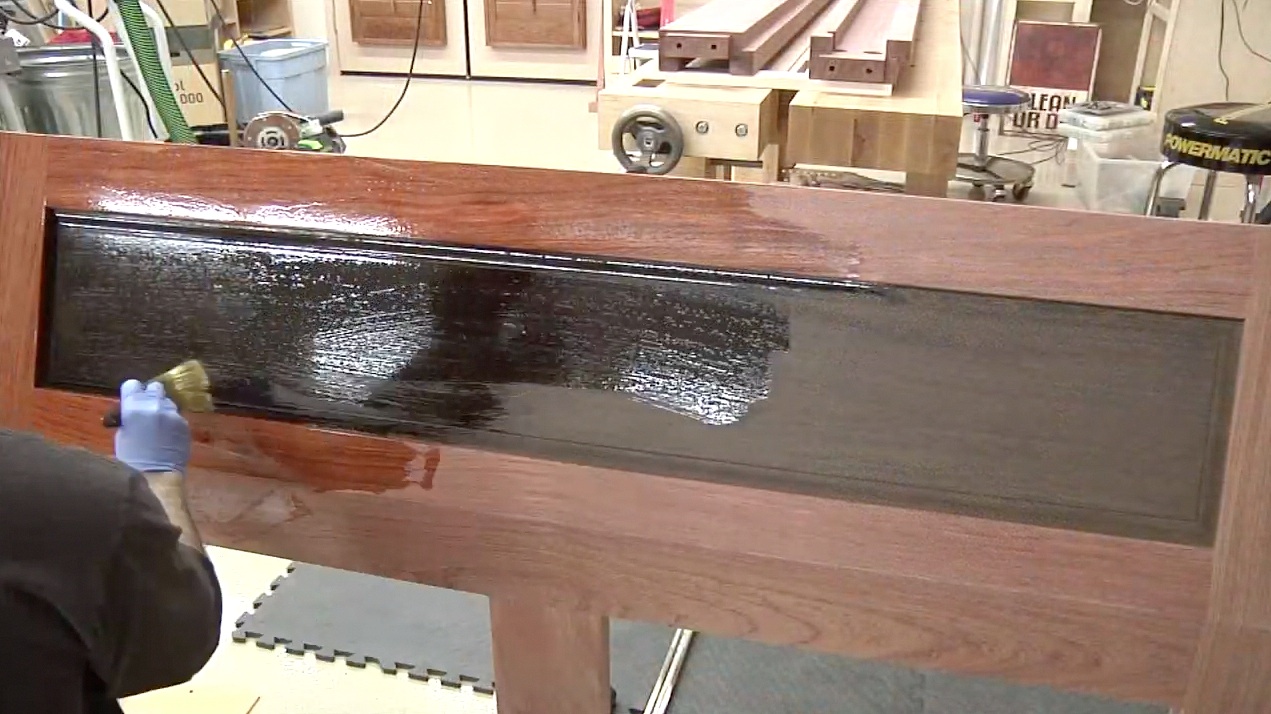 The entire piece was sanding to 320 grit in preparation for the oil finish. I’m using pure tung oil diluted 50% with mineral spirits and heated with a double boiler hot plate setup. I am not a huge fan of pure oil finishes, but this is what the customer wants. The finish is applied with a brush and then wiped back with a clean cloth. For the rest of the day, I’ll come back and check on the piece and wipe back any standing oil. The oil finish needs about 24 hours to dry to the touch.
I hope you enjoyed the free version of this build. If you’d like to see the full version, which clocks in at 6 and a half hours of high quality video instruction, head to thewoodwhispererguild.com for all of the details.
Products Used
Resources


