What Happened To ClearVue?
Before we get into the assembly of an Oneida Dust Gorilla Pro cyclone dust collector, let’s address the elephant in the room: what happened to the ClearVue? Just like my table saw, I took the move to Colorado as an opportunity to try something new. One less tool to move and work around as I get the new shop together and one more chance to gain perspective on a different brand. In addition, Oneida offers stands for their cyclones and that’s a feature I wanted in the new shop. So after a few pleasant phone calls with the folks at Oneida, we are now working with them directly on the dust collection solution for the new TWW shop. And just to clear the air, I have nothing negative to say about Clear Vue. Their cyclone served me well for over a decade and I am lucky to have gotten to know the kind folks that run the company. But now I also feel lucky to know some of the great people behind Oneida!
Enter Oneida!
My sales guy Mark had a bunch of questions for me about my shop and after doing some smart people math, he determined that the 5HP Dust Gorilla Pro (single phase) was the right model for me. We added a 55-gallon drum and an extension to the filter stack that would further improve air flow. I realize it’s just dust collection but I’d be lying if I said I wasn’t super excited to receive this delivery.
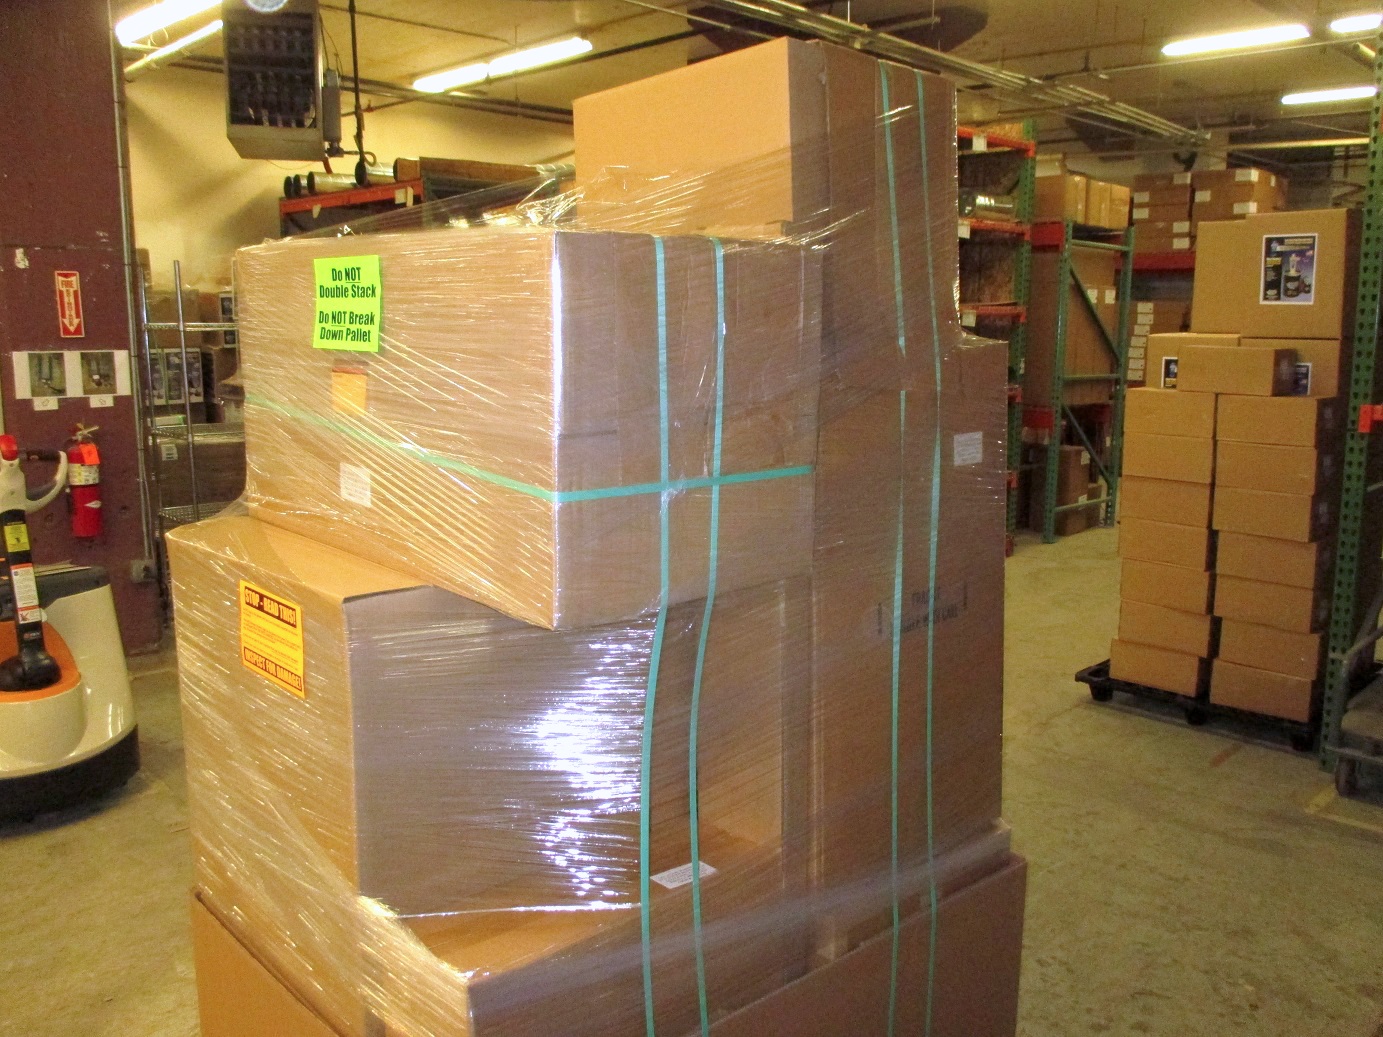 The pallet was packed well and I was especially impressed with the way they packaged the motor. In the past, I had to install the impeller myself. That usually involved some careful work to make sure the screws are torqued properly and I usually just hoped for the best. Oneida saved me the work and gave me peace of mind by doing this for me at the factory. By the way, the picture above was sent to me ahead of time as standard practice prior to shipping. Large shipments can be something of a mystery so it was awesome getting to see the pallet ahead of time so that I could prepare my space.
Installation
The installation was simple but somewhat labor-intensive. These are heavy-duty steel components so you have to expect them to be heavy. If you can get a helper, please do so. While a fairly strong person can do most of the work alone, there’s one part that absolutely requires assistance: the final motor installation. I don’t know how much the 5HP motor weighs exactly but even with two people, it’s going to be a little tricky to walk it up a ladder and drop it onto the blower housing. Take your time, exercise caution, and be sure to eat your Wheaties that day. Because I was alone and didn’t have someone to help me lift the motor, I employed some good old fashioned “Jersey ingenuity.” To be perfectly clear: I DO NOT RECOMMEND DOING WHAT I DID. Neither Oneida nor I endorse this method and we insist that you follow the instructions in the manual. In spite of the obvious hypocrisy and covering of my posterior, the video will show you how I used an appropriately weight-rated rope, pulley, hook and chain to hoist the motor above the cyclone and set it down into position with my truck.
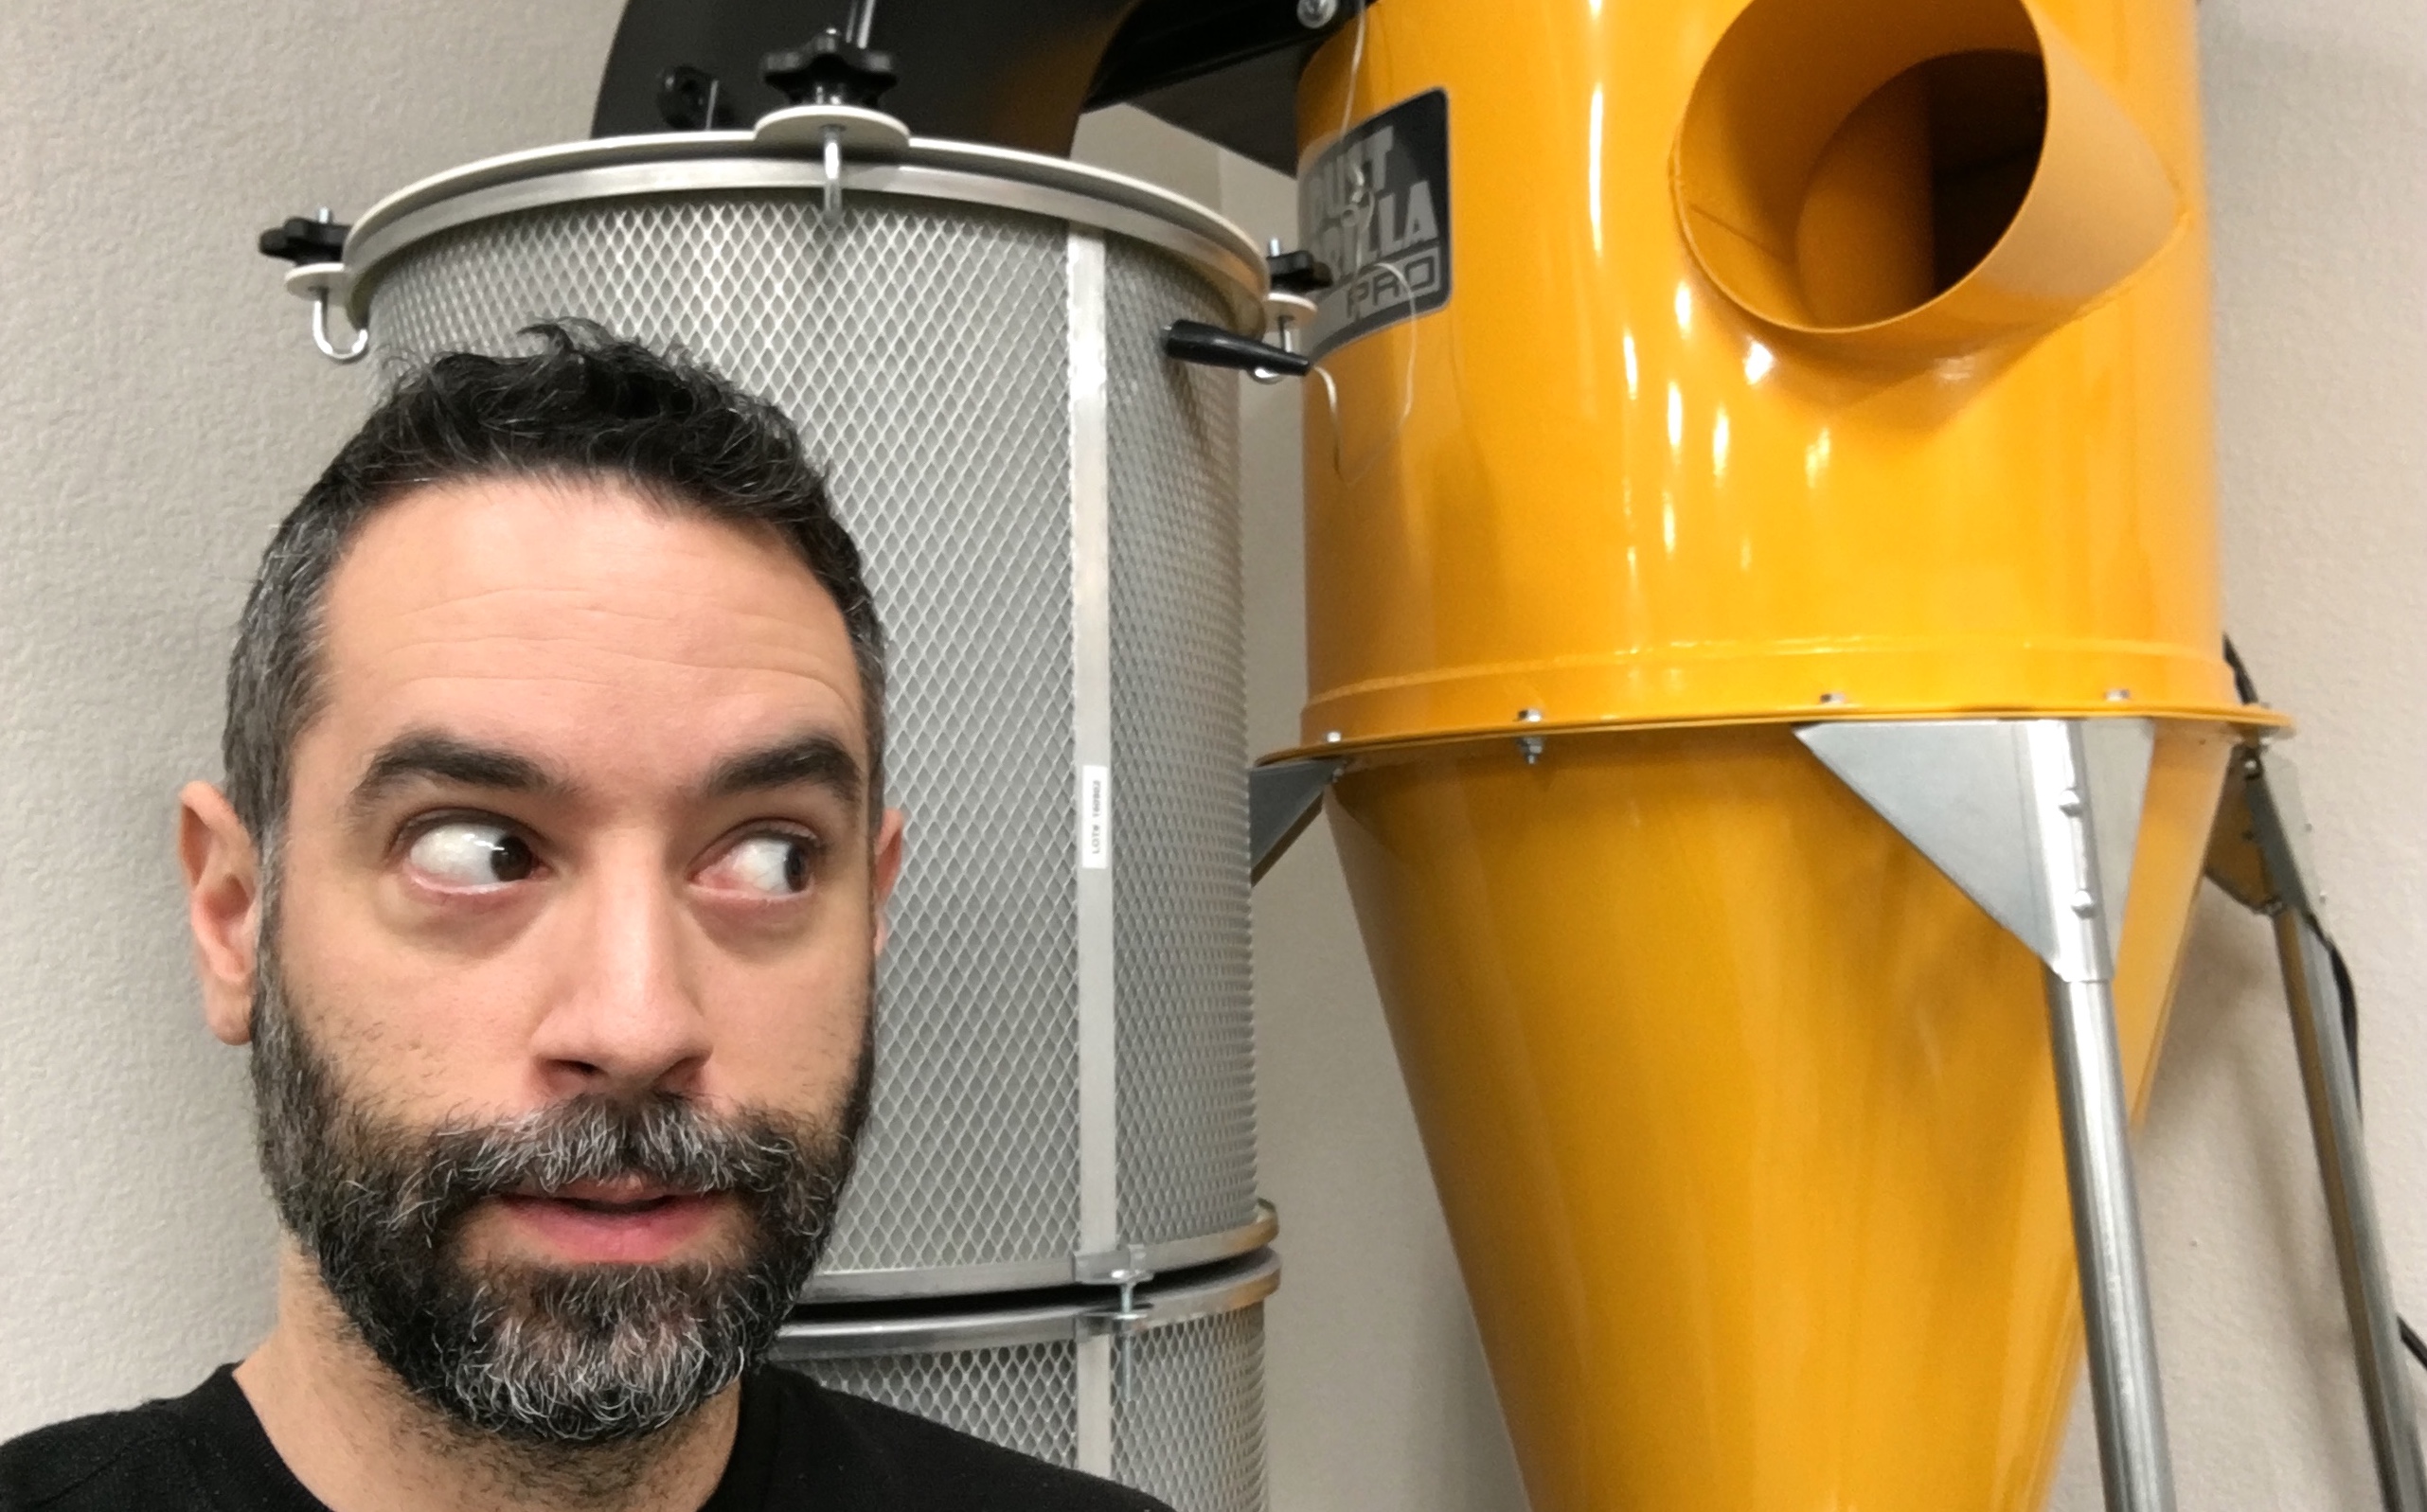 Because the system isn’t powered up and I don’t have the ductwork installed, I can’t give you any feedback on its performance yet. But what I can tell you is that this cyclone is built like a tank and lives up to Oneida’s reputation for world-class quality. Everything about it is big, beefy, and well thought-out. The cyclone body is made from thick gauge steel. The blower housing is made from thick plastic as a single smooth mold. The HEPA filter is massive with tons of surface area. And the motor looks like it was taken off of a jet plane. To say the least, my expectations are high and at this point I would be inclined to keep small children and pets away from the inlet.
As with many of the products featured on The Wood Whisperer, the cyclone was provided by Oneida in exchange for exposure in a video. As always, my opinions are my own.
To learn more about the Dust Gorilla Pro models and features, click here.


