Nikki’s Jewelry Case
Viewer Project
-
By Christopher Bowen from Sagamore Hills, OH
Added on March 4, 2014
My beloved commissioned me for a jewelry cabinet to house her growing collection of necklaces, so I scoured the internet and Pinterest for inspiration and decided to use Marc’s Gadget Station design as the basic structure. Many thanks to Marc for the excellent videos he produced when he made that project. I referred to them several times during the course of this build.
There were many “firsts” for me on this project, and it was a great challenge and learning experience. This was my first project where I really tried to pay attention to grain and the effect it would have on the final visual result. The overall size is about 24 x 18 x 6.
The Carcase—This is pretty much Marc’s design with broad, proud finger joints. While I liked his Orthanc-style legs, I went with something a little less ambitious (okay…a lot less so). I used Darrell Peart’s router jig technique to create the Blacker indents outlined in his Greene & Greene Design Elements for the Workshop book. Rounding of the fingers was done by hand with rasps and files.
The Doors—I got my spalted maple online from Spirit of the Woods. I felt I got really lucky with board I chose. While there were parts of it that were a bit punky, the portion with the best spalting that I used for the book-matched panels was good and stable. I cut 1/16 proud veneers and contact cemented them to ¼” oak panels. Just seeing how well those turned out had me really excited for this project! I went with full overlay doors using through mortise and tenons. The mortises were cut on the band saw, and then cleared with a chisel. Tenons were done on the table saw. I really liked Marc’s variation on the rail-stile configuration that carried and matched the grain across the rails, so I carefully chose wood to get the arched effect on the upper rails.
Interior—This looks pretty much like an Iron Maiden with lots of pegs for maximum storage. (Hopefully things won’t get too tangled up in there!) Of course, I couldn’t stay away from what was left of the resawn spalted maple, so I book matched more veneers being careful to account for the drawer shelves and get the grain to flow smoothly up the bank. The panels for the back on either side of the drawers are also book matched.
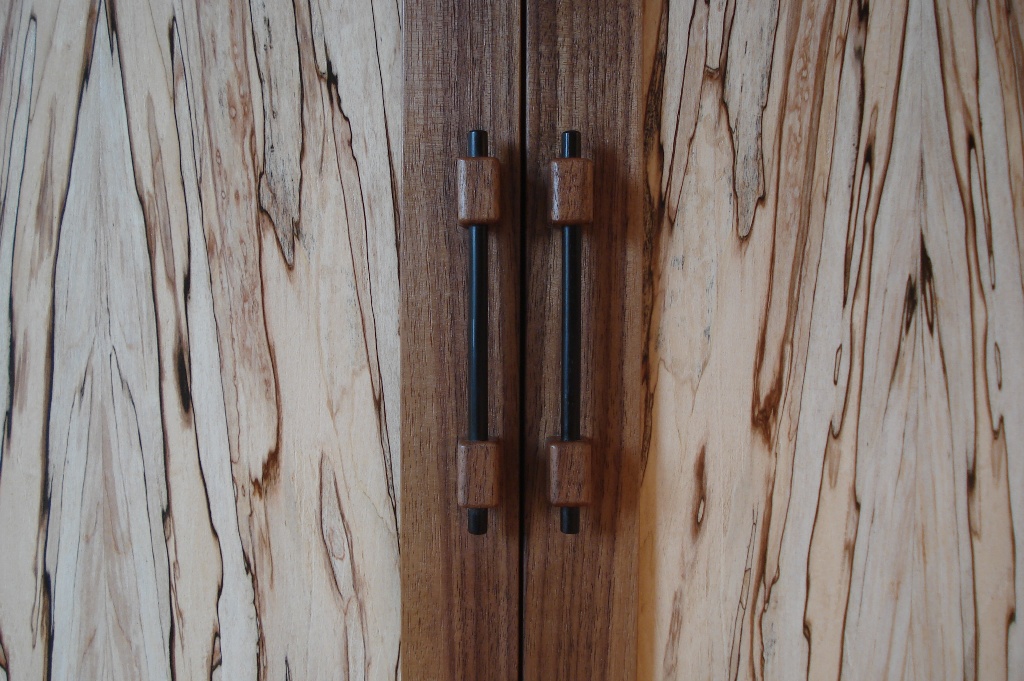
Hardware—There are 22 ebony plugs on this case. Ten 5/16” plugs cover the screws on the case and the twelve ¼” plugs on the doors are merely decorative. No mortising machine here, so those were cut by hand with a mortising chisel and a mallet. I did find that once you have the hole established good and square at a reasonable depth, you could chuck up the mortising chisel and bit into a cordless drill to carefully hog out material. The plugs themselves were made using William Ng’s cordless drill method, which yields decent results. As always, your last plug is usually your best! I decided on Krenov-style pull for the doors. There are easier things than bashing ebony through a Lie-Nielsen dowel plate, but I did end up reasonably round in the end. For the drawers, I knew I wanted something small that would not detract from the spalted maple grain, hence the little ebony “chiclets” mounted vertically.
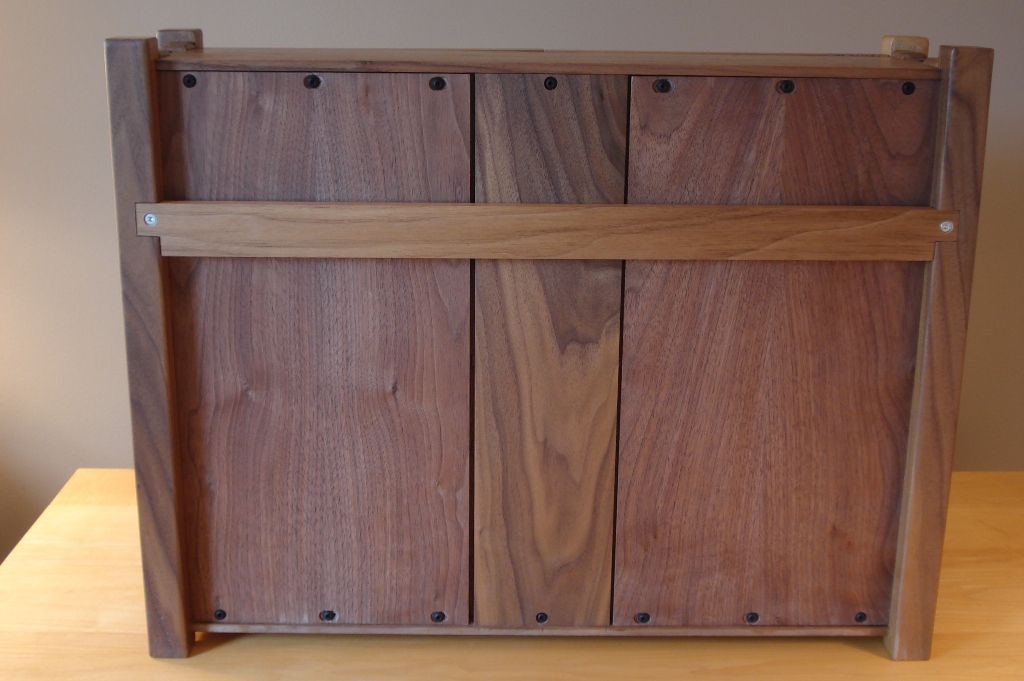
The Back—This case can either stand on its legs or be wall-hung with a French cleat.
Nearly everything about this project was something I’d never attempted before and I had a great time building it. For my own part, though, I wish I had done something more/different with the legs as I feel the piece has too “boxy” a look.
Advertisers


