I consider it part of my job to answer emails from my fellow woodworkers. Guild members or not, everyone receives a response. Occasionally, I get a question that requires a very detailed answer and that answer in and of itself would make for a decent blog post. That happened this morning when a Guild member asked me for advice on shop layout. I brainstormed some basic tips that I think apply to nearly all wood shops (at least the ones that incorporate some power tools). Of course, shop layout is something that evolves over time and really comes down to one’s personal preferences and tool choice. But here are some simple rules of thumb that came to mind; some more obvious than others. If you have some tips to add, please do so in the comments!
1. Think About Your Workflow
Consider the path a piece of wood takes from the moment it enters your shop. This will help guide you through nearly ALL of your shop layout decisions in the future.
2. Group Tools Sensibly
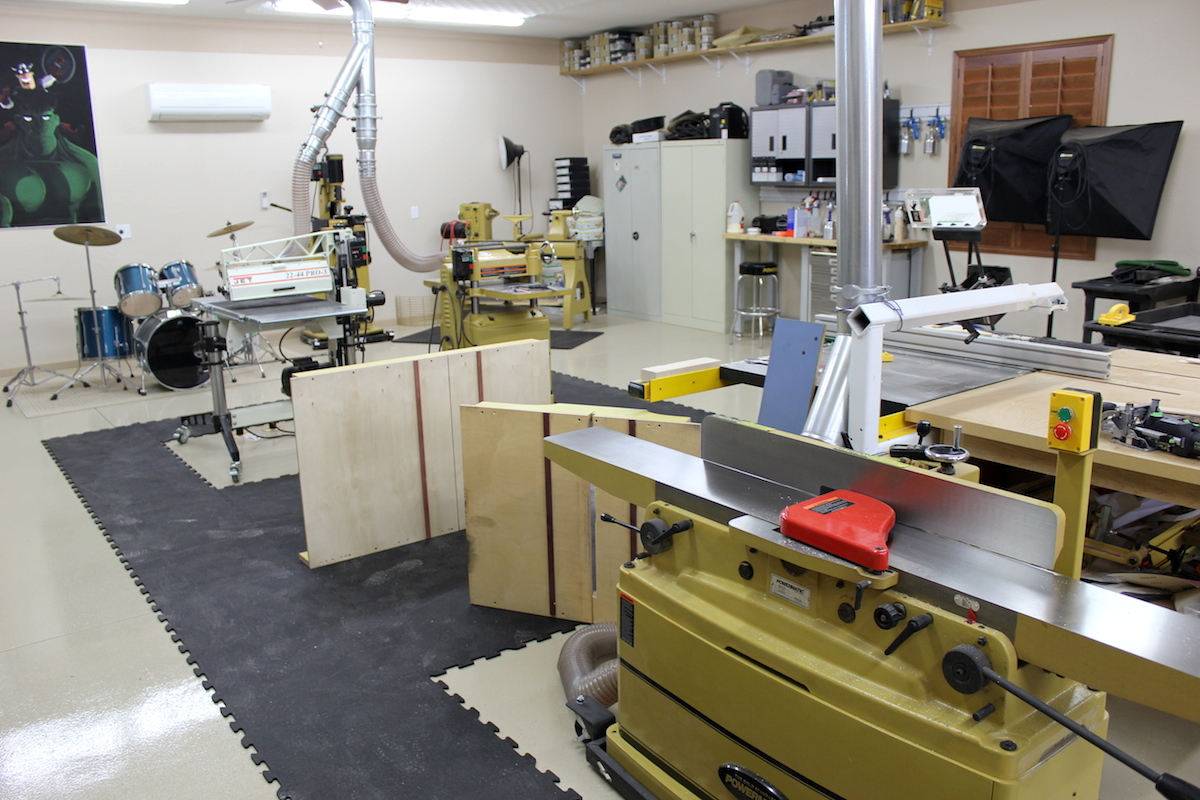 Tools that perform similar functions or are typically used in succession should be located near one another. One of the most obvious groupings is the jointer/planer/table saw triad. During the milling process, these three tools will be used repeatedly so it’s a good idea to limit the distance between them.
3. Store Tools Near the Workbench
I like to keep my tools very close to the workbench, since that’s the place I will most likely use them. This includes both hand and power tools.
4. Put Your Bench Near a Window
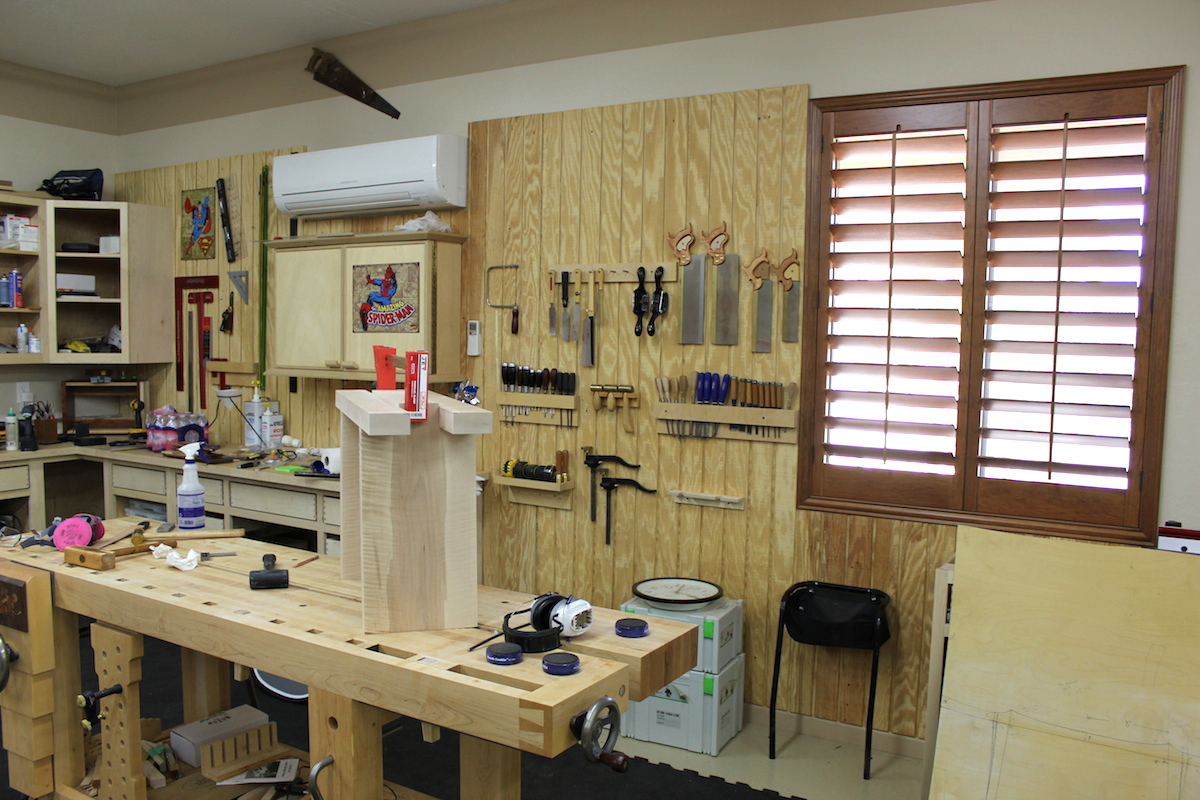 Natural light not only makes it easy to see what you’re working on, it makes for a more pleasant working environment. Your workbench is the place you will likely spend most of your time so why not have it located in a spot that gives you a nice view out the window.
5. Store Wood Near the Entrance
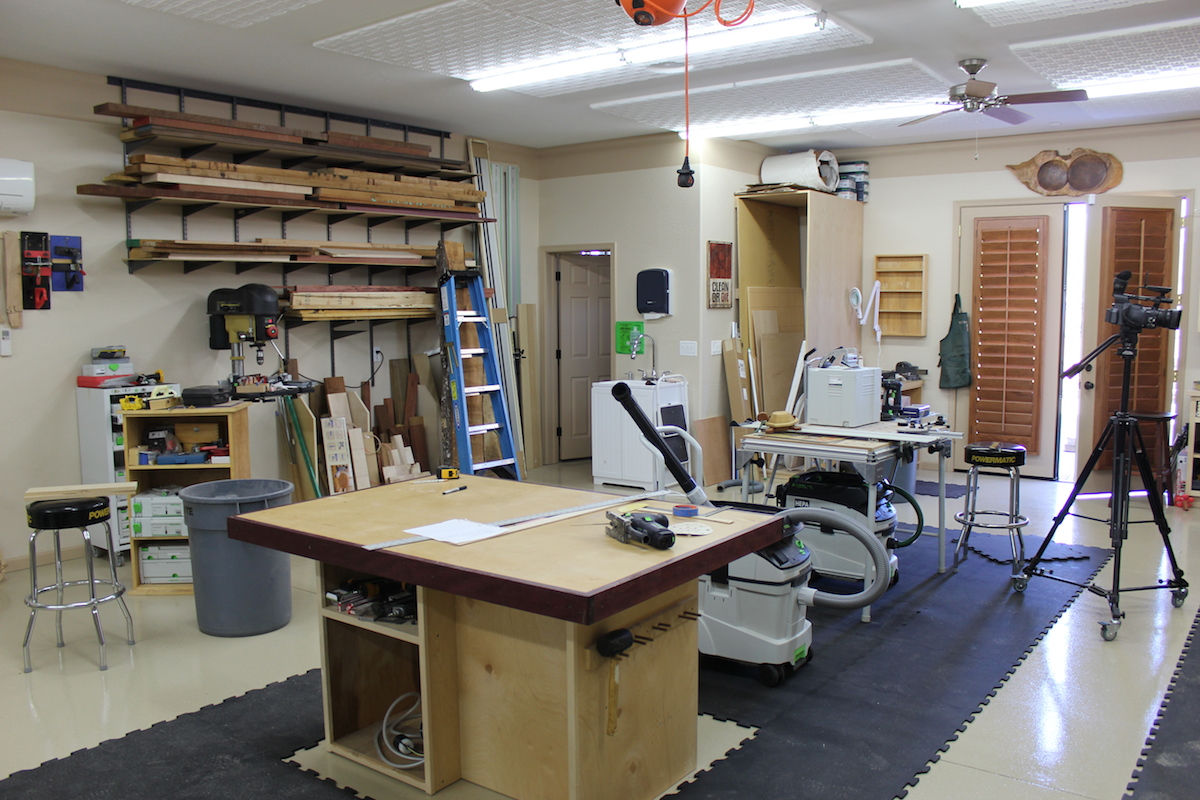 Personally, I think it sucks to have to lug massive pieces of rough lumber and 4′ x 8′ plywood sheets all the way across a shop. Much respect to basement dwellers who have little choice in the matter. But for those with garage shops, you should think about storing your sheetgoods and solid stock near an entrance. This way when you come home from the lumber dealer, you can back up your vehicle and quickly load the stock into the shop.
6. Put the Miter Saw Near the Lumber Rack
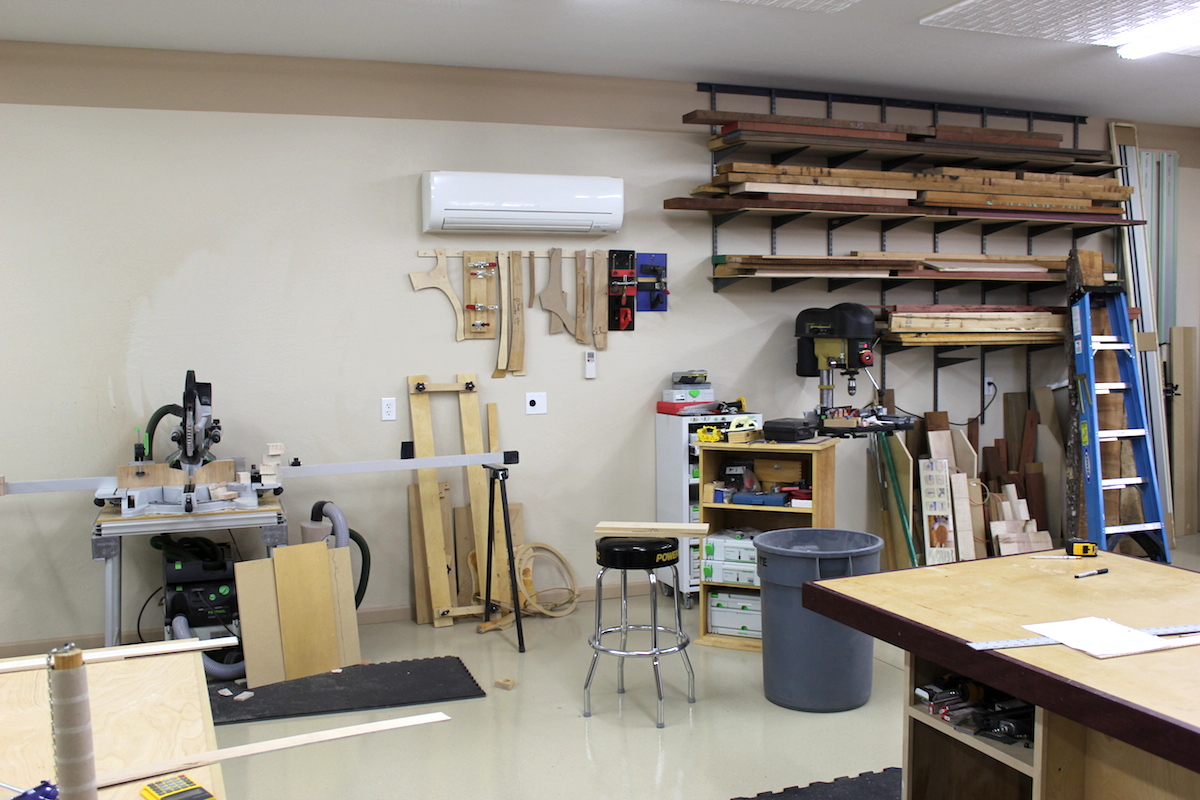 Many folks rely on the miter saw for cutting down rough stock, so it’s a good idea to limit the distance between these two things. If you’re a Festool MFT owner, it’s a good idea to do the same. My plywood rack is located right next to my MFT.
7. Locate the Assembly Table Centrally
During nearly all stages of a project, the assembly table is used for holding various parts and pieces. It makes sense then to have the assembly space located somewhere near the center of the shop. This way, your project parts are never more than a few steps away.
8. Keep the Clamps Near the Assembly Table
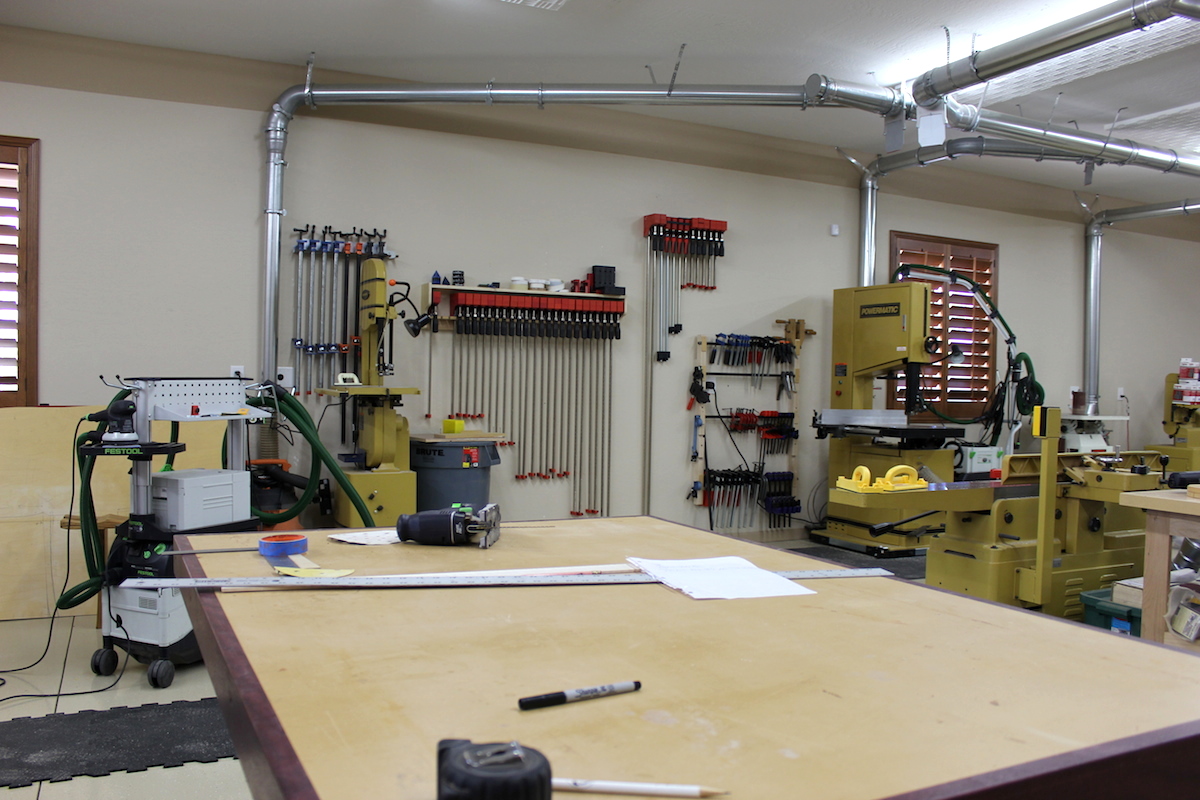 Since most of your assembly will be done on the assembly table, it just makes sense to have your clamps nearby. If you’re short on wall space, try a rolling clamp cart! If you use your workbench for assembly, keep your clamps near the workbench. Check out these two helpful articles for clamp racks: A Simple Utilitarian Clamp Rack and A Parallel Clamp Rack.
9. Locate The Table Saw Centrally
Much like the assembly table, nearly every project in my shop makes extensive use of the table saw. And like it or not, my outfeed table becomes a second storage area for project parts and cut-offs. So I like to have mine located in the middle of the shop for the same reasons as the assembly table. Additionally, it’s nice to have ample space around the tablesaw for those larger workpieces. Unless it’s absolutely necessary, I’m not a fan of storing the table saw against a wall.
10. Finish Near a Window
 If you have a dedicated spot for preparing, mixing, and applying finishes, try to locate it near a window. Often times we’re dealing with toxic chemicals and it’s nice to have an open window nearby for ventilation. You’ll have the added bonus of natural light to help with color matching and close inspection of your work.
11. Put the Right Tools Against the Wall
Some tools work better against the wall than others. Bandsaws, router tables, drill presses, mortisers, and stationary sanders are all good candidates for placement against a wall. If you keep these tools next to each other, however, you may need to occasionally pull them away from the wall for full access. That brings us to our next tip.
12. Stay Mobile
 No matter how much you plan ahead, it’s almost inevitable that you’ll need to move your tools around, even if only temporarily for a particular operation. So the more mobile bases you incorporate, the better. In my opinion, this is the key element to a successful small shop.


