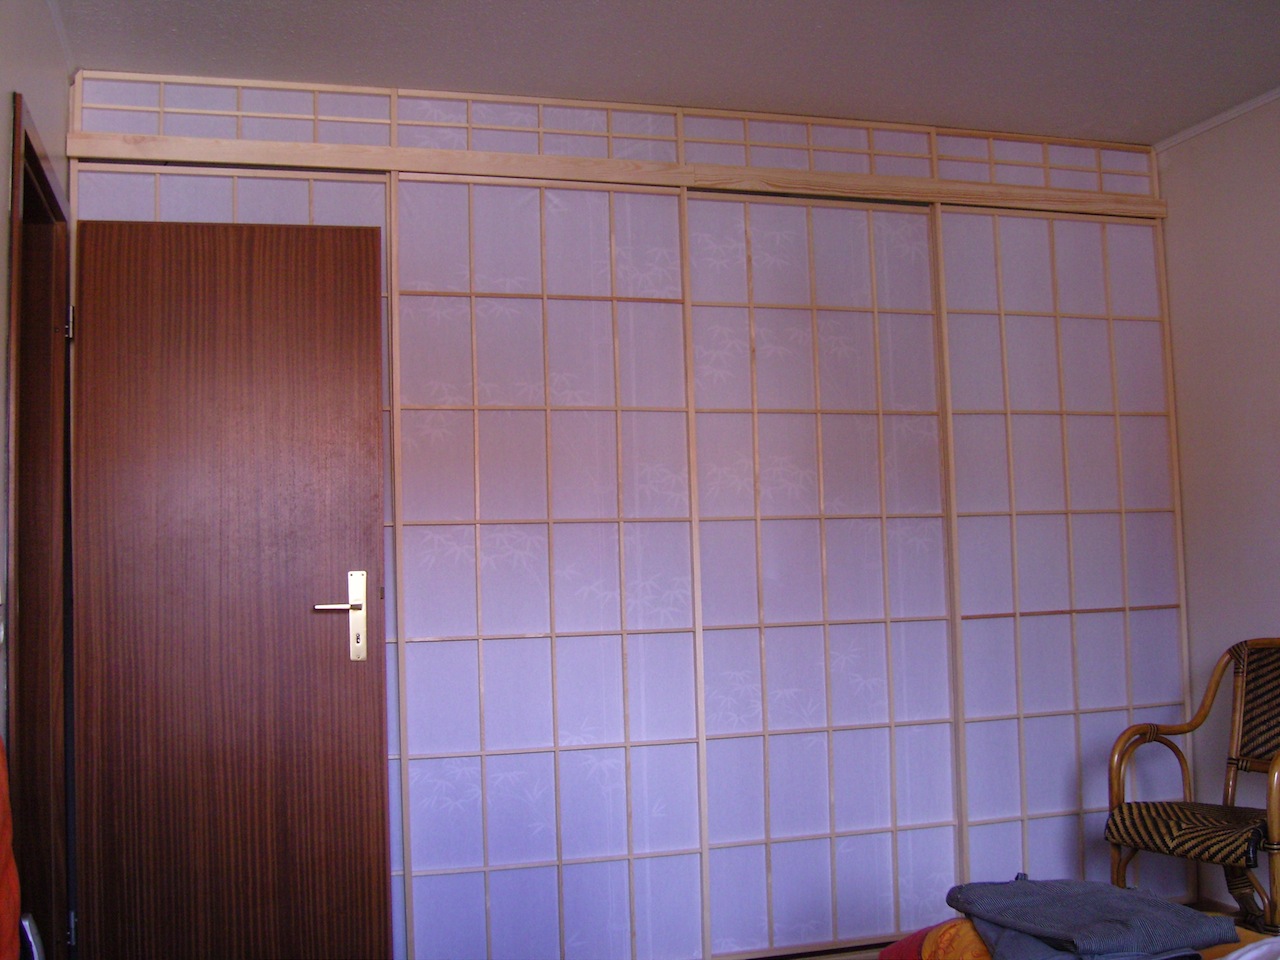
Jochem’s Shoji (Japanese sliding doors)
Viewer Project
-
By Jochem from Germany
Added on April 11, 2013
While searching for a curtain or door for our bedroom walk-in closet we concluded that a Japanese sliding door, called a Shoji would be the best solution. I began drawing the first plans with Sketchup in October 2011. Since I travel a lot and could only work on the project on the weekends, it took about a year to complete.
So what is a Shoji and how is it constructed? A Shoji is the Japanese word for a paper wall or door. In many cases it consists of 4 doors that slide in a bottom rail at the floor, and a top rail. Above the top rail a non-movable blending completes the project.
Each of the doors is constructed of an inner grid of pine strings (10 x 20 mm or about 1/2″ x 1″) which are connected to each other by a half lap. 3 strings vertically and 6 strings horizontally. The grid is surrounded by a frame of bigger strings (20 x 26 mm or about 1 x 1 1/2″). The joints for the frame are mortise and tenon joints and so are the connections between the inner grid and the outer frame. Each string had to be planed by hand on all four sides and therefore needed no finish. The upper blind was constructed the same way only the grid is smaller.
The challenge with the doors and the blind is that your work has to be extremely precise because it’s a geometrical form. So exact 90° angles, exact height and width of the grids and the frames.
The bottom rail is constructed of two 20 x 60 mm (about 1″ x 3″) beams, connected horizontally by a half lap as one wasn’t long enough. The bottom rail was constructed the same way with two 60 x 60 mm (about 3″ x 3″) beams. The sliding rails were the only parts I didn’t do by hand but with a router. Planing the beams was hand work again.
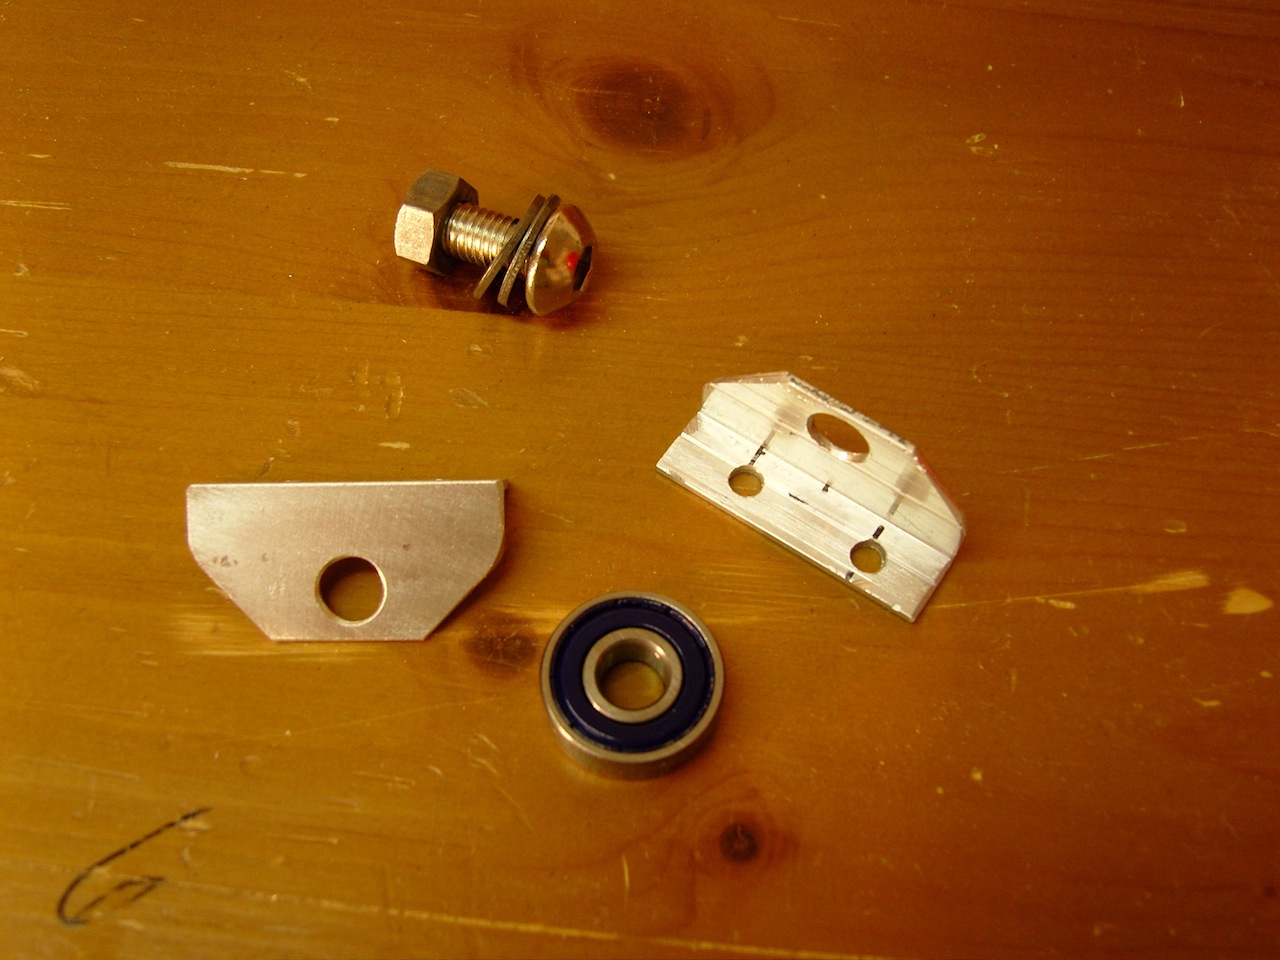
Another challenge I was confronted with was how to manage the doors to slide effortlessly and smoothly in the bottom rail. The traditional way is to notch a part of the frame so that it fits into the rail. For me that seemed to have too much friction, so I tried some polished wooden balls of beech. To my surprise the friction was similar as with the notch. So I constructed metal rollers made of aluminum brackets and ball bearings usually used with roller skates. This worked extremely well. As the guidance at the upper rail doesn’t carry any weight, friction here is no matter and the notch does well.
Last challenge was that the doors had to slide parallel behind each other when opening and closing, so the rails had to be routed with high precision as well.
What worked with nearly no effort was gluing the Shoji paper to the back of the doors. The process consists of three steps. First fixing the paper at one end of the door with some tape, than applying the rice glue (it’s actually made from rice) to the grid strings and the frame. Next was covering the glued door with the paper and waiting until the glue was nearly dry. And last was to cut the overlaying paper away with a sharp knife and sprinkle the paper with water. When everything dries the paper has the right tension.
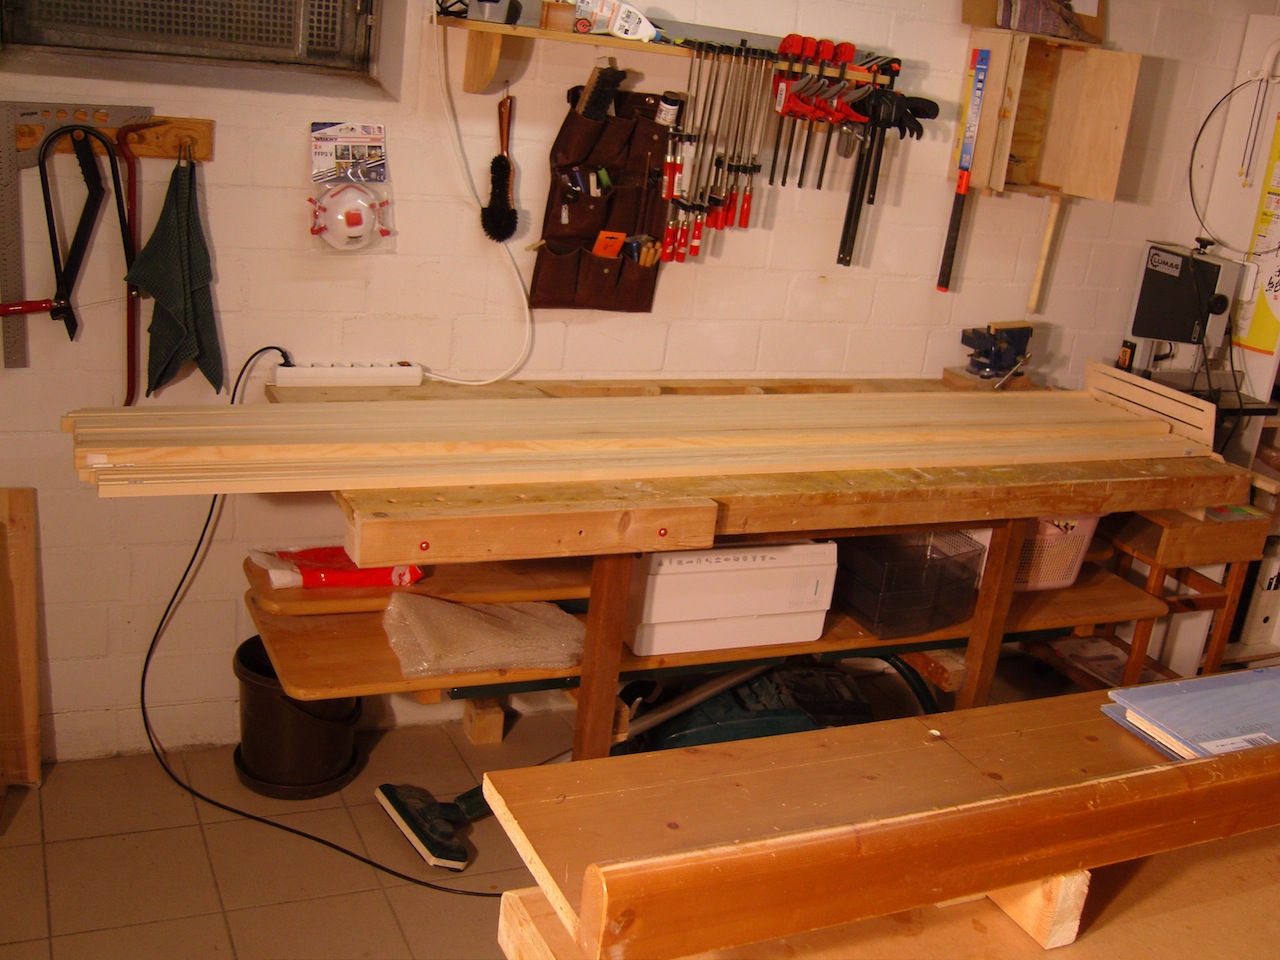
The tools I used where of very different quality. Best of all was my Kataba, a Japanese pull saw with a very thin blade. In conjunction with the suitable saw guide, I was able to produce very precise cuts which was especially helpful for the half laps of the grids and for the tenons of the frames. The chisels worked fine as well including sharpening.
The plane, one of the new Stanley’s, was really crappy. Although it has some adjusting wheels (!) to adjust the blade, I’ve never been able to get it to work with these. Eventually I adjusted the metal plane like a wooden plane with a metal hammer (ouch!). But never try this at home, it might damage the sole of the plane. From time to time I have to smooth the sole with a file. My next plane will be a wooden Japanese one (which has to be pulled and not pushed like normal).
Despite the different challenges I had to master, this project was fun and I’m really proud that I can present the results to you.
Advertisers


