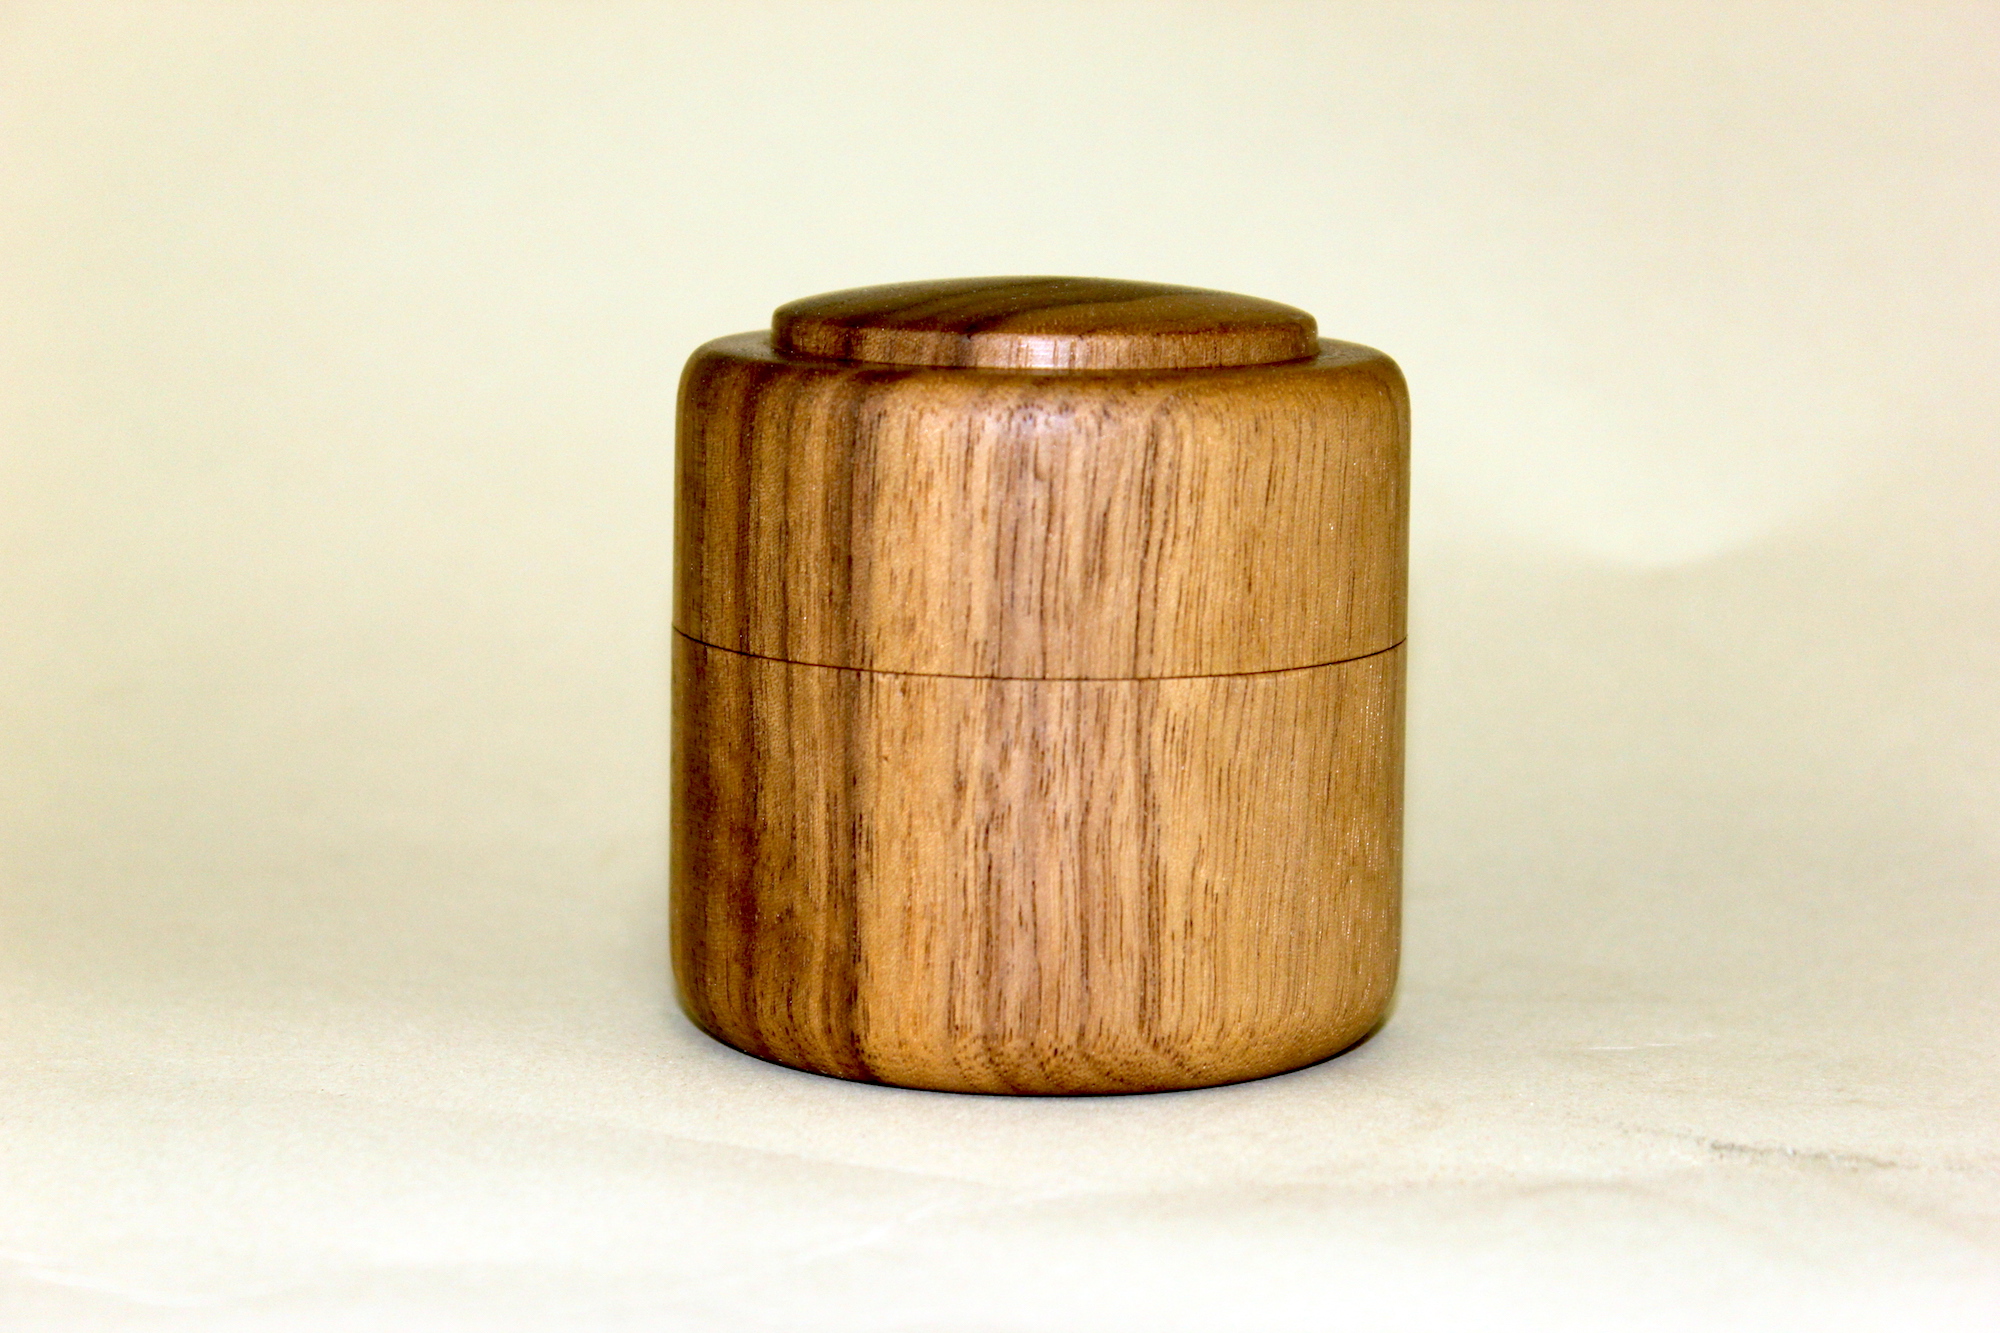
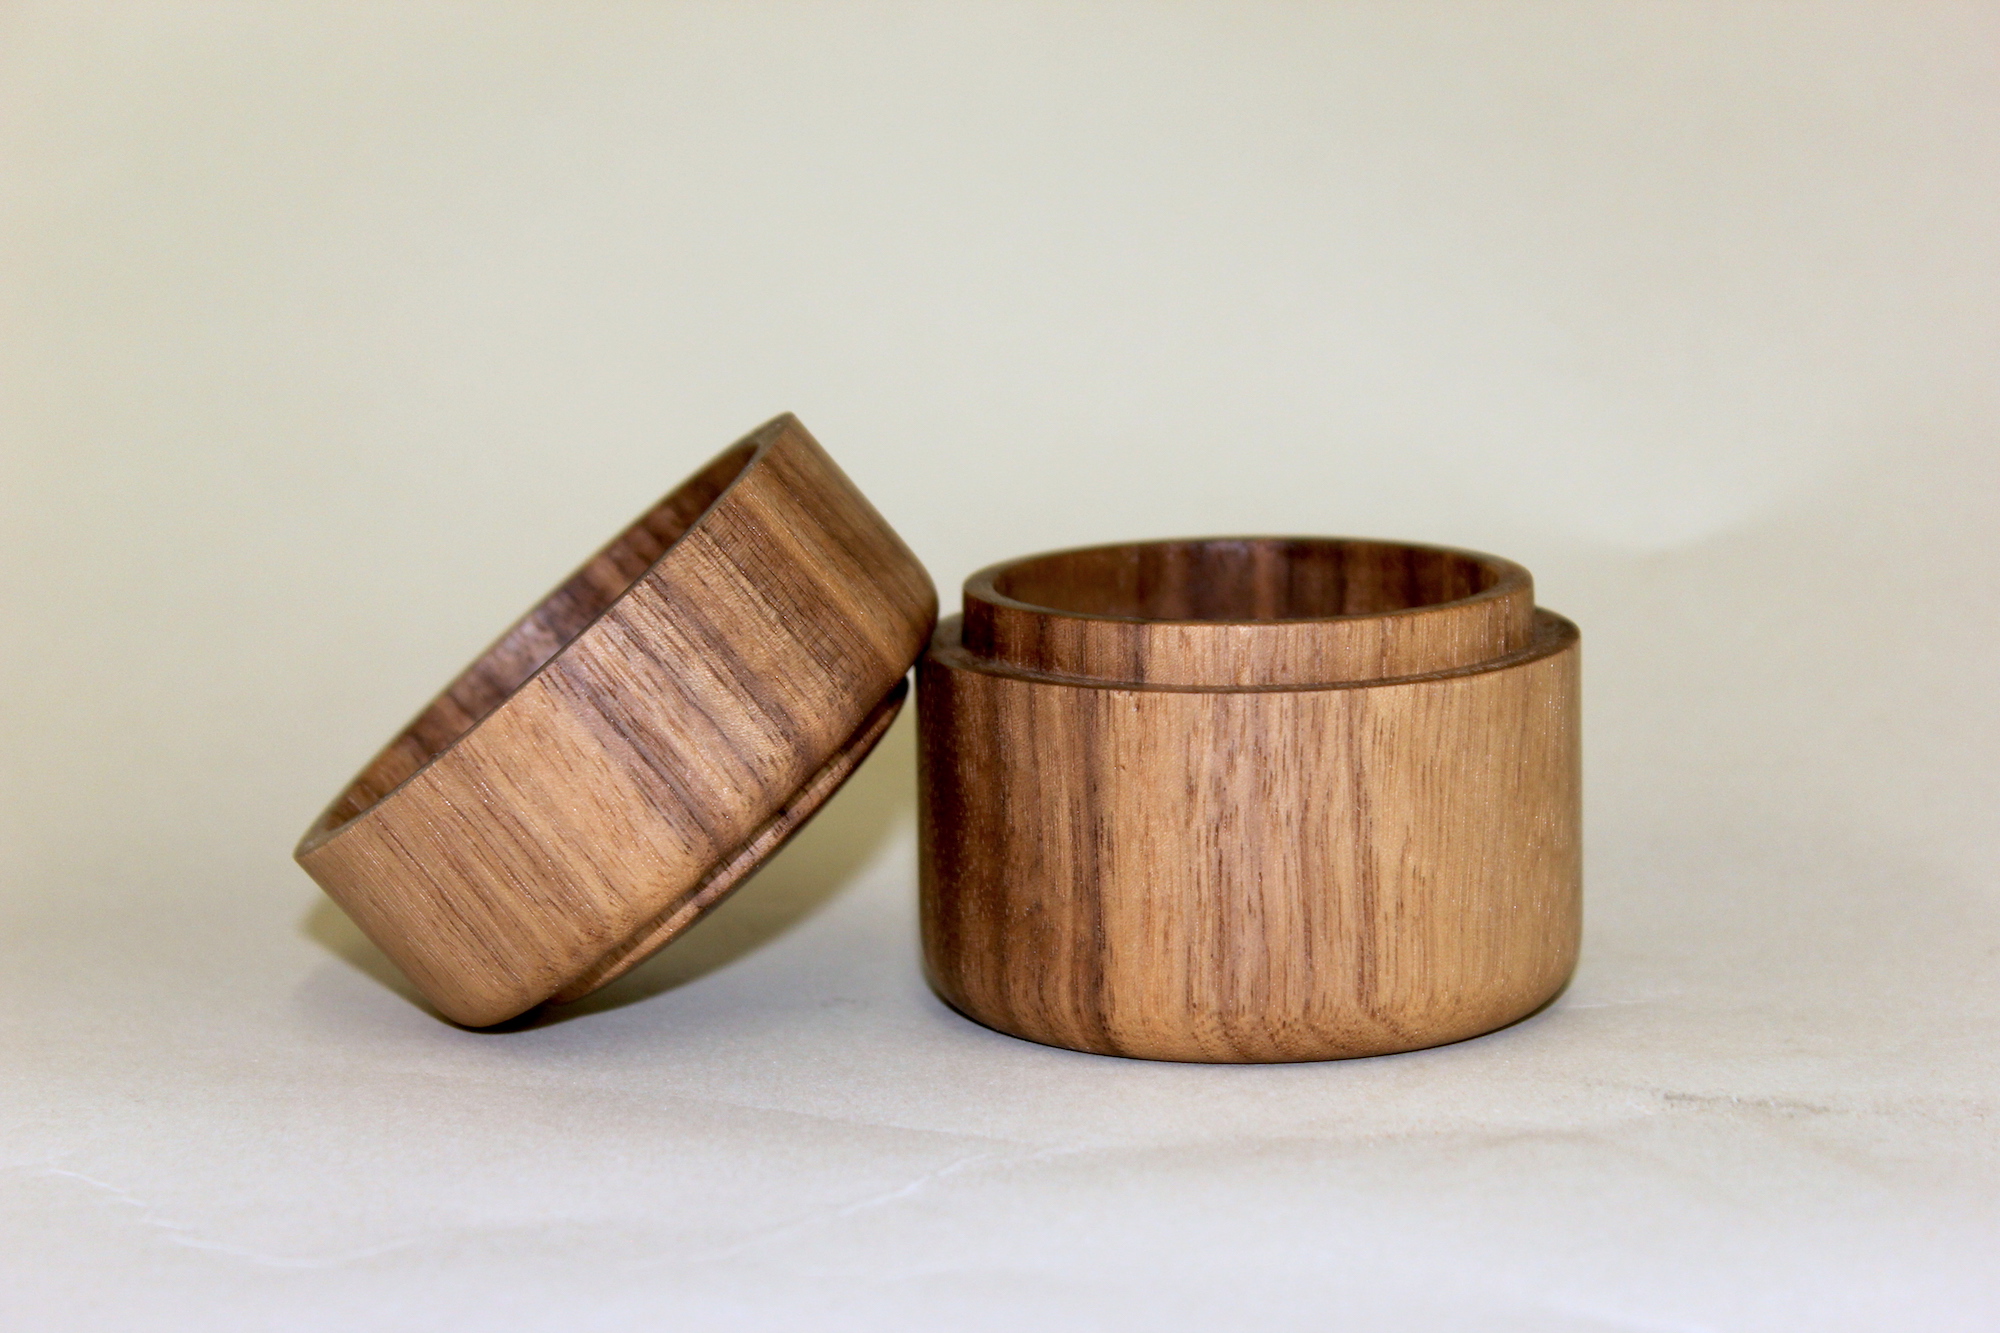
At first glance, a turned box doesn’t look all that complicated. It’s essentially two bowls that come together with a mortise and tenon joint. But to pull this “simple” project off you’ll need to execute a specific series of steps giving you access to the inside and outside of both the lid and the base, and you’ll also need to carefully finesse the joint so that the two pieces come together in a satisfyingly snug fit.
The Blank
I used some scrap 12/4 walnut to make my box, which yielded final box dimensions of 2 3/4″ in diameter and 3″ in height. You can make your box smaller or larger but make sure your blank will accommodate the desired size. Also be sure to include extra material in the length of the blank to serve as handles for the turning process. Extra length also means more room for fixing mistakes. 2″ should be enough for everything.
If you don’t have 12/4 stock, you can always glue together multiple pieces into a lamination. This could create a very cool multi-colored look! Have fun with it.
The Steps
- Use the chuck spur and the live center to bring the blank into round.
- Create a dovetail “handle” on each end of the blank.
- Separate the blank into two pieces creating a lid and a base.
- Switch to a chuck with dovetail jaws and secure the lid.
- Turn the inside of the lid, creating the mortise wall at the same time.
- Install the base piece into the chuck.
- Create the tenon on the base using the lid for test fits.
- Turn the inside of the base, leaving at least a 3/16″ wall for the tenon.
- Attach lid securely to the base and turn the outside surface of the lid and base.
- Turn the top of the lid, then remove.
- Part the bottom of the base from the rest of the blank.
- Turn a jam chuck on the remaining piece of the blank remaining in the chuck.
- Install the base opening onto the jam chuck for a snug fit.
- Turn the bottom of the base.
The Finish
There are lots of ways to finish something as simple as this box. It’s not a heavy-use item so it doesn’t need anything super durable. Feel free to apply nothing more than wax and call it done. Also, consider finishing the box right on the lathe. Once the insides are turned and sanded, there’s no reason you can’t just apply the finish right there, as long as you don’t mind giving it some time to dry before moving on to the next step.
For my box, I’m using two coats of satin wipe-on poly. That should offer a little protection, a little sheen, and both coats can be applied in a single day. I finish the box off by adding some wax to the mortise and tenon.