Dustin’s Computer Table
Viewer Project
-
By Dustin
Added on January 28, 2009
OK, so the story is I scored two great deals from two different guys and was able to stock a good amount of Maple and lots of other various wood. I put it aside and dreamed of lots of fun projects. We are expecting a baby, so this is the perfect opportunity to re-arrange everything. My wife decides we need the computer in the bedroom, not the living room, so the Ikea table won’t work anymore. She wants to get a desk from Target, and now that I have delved into the world of woodworking, badly connected particleboard is no longer a value for $120. So I say, “I’ll build you a table”—she agrees. I begin to mill the stock and while I am admiring the beautiful grain, which was clearly visible only after planing and jointing the rough surface, my wife declares she wants the table to be painted black! I understand matching the other furniture, but to paint something so beautiful. Well, she agreed to let me finish, and then see.
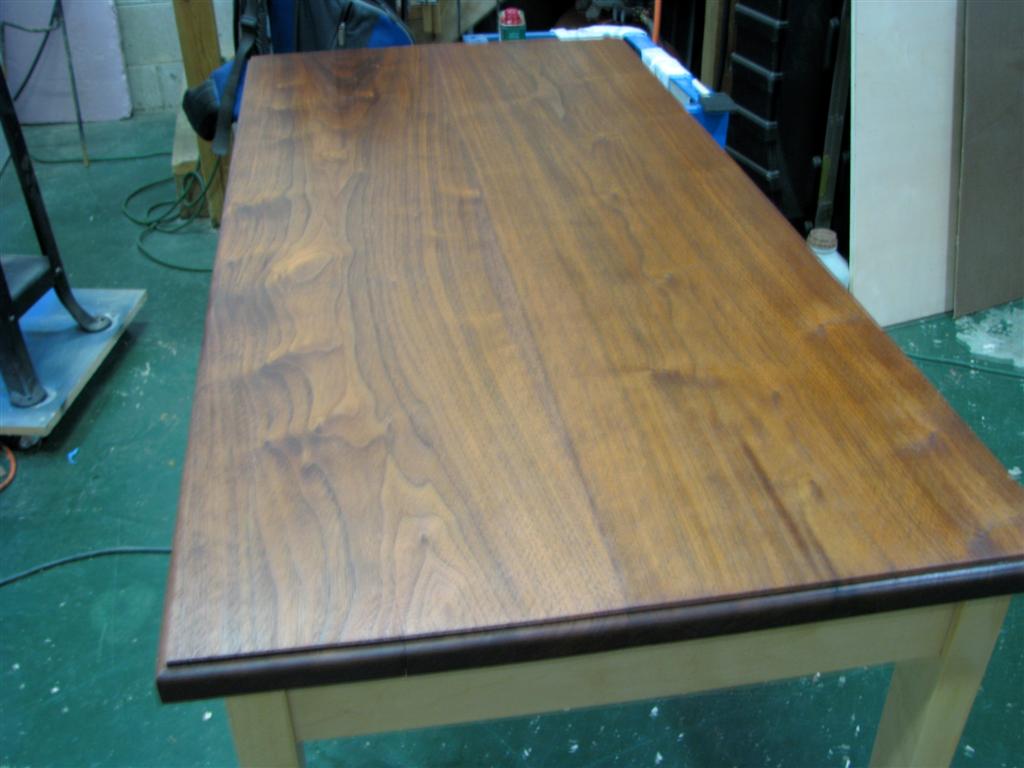
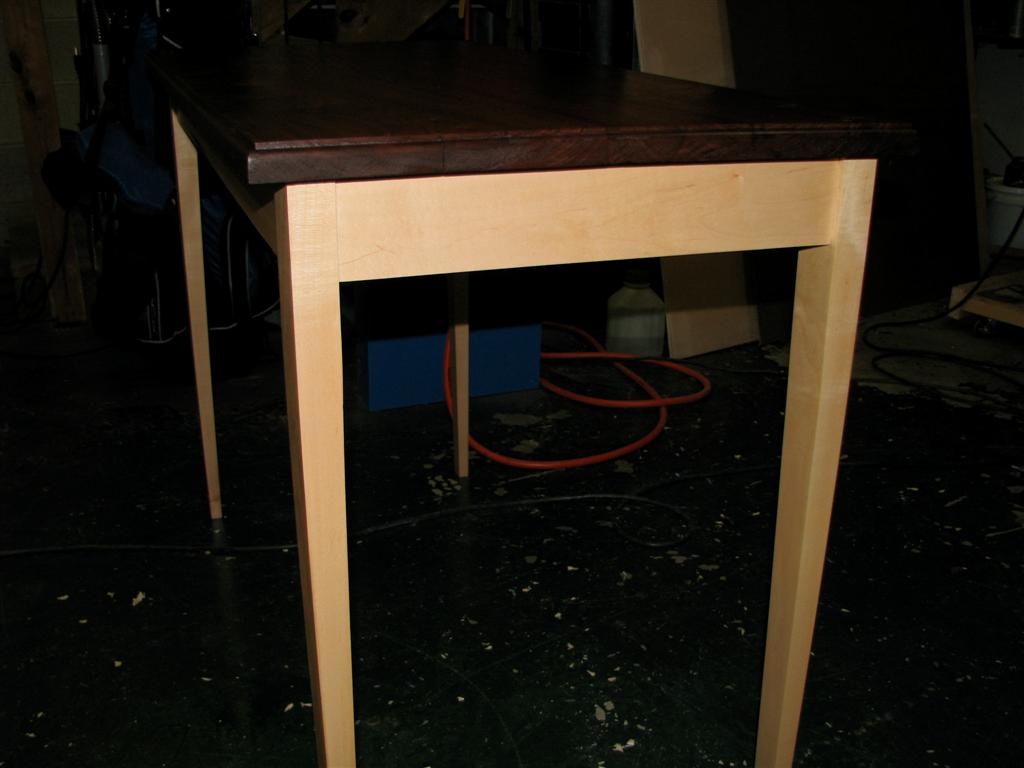
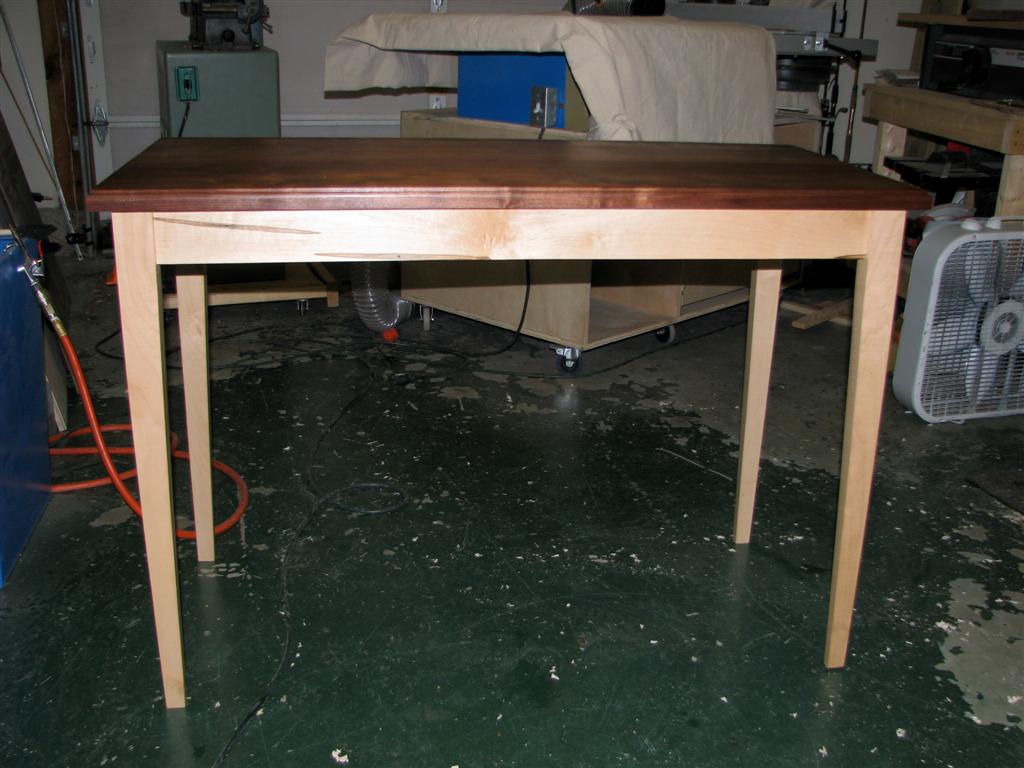
Now on to the actual construction details. I started by cutting the legs. They are double tapered, cut on the band saw, and then jointed and sanded. In hindsight, I’d skip the jointer and tackle the tapers with just the sander. I did use my belt sander to finish the shaping. The construction of the frame is basic mortise and tenon for the aprons. One of the apron pieces had an interesting effect where a bug had bored a few holes, making what I thought was a beautiful accent. I decided to use this piece on the front, I figured that it added to the individuality. I cut the mortises first with a drill press followed by bench chisels. Then I cut the tenons with a dado blade on the table saw. I glued up the frame, sanded to 220, and started on the top. I had a rather large, wide (11.5″) piece of Walnut. Jointed the edges and glued it up then used a scraper to clean up the glue line, and cut the top to size. I rounded the edge over with the router and a 1/4″ roundover bit. I sanded the top and then attached it to the frame with figure 8’s.
The finish is two coats of tung oil followed by two coats of clear poly, all with steel wool sanding in between. Once I was done, the wife did not demand a black paint job. In fact she is now on my case about starting a matching dresser.”
Advertisers


