 From: Will Stokes
Website: Lumberjocks Page
Location: Stanton, MI
Hobbyist or Pro: Hobbyist
Experience: 3-5 yrs
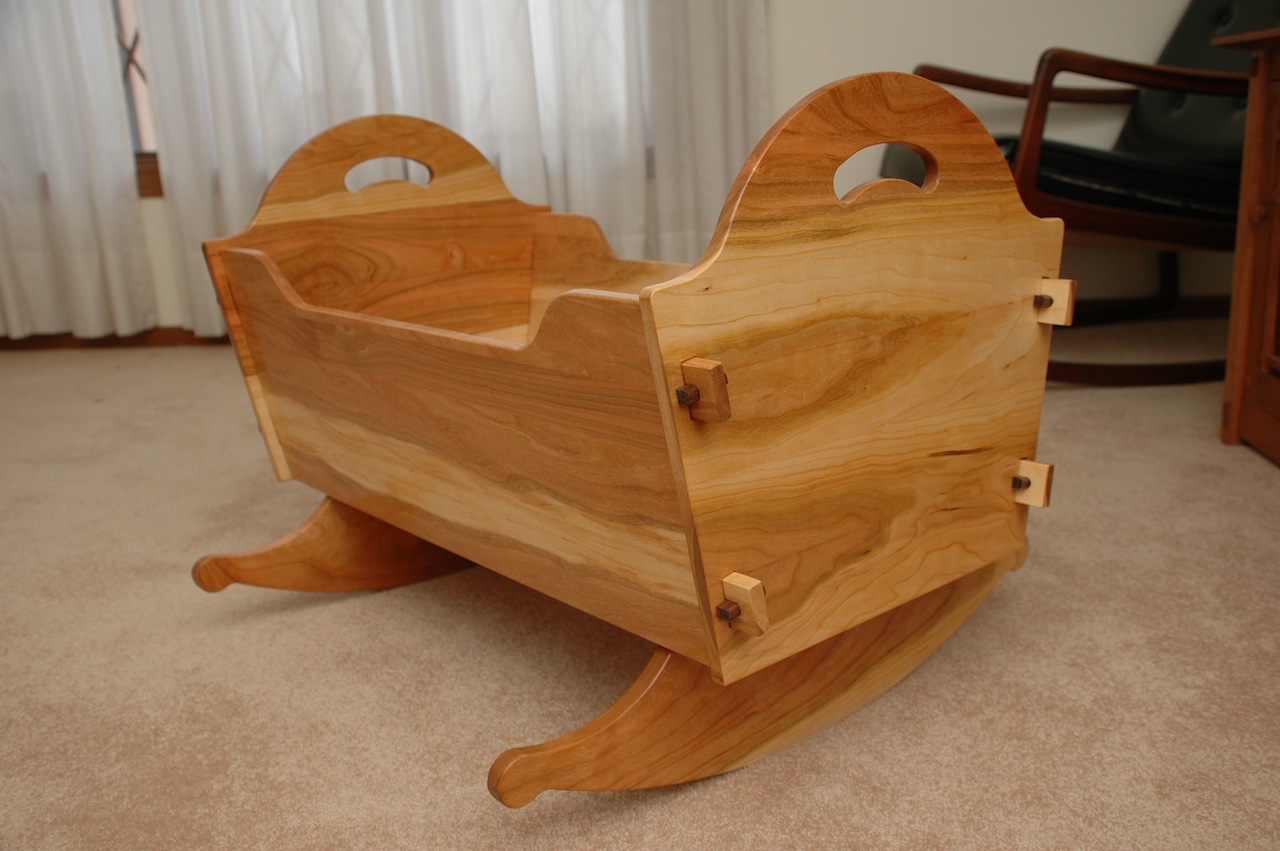
Project Name: Heirloom Cradles
Wood Species: Cherry and Pommele Makore veneer
Finish Used: 4 coats Tried & True varnish oil, warmed to 120 F and rubbed, excess wiped off after 45 minutes. 3 coats of semi-gloss poly thinned 50/50 with mineral spirits and wiped, burned with #0000 steel wool between coats.
Project Description:
When we heard my wife’s first cousin was expecting a baby in January I thought it would be fun to try and build her and her husband a cradle. Since my wife and I were expecting a child of our own, I decided to build two cradles at once.
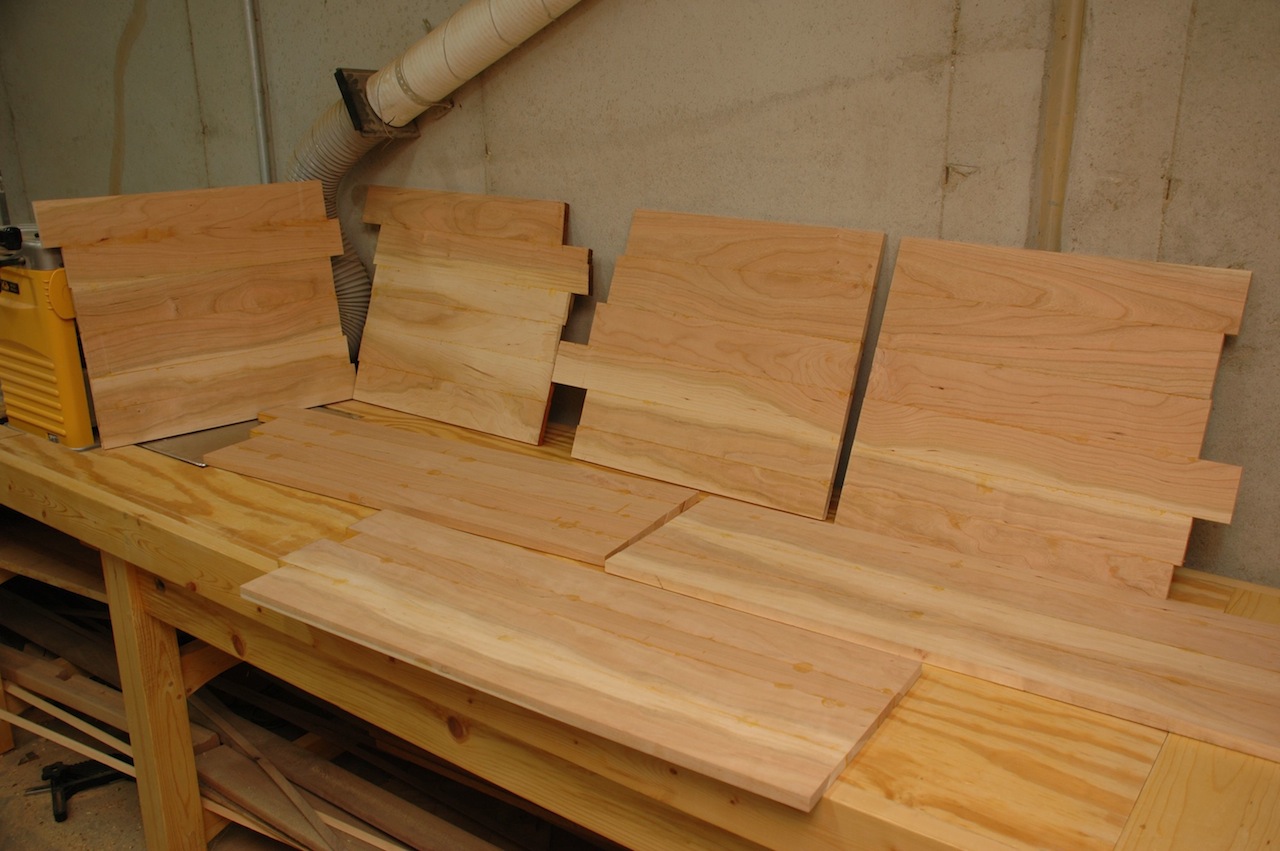
 I chose to build a heirloom cradle I had seen in Wood Magazine and more or less followed the plans with a few minor deviations: I attached the cleats that hold the rockers from the bottom instead of the top using glue and screws. I added contrasting walnut plugs to “hide” the screws entirely. I also applied a veneer to the bottom
  to give it more character and help contrast it with the sides. Finally, I glued up the ends and sides from a series of smaller strips as I explored incorporating sap wood into the project to create some interesting patterns.
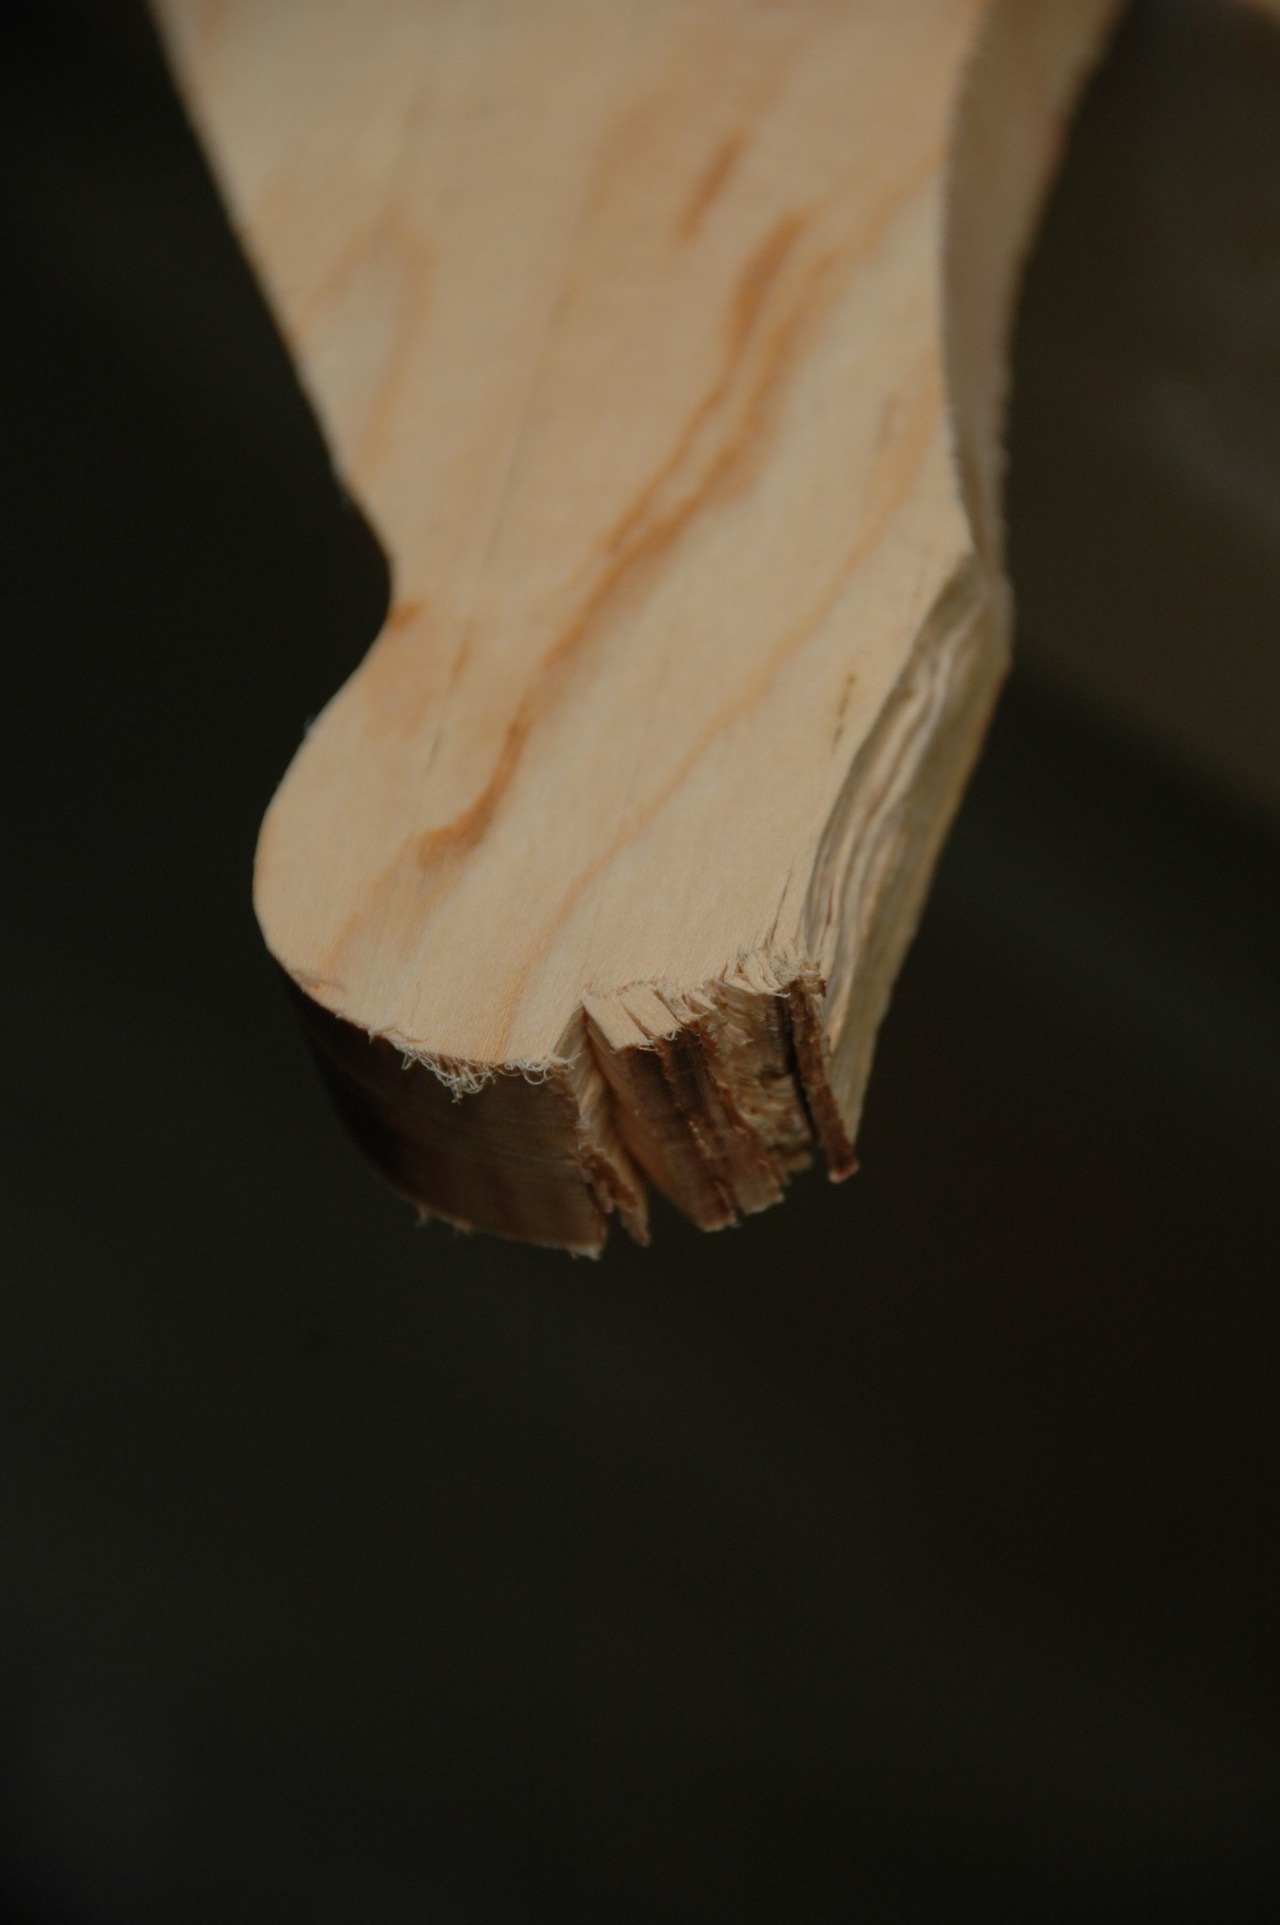
This was my first project working with curves and decided to go about it by making a series of templates and using the router. My first attempt was a complete disaster. I failed to first remove enough of the waste at the band saw and foolishly used a very small flush trim router bit. Fortunately, in case  something would go wrong, I started by trying to make one of the rockers. Disaster struck as I went around the tip (and inevitably across the end grain) of one of the rockers. The bit dug in and threw a small chunk of wood across the shop. Fortunately, I had not destroyed one of my glued up panels. It was clear I needed to revisit my technique and find a better way. I ultimately decided to:
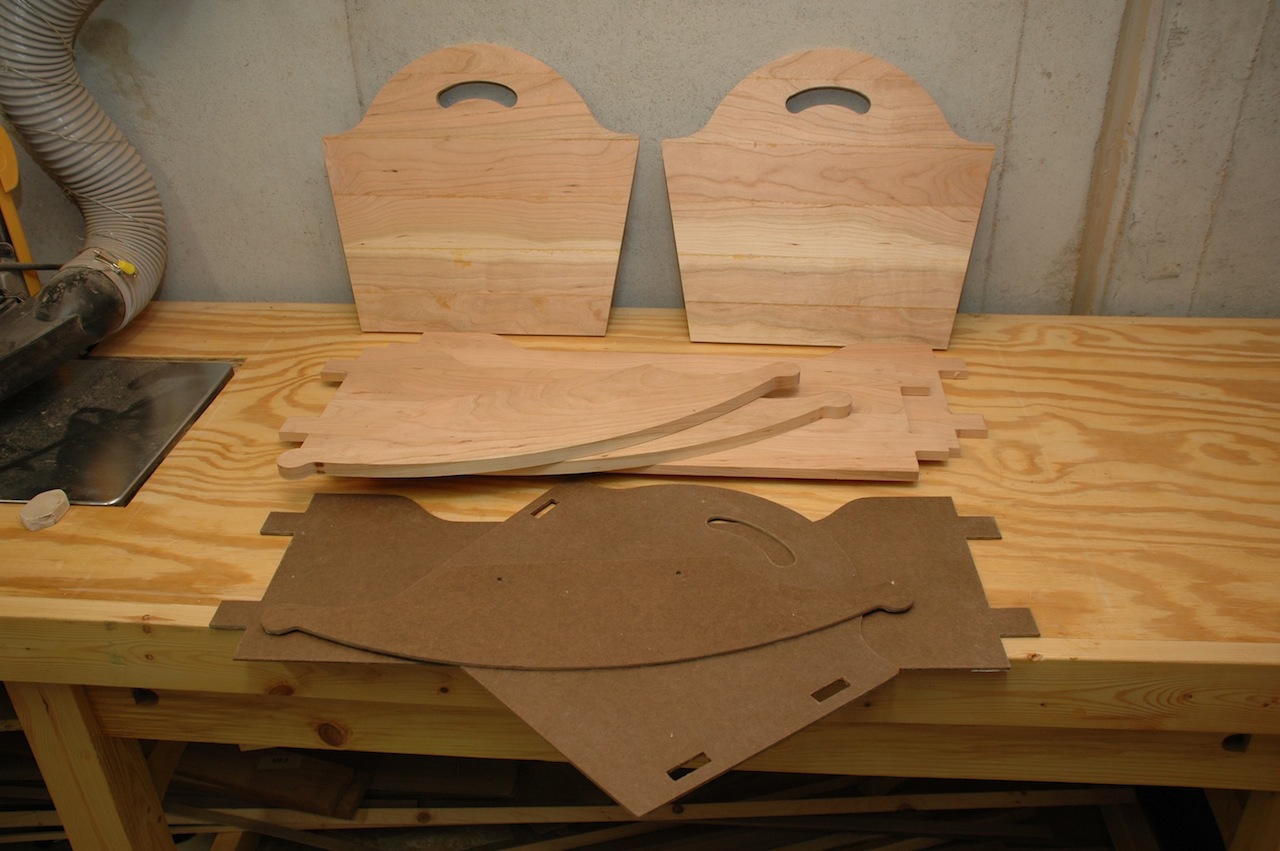
-switch from my almost useless excuse for a band saw to my neighbors simple (but effective) bench-top model. This allowed me to remove much more of the waste, to within about 1/8″ of my template line.
-I was given a spindle sander for Christmas which I then used to remove the remainder of the waste to within 1/16″ of an inch.
-I then routed out the pattern top-side using a 1 1/8″ flush trim router bit from Rocker. This time routing out the pattern was a breeze and I produced tissue-paper thin shavings.
Once pattern routing was behind me, it was time to  make the base. I ended up using an ancient piece of Douglas Fir I fished out of my parents’ basement and tried to take a stab at gluing down a veneer. This was when the second disaster struck. Not being used to working with veneers, I applied too much glue which soaked through and then caused the veneer to buckle and ripple despite a caul being clamped across the entire surface. I ended up scraping the veneer off and trying again. This time, with less glue, things worked out better. For some reason I ran into buckling again when gluing down the last section of veneer on the second cradle, but at that point I already had a good piece glued down along side it. In a last ditch effect I used an iron and by lightly misting the surface and then warming it up with the iron, I was able to slowly flatten the veneer back down.
 You’d think after two brushes with disaster nothing else could go wrong. But then the cousin’s baby came early and I was already behind schedule. I guess I got anxious and tried to rush through the sanding process. I pushed down too hard on my ROS, resulting in beautiful swirl marks all over the wood. After Marc corrected my technique, I was able to go back and do the sanding all over again and get rid of all the swirl marks.
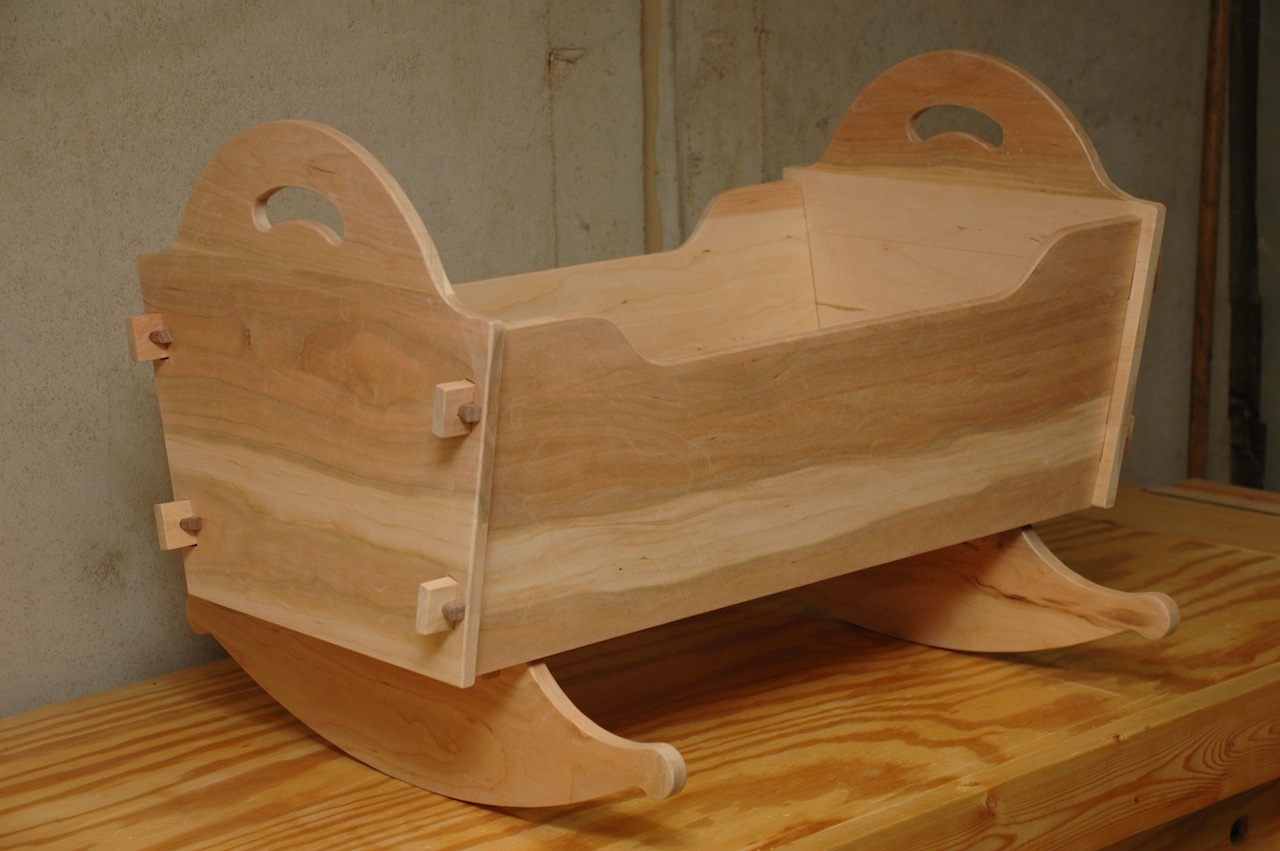
Many thanks to Dustin Ward, who gave me the veneer at a LumberJocks BBQ last summer. After applying the finish  I think both cradles turned out fairly well, especially considering the road blocks I encountered along the process. I have a new found respect for building projects that can be taken apart while making the joinery as tight as possible. Hopefully both cradles get a fair bit of use and won’t have to be taken apart any time soon.


