Scott’s Hardwood Headboard
Viewer Project
-
By Scott Willis from Cincinnati, OH
Added on September 22, 2013
For our 2nd Anniversary I knew I wanted to do something ‘different’, so I decided to make a headboard for my wife using our existing queen-sized metal bed frame. This was my first venture into figured woods and I’m not sure I’ll ever go back, as the results turned out so much nicer than the basic ‘Red Oak’ that’s available in my area. Taking advice from other woodworkers in the Woodwhisperer Forums, I decided on a simple design since I only had 4 months to work on the project.
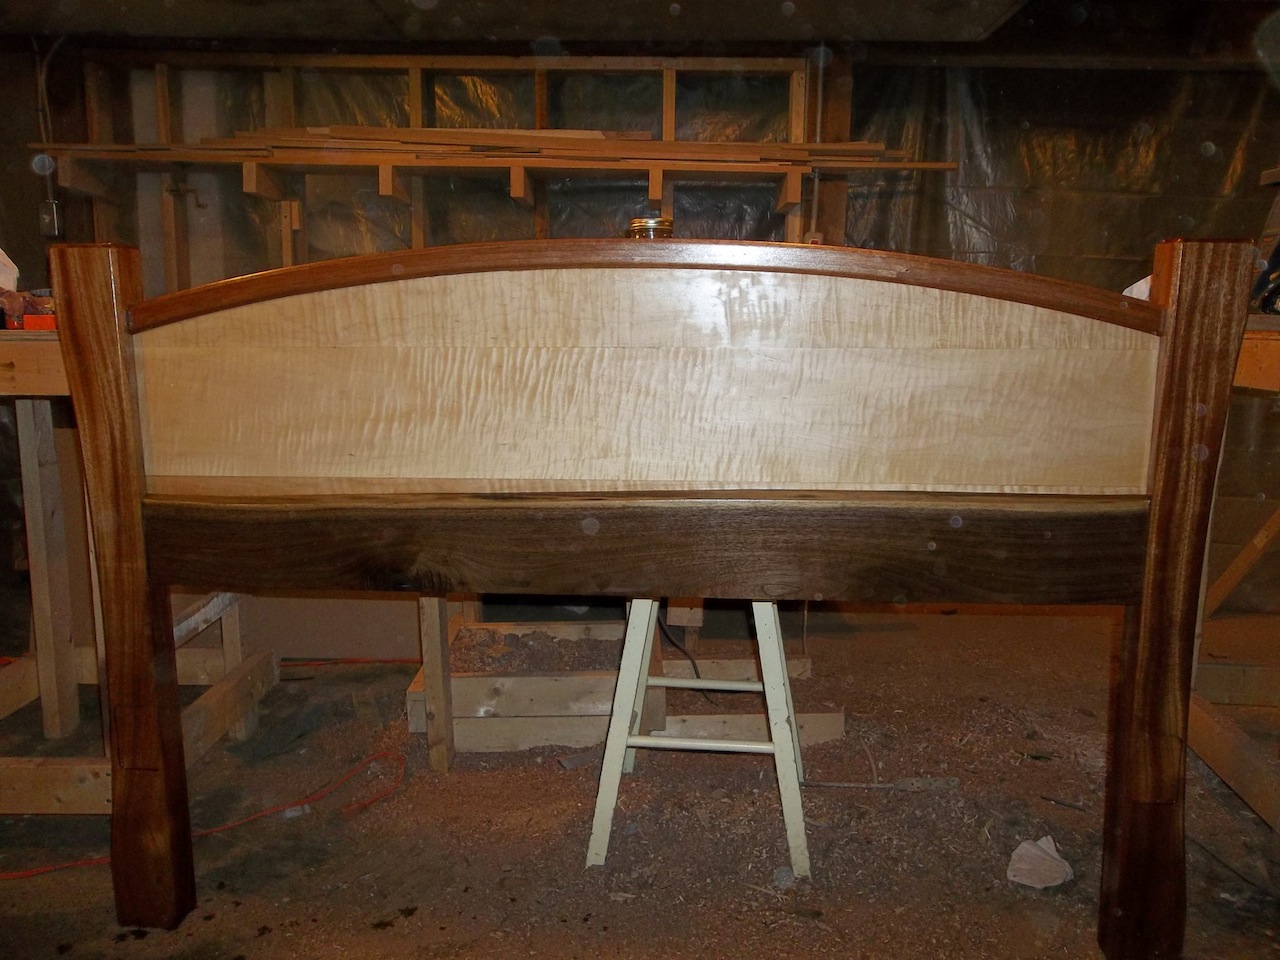
The main part of the backboard is Curly Maple planks jointed together. The facing on the bottom of the Maple is a piece of Walnut I found with two live edges that I ripped in half and put one half on each side. The posts are from one piece of 12/4 Honduran Mahogany that was just the right height so I could rip it into two 4″ wide pieces. The top rail is made of 6 laminated strips of 1/4″ x 1 1/2″ African Mahogany.
I planed the Maple boards and simply edge-glued them together. Once dried, I cut it to shape (with a rough curve on the top). I cleaned the live edges of the Walnut with sandpaper and glued it to the board with the live edge up on the bottom of both sides of the headboard.
The legs were ripped from a single 12″x42″ piece of 12/4 Honduran Mahogany. I cut reliefs into one side on each board making sure to keep the cutoff for later clamping :). I used a long piece of scrap to make the arc for this. I sanded and chamfered all of the edges.
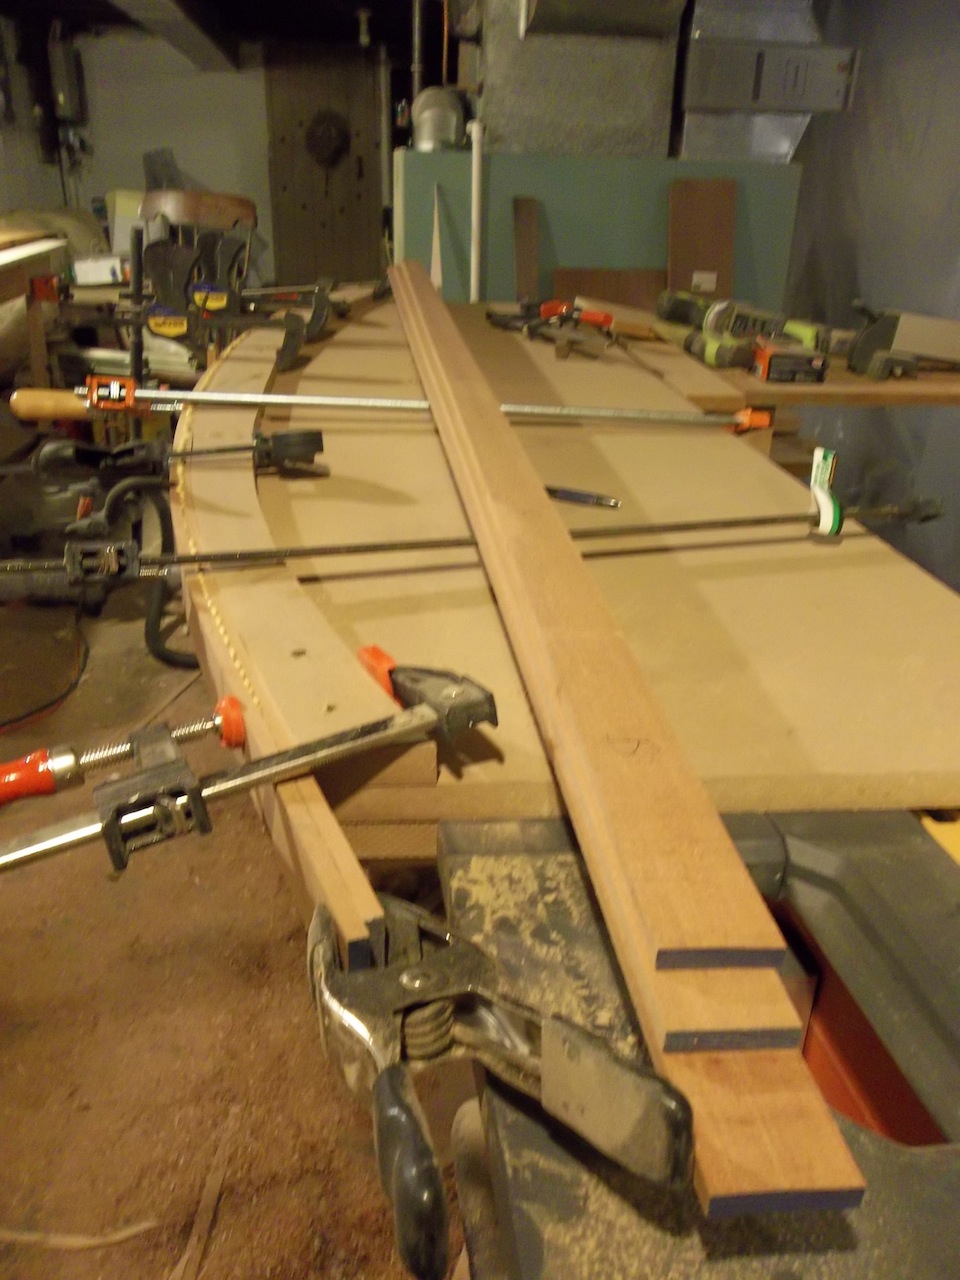
I created the large arch at the top by taking a sheet of MDF and creating the arc with a piece of scrap wood. Because this arc doesn’t always come out uniform and I needed more surface to clamp to, I cut it 3 times with a jigsaw, screwed them together with one of the curves backwards and sanded it uniform. This allowed the high points and low points on the curve to be evened out. I then clamped in place one 1/4″ strip of African Mahogany I had ripped and glued another piece to it. When it dried it held the curve. I continued this process until I had 6 pieces of mahogany glued to make a 1-1/2 x 1-1/2 curved piece. I chamfered all the edges and using my router and edge guide, I slowly cleaned out a 3/4″ deep recess along its maximum needed length and then cut the scrap from both sides. I used this piece to mark the final curve on the main board and cut that curve.
When all the pieces were cut, I was so ready to cut the groove into the legs and glue them together but discovered that in order to make the headboard fit, I would have to cut down the thickness of the Walnut at the ends, otherwise it would be almost the same thickness as the legs. I used a hand plane, sandpaper, scraper, pull-saw, and just about anything else I could to cut it down to where I needed it.
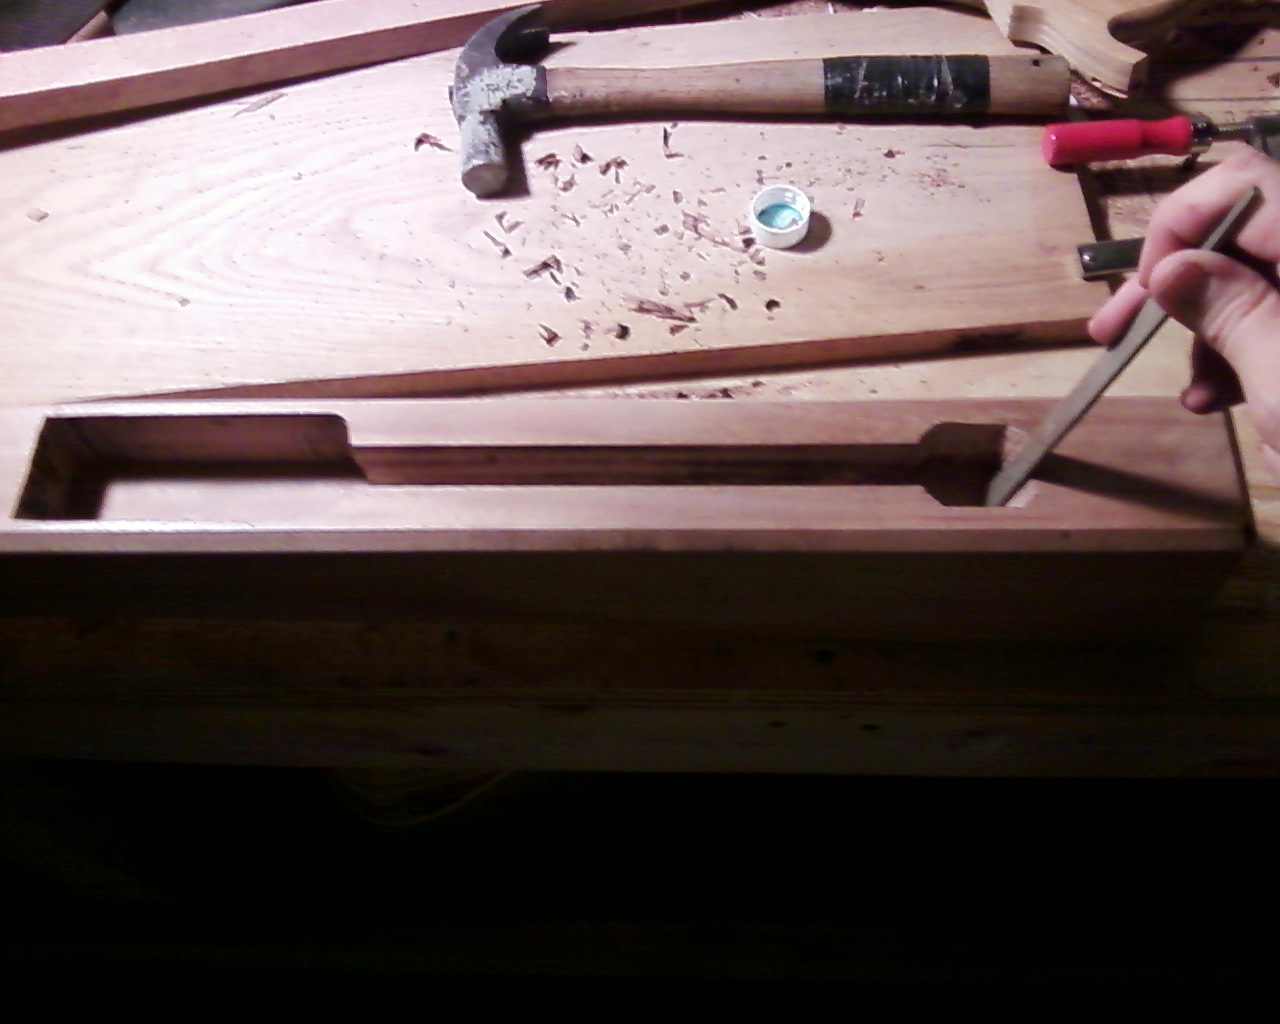
I then placed the legs against the headboard and drew the outline of the headboard and top rail on the legs leaving a 1/4-inch gap between the top of the headboard and the inside top of the rail so the wood could expand but still fit together. I finally began the last long process of carving out the legs 2″ deep with a router and chisels which were needed to get the angles for where the curved top rail enters the legs.
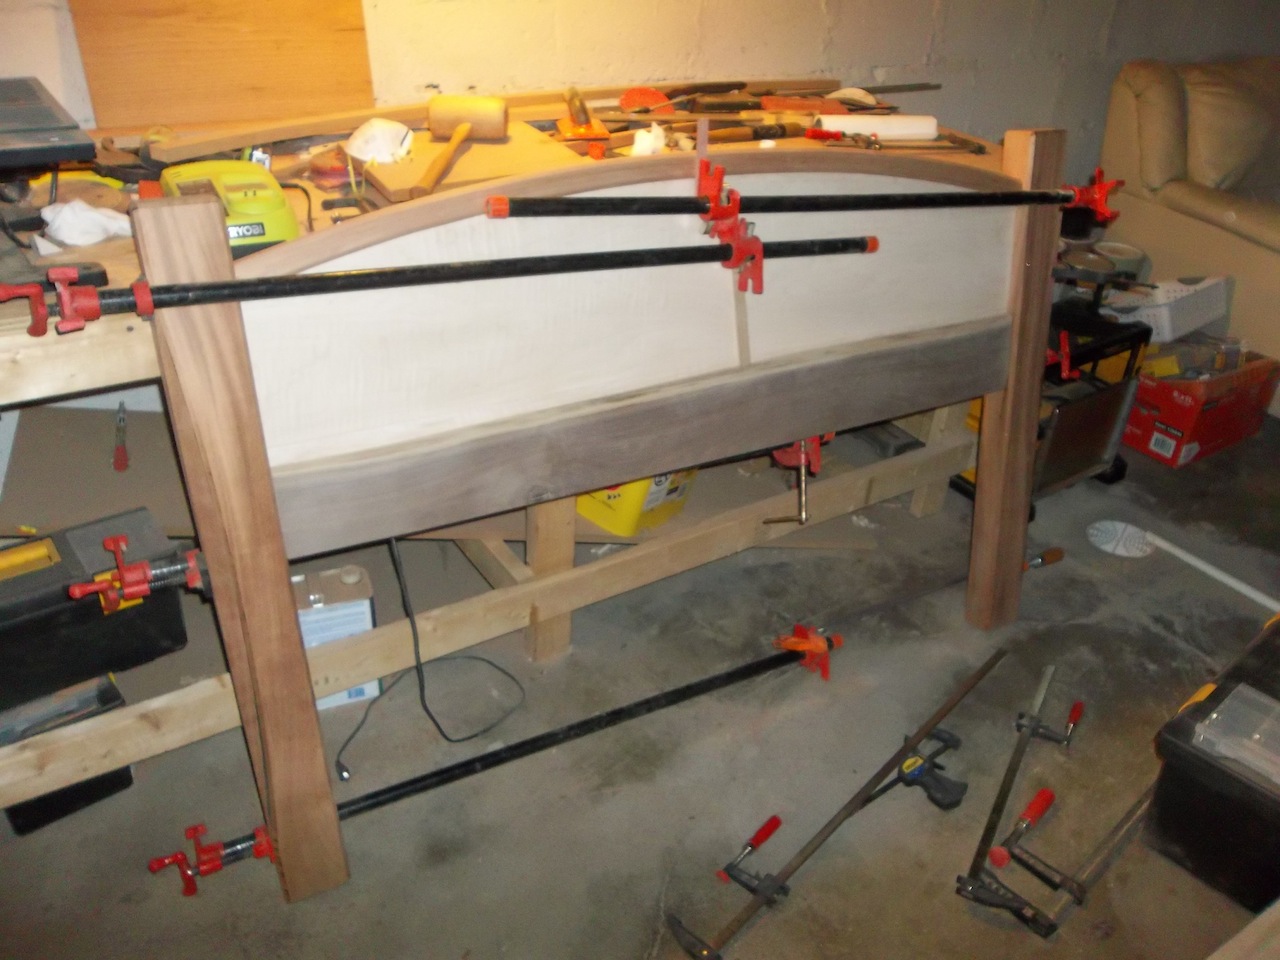
I raised the grain with water and gave it a final sanding. I glued the bottom of the headboard ‘tongue’ as well as the outside of the top rail. There was plenty of contact to ensure a strong bond while still allowing the maple to expand/contract into the top rail.
I was very pleased when I removed the clamps. There was no warping, it was the exact length I needed, and stood upright on its own! I gave the whole thing a low-high sanding, finishing at 600 grit before soaking it in Boiled Linseed Oil for 15-min then wiping the excess off. This brought out so much of the character of the wood, it really made the Curly Maple and Honduran Mahogany POP! I then applied 3 coats of shellac, lightly sanding between each coat, and then sprayed a few coats of Glossy Lacquer for a final finish!
Using simple bolts from Home Depot, I drilled the holes and mounted it to the frame. It made a great present that I barely finished in time. I must say I learned a lot on this project. Working with these woods, I can’t wait to use them again…maybe next time for a foot-board!
Advertisers


