Michael’s Roubo Workbench
Viewer Project
-
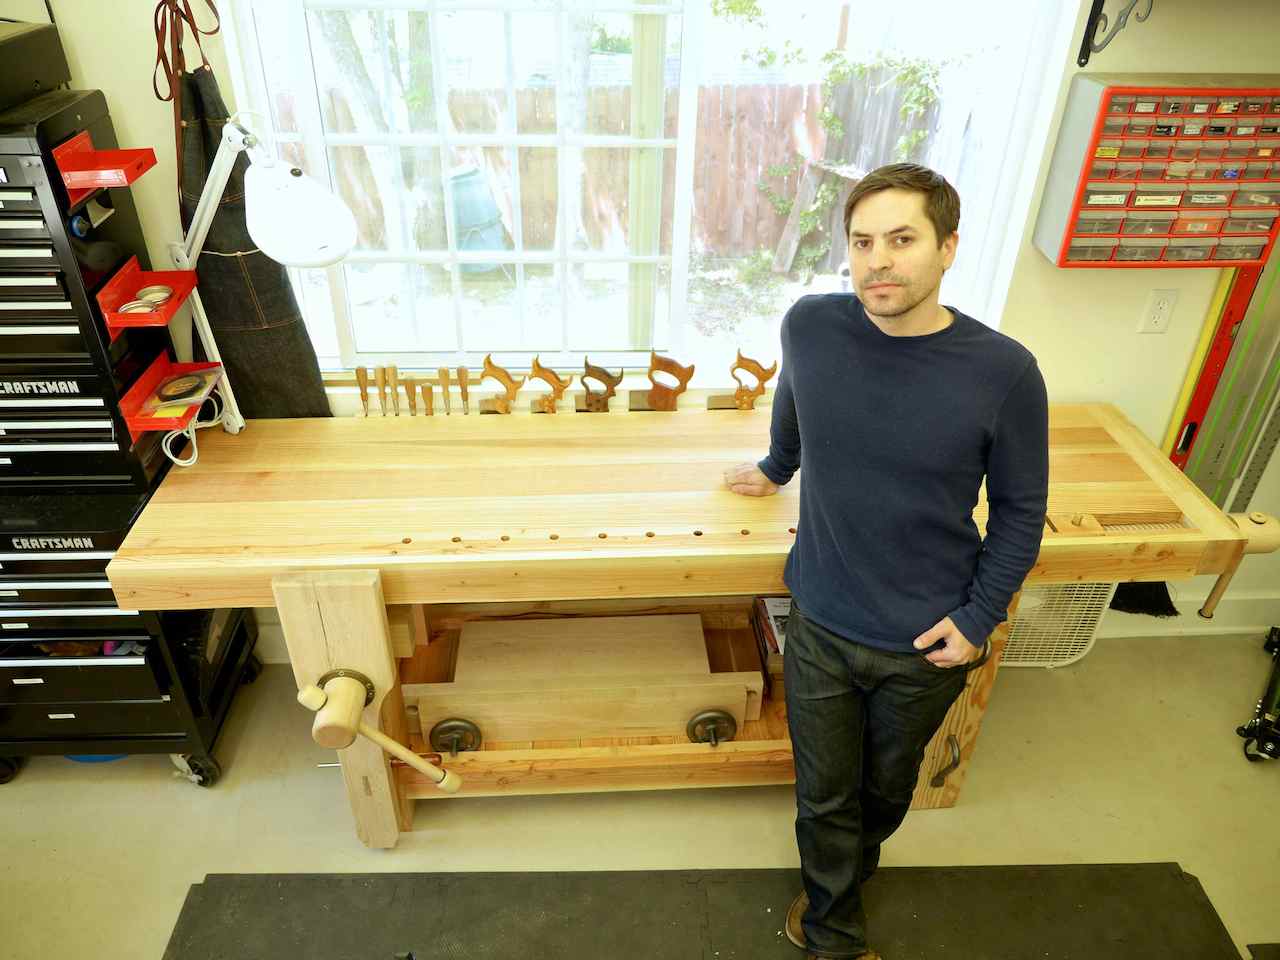
By Michael Corwin from Los Angeles, CA
Added on February 23, 2014
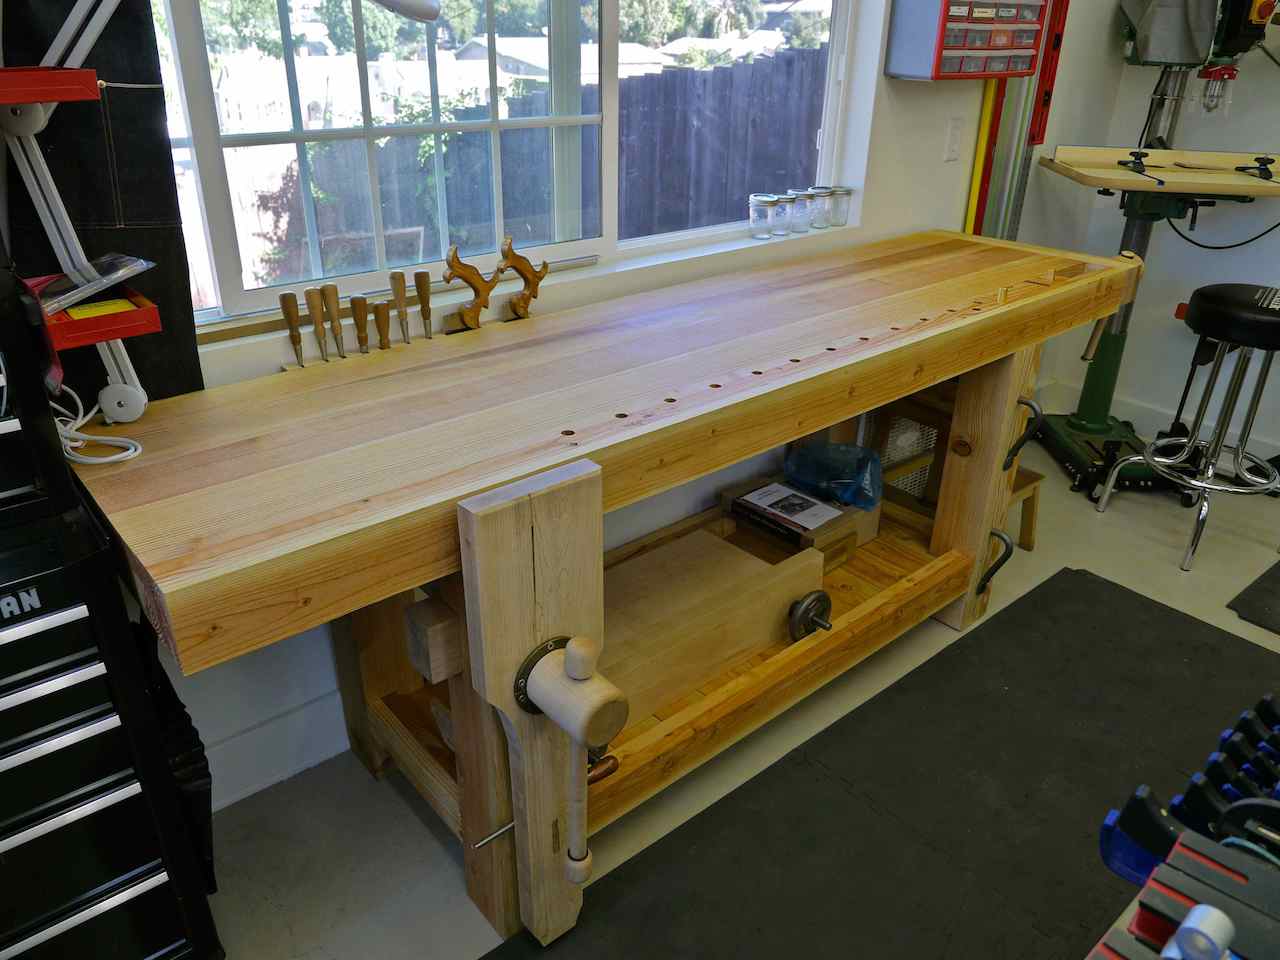
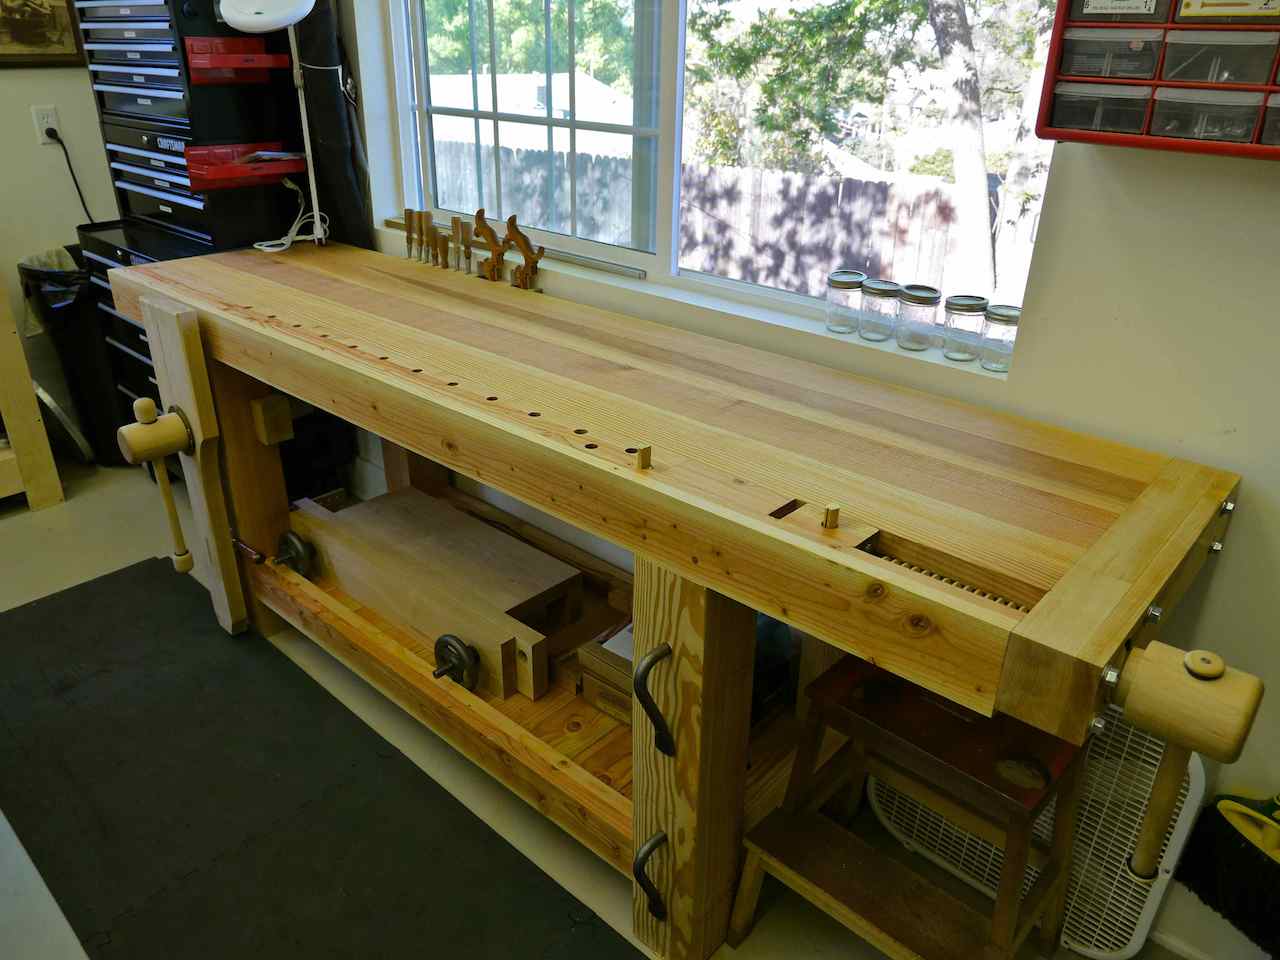
This is my recently finished Roubo workbench. I’ve never had a workbench before and I decided on the Roubo for its utilitarian nature, ease of work-holding, and somewhat beginner-friendly construction.
For the construction of the top and legs, I used 6×6 construction-grade Douglas Fir beams that I picked up locally, and 2×6 Douglas Fir for the aprons. The leg and wagon vise chops were made of hard maple, as was the chisel/saw rack. After milling all the wood with both hand planes and my combination jointer/planer machine, I used dowels for registration before gluing everything up. Tenons for the legs were cut on the table saw and cleaned up with a router plane, and all mortises were done by a combination of router and chisels.
The vise hardware came from Lake Erie Toolworks and after some tedious finessing, I was able to get both the leg and wagon vise to operate smoothly and accurately (wax is your friend!). For the final flattening of the top, I decided to use Marc’s method of riding a router rails as featured on the TWW website. This video was a godsend after many hours of pre-flattening the top with a series of hand planes and the entire process of final flattening went off without a hitch, especially considering there was some major twist in the top after glue-up.
For the finish I used the 3-part boiled linseed oil/mineral spirits/poly that I’ve used on almost every other project I’ve done. Overall I’m extremely happy with how the bench came out, warts and all! I was able to employ hand tool techniques for the first time in my young woodworking journey and I learned that being a “hybrid woodworker” is definitely what I want to be in the future. Special thanks to Marc for his Guild videos on the Roubo build, as well as Shannon from The Renaissance Woodworker for all the help in making this bench. Happy woodworking to everyone!
Advertisers


