Michael’s Leaning Ladder Shelf
Viewer Project
-
By Michael Obrycki from Livonia, MI
Added on November 6, 2015
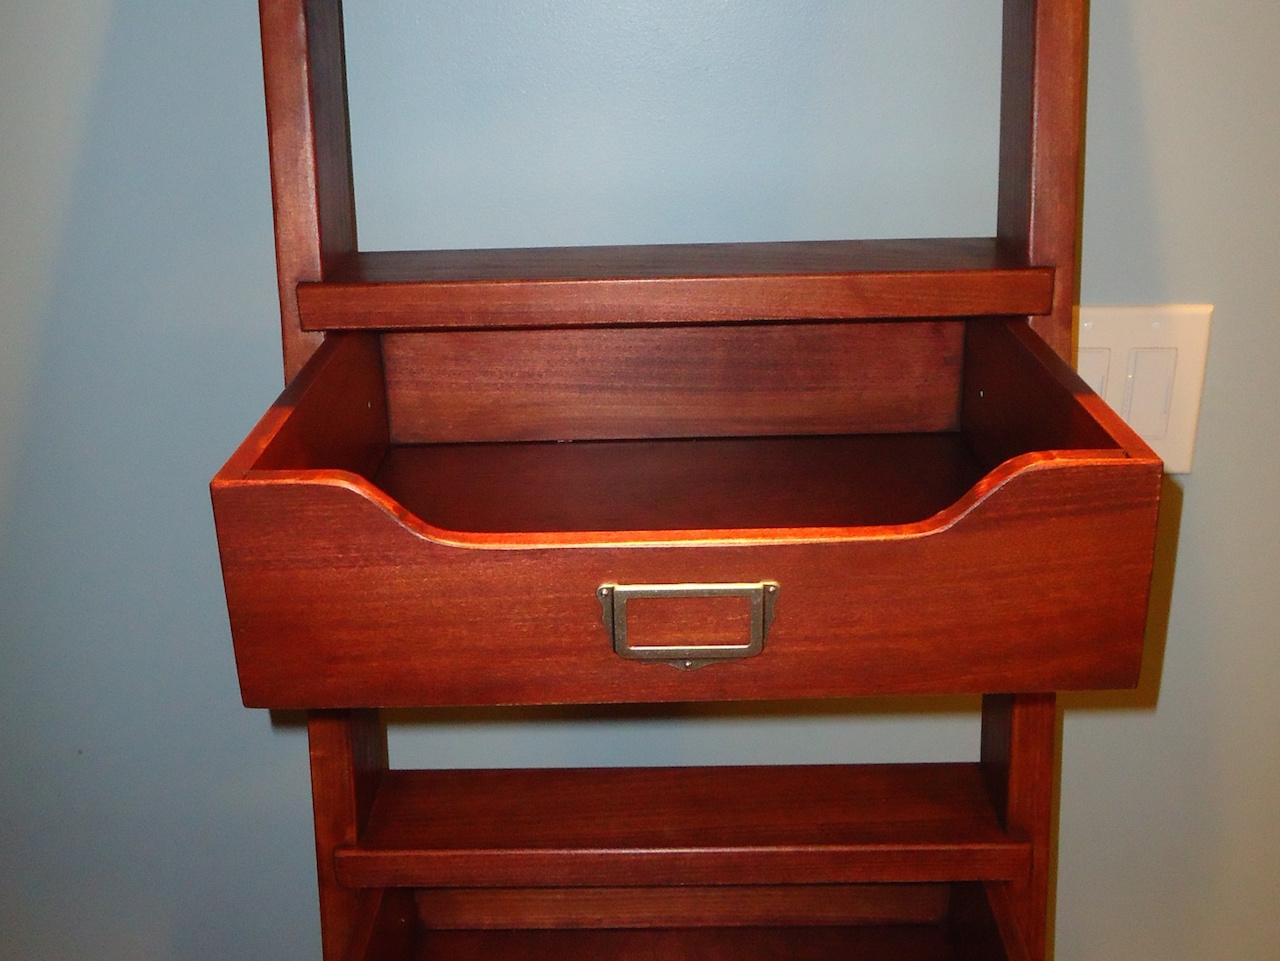
I’ve done plenty of DIY home improvement projects that included some level of minor woodworking, but this was my first attempt at a piece of “real furniture”. It is a leaning ladder shelf of which I found the plans for in an old copy of Woodsmith magazine. I thought it would be pretty simple for my first piece as I am a novice woodworker. Needless to say, it threw many challenges my way!
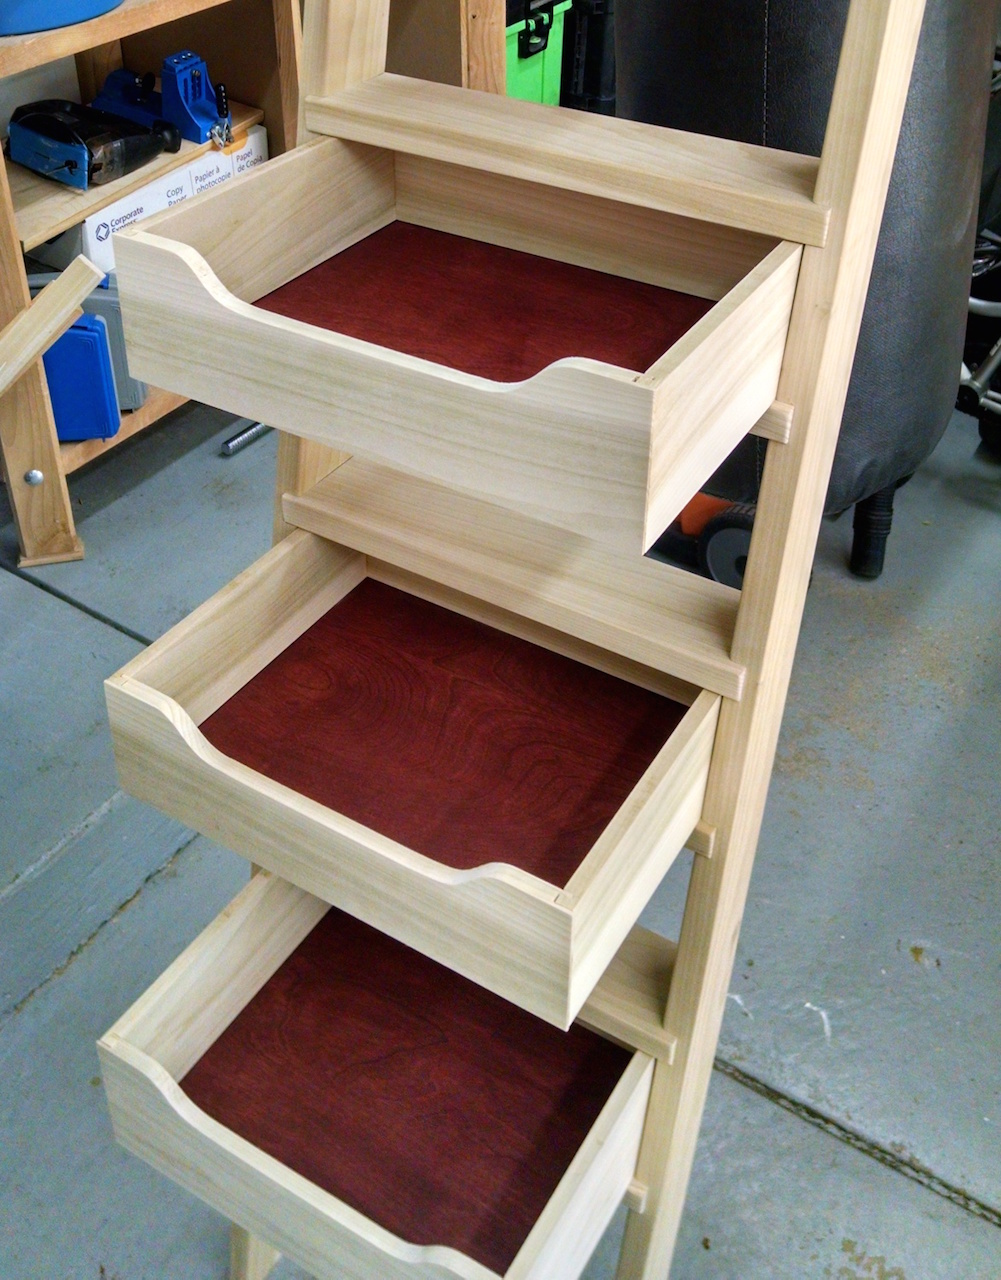
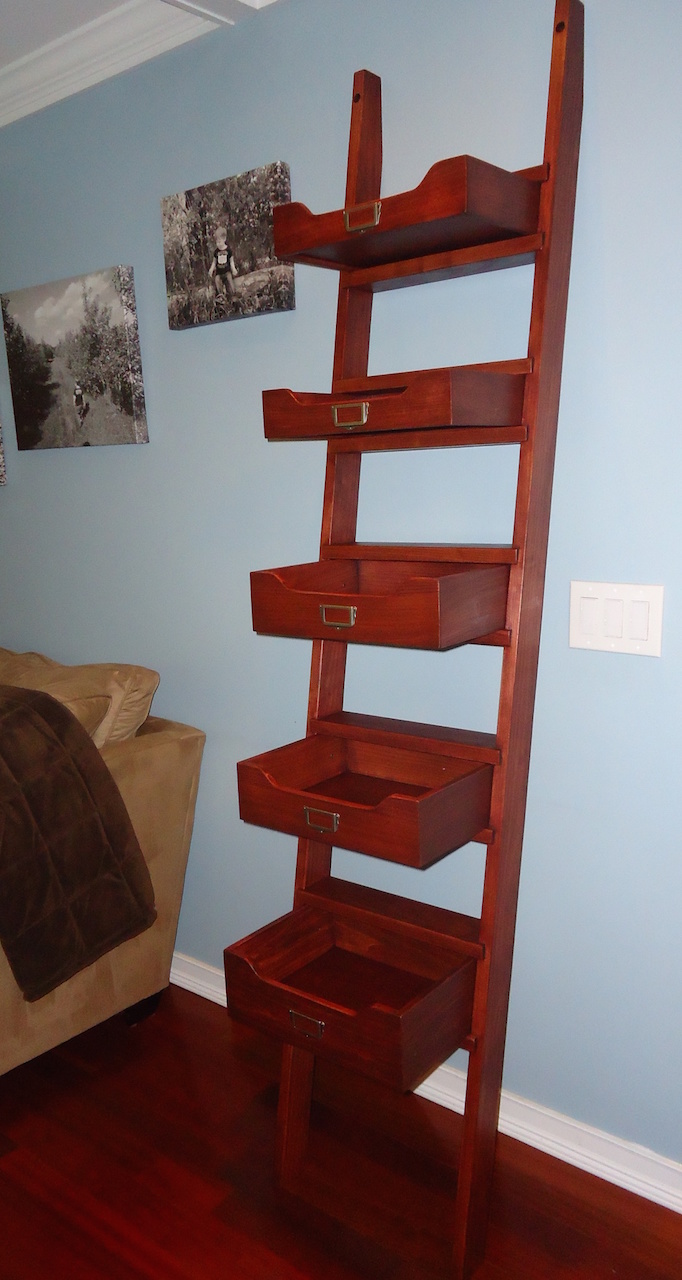
The ladder consists of 10 “rungs” that are set up in pairs of 2 that help to secure each of the 5 enclosed shelves. It leans at a 10-degree angle against the wall; so I had to cut the top, bottom, and back (at top) to 10 degrees, as well as each of the dados for the rungs. I made a jig for my router that I could reference against the sides of the ladder to cut all of the dados.
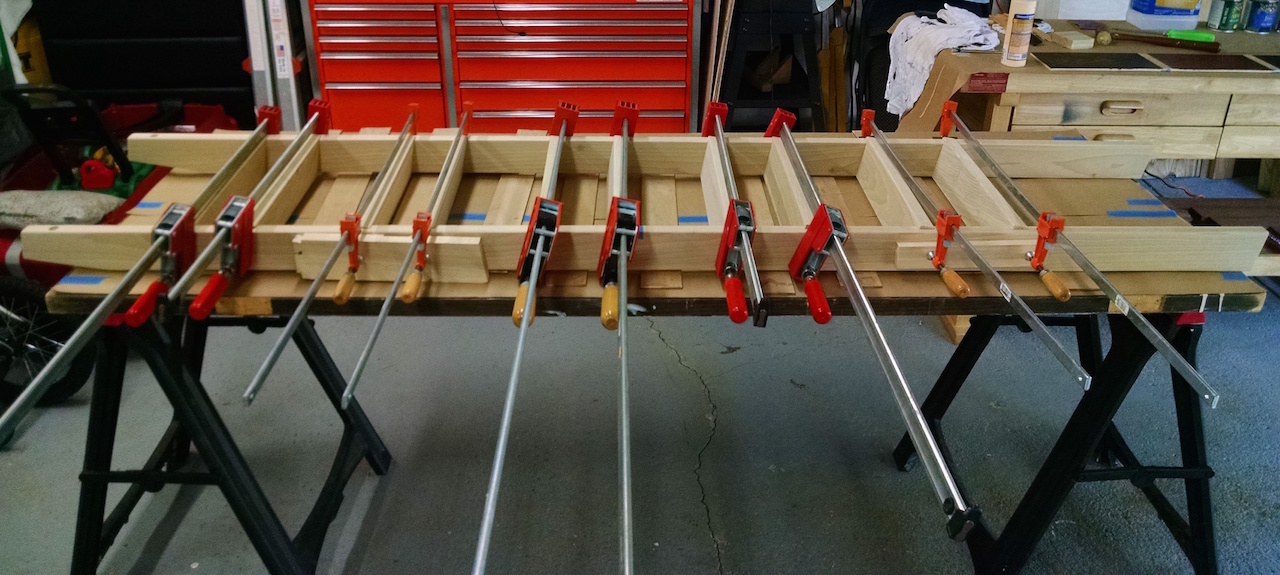
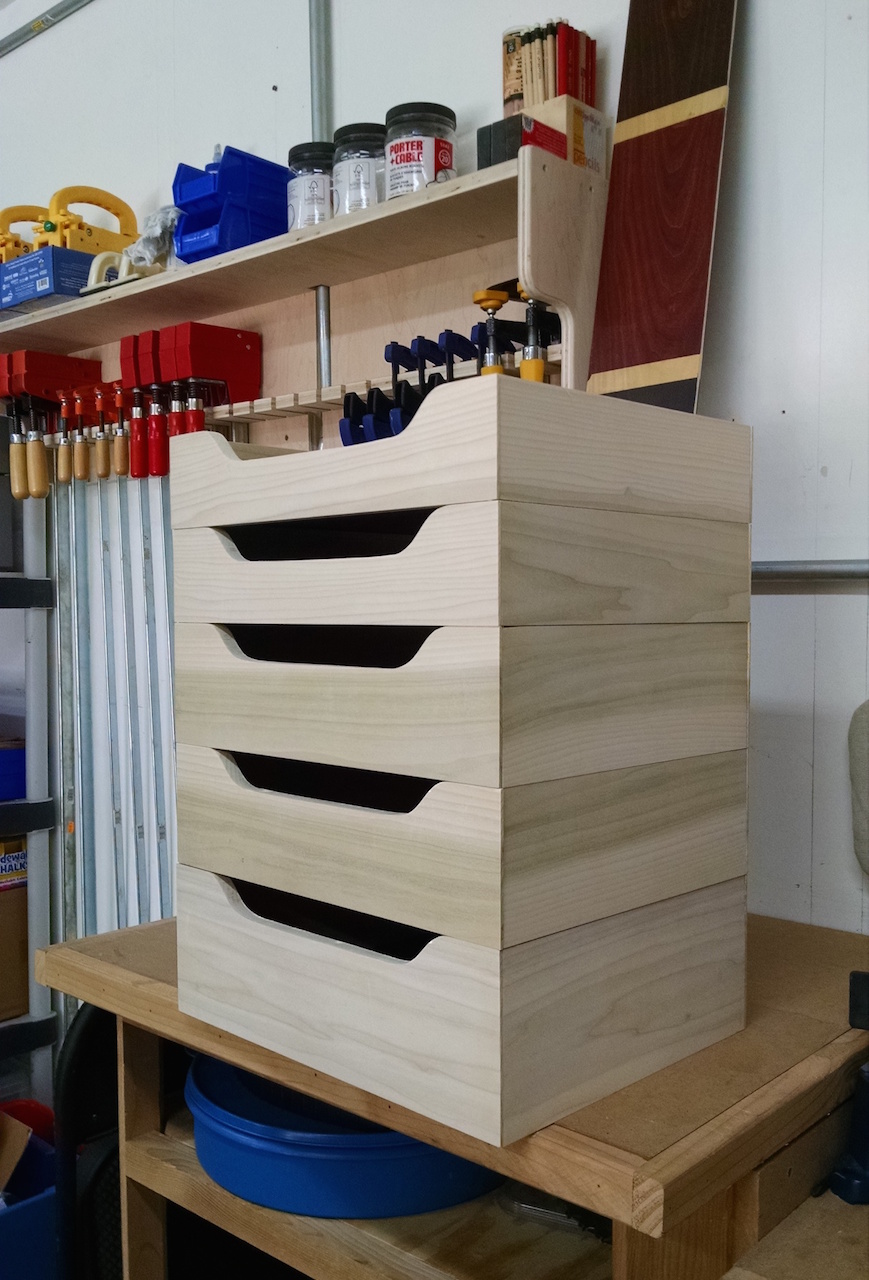
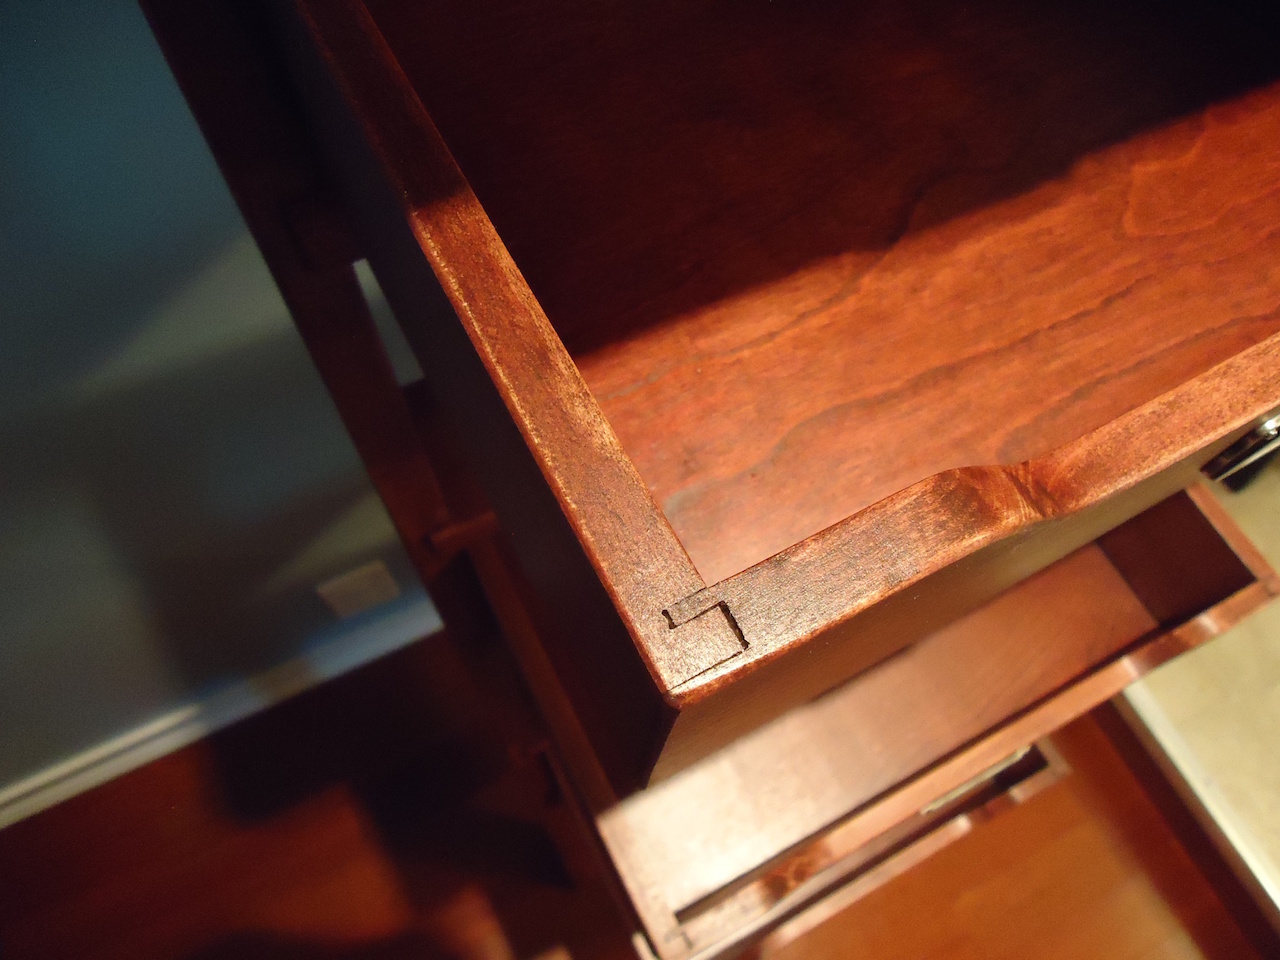
There are 5 enclosed shelves of 3 different sizes: the bottom being the largest; the middle 2 slightly smaller; and the top 2 being the smallest. They were constructed using locking rabbet joints and have a 1/4″ birch plywood panel floating in a groove along all 4 sides. The locking rabbets were probably my biggest challenge of the project (these were a first for me). It took quite a while for me to get an accurate setup on my little job-site Ryobi table saw for each of the cuts. My test pieces came out nice, but as I was cutting all of the shelf parts, it must have tweaked a bit because the pieces were fitting extremely tight. I ended up finessing the fit on each of the parts with a chisel. The locking rabbets aren’t perfect, but I’m satisfied with this being my first attempt.
I ended up using poplar for this project; I wasn’t quite ready to work with a nice hardwood just yet. The ladder and rungs were milled to 1″ from 5/4 rough stock. The shelf parts are just over 1/2″ thick milled down from some 3/4 S4S stock from my local home center (I didn’t think it would make sense to mill down a 4/4 board to 1/2″). For the finish, I started with General Finishes gel stain (Georgian Cherry) and followed up with several coats of satin Arm-R-Seal. I ended up staining the bottom panels of the shelves prior to assembling them so that there would be no chance of any unfinished wood being exposed.
In the end, I was quite pleased with the final outcome. I learned many lessons that I will be able to apply to future projects, that’s for sure.
Advertisers


