Jim’s End Tables
Viewer Project
-
By Jim
Added on July 30, 2009
This is my most ambitious furniture project to date and one I am verrry happy to be finished with. Needless to say, my wife is happy also. She wanted two new end tables to replace the nice, but 30 year old ones we had in our living room. I began working on design ideas over a year ago passing ideas by the “customer” and after getting approval of preliminary design concepts, began some serious layout and prototyping. I constructed a full-scale prototype of the base with a piece of plywood for the top, for the purpose of determining suitable scale, proportions and some style ideas, like the coves on the aprons. The basic lines of the frame are very close to a couple of hall tables I built for my wife and for my daughter-in-law. Jane wanted it to be dark but not too reddish, and I wanted to see nice grain pattern so I chose walnut.
But rapid completion was not to be. Other high priority projects took precedent and extended the completion to the point of ridiculousness. And working intermittently kinda hurts my head trying to get back into it. Ever have that feeling? Then there are the cold winters in Virginia that make it tough to work in the garage. A few shop/tool improvements over the last 6 months of ’08 helped make things go much better. Specifically, I bought a used Grizzly 6″ jointer, a new Steel City table saw, a new Triton router with above table height adjustments, built a router table and fence, and a band saw fence.
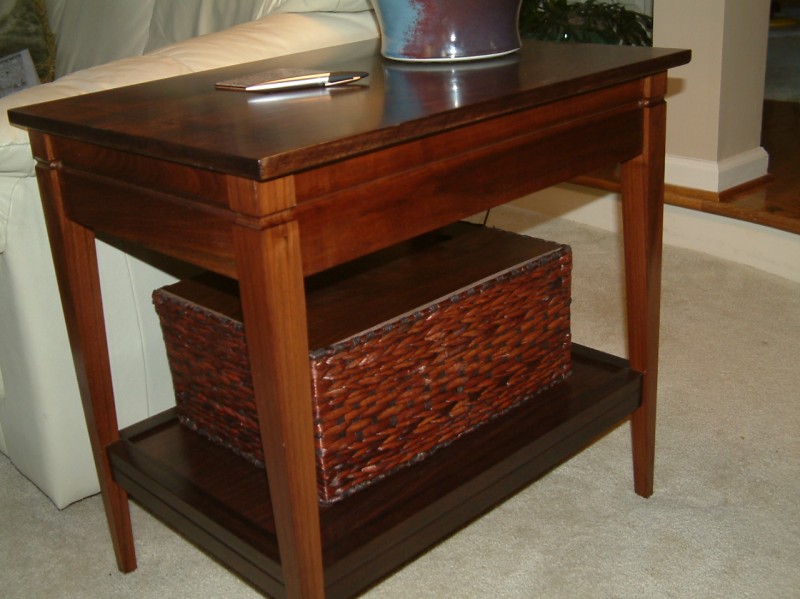
The pictures are different perspectives of one of the tables showing the tapered legs and the coves. Everything but the shelf platforms are solid walnut. The shelf was an “oh, yeah, we need a shelf” idea which wasn’t part of the original design plan. Since I had already built the bases, the shelves turned out to be quite a challenge to come up with a way to mount them. The shelf fits in a dado in the shelf support aprons. I mounted the aprons, both for the tops and for the shelves with pocket screws.
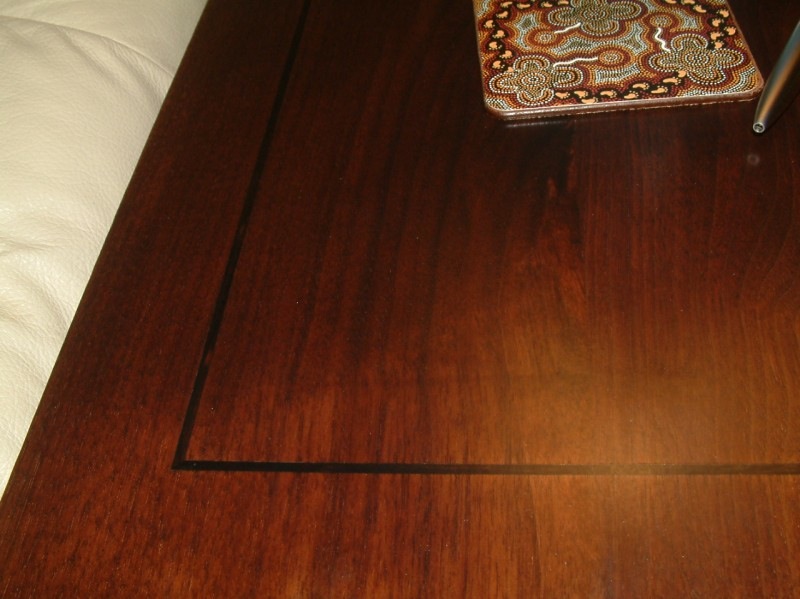
My wife found the baskets at Michael’s on sale for $10 each. I made a simple walnut plywood lid with finger holes that sit snugly in the top of the basket to hide the junk. The final touch is the ebony inlay. I thought it would add a lot to the top but had never done anything like it before. With much trepidation, but bolstered by Marc’s advice on more than one occasion, it actually worked out pretty decent.
The finish was as follows:
* Wiped on TransTint Dark Walnut in distilled water, applied twice, then very lightly knocked down the grain with 400 grit.
* Wiped on SealCoat (dewaxed shellac) to seal the water-based dye.
* Brushed on 3 coats of General Finishes Water-Based Polyacrylic Semi-Gloss.
* Sprayed on 2 coats GF WB Poly Satin.
The WB Poly was something else I had never tried before but once again Marc’s advice got me going. I owe a big thanks to Marc for his advice, and my wife for her patience and design ideas.
Advertisers


