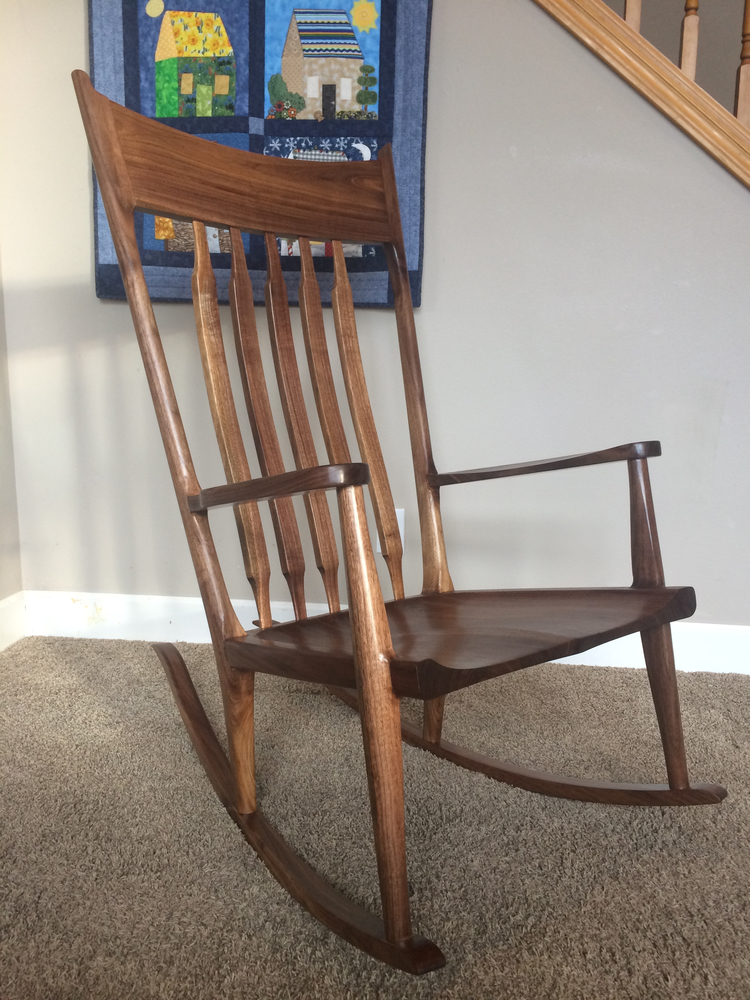
Jens’ Serenity Rocker
Viewer Project
-
By Jens Olson from Idaho
Added on August 4, 2014
This project was first thought up by my father, David Olson, 30 years ago when he went to a Sam Maloof workshop and saw Sam’s Sculpted Rockers. He made a rocker back then while he was a full time furniture maker, but the bug of sculpted rockers stayed with him over the years. It finally came to a head last year when my father and I decided to re-open Olsons WoodWorks. First thing we did was buy a big CNC machine and then the two first projects on the docket where a sculpted rocker and a low back dining room chair (which he had been promising my mom for years).
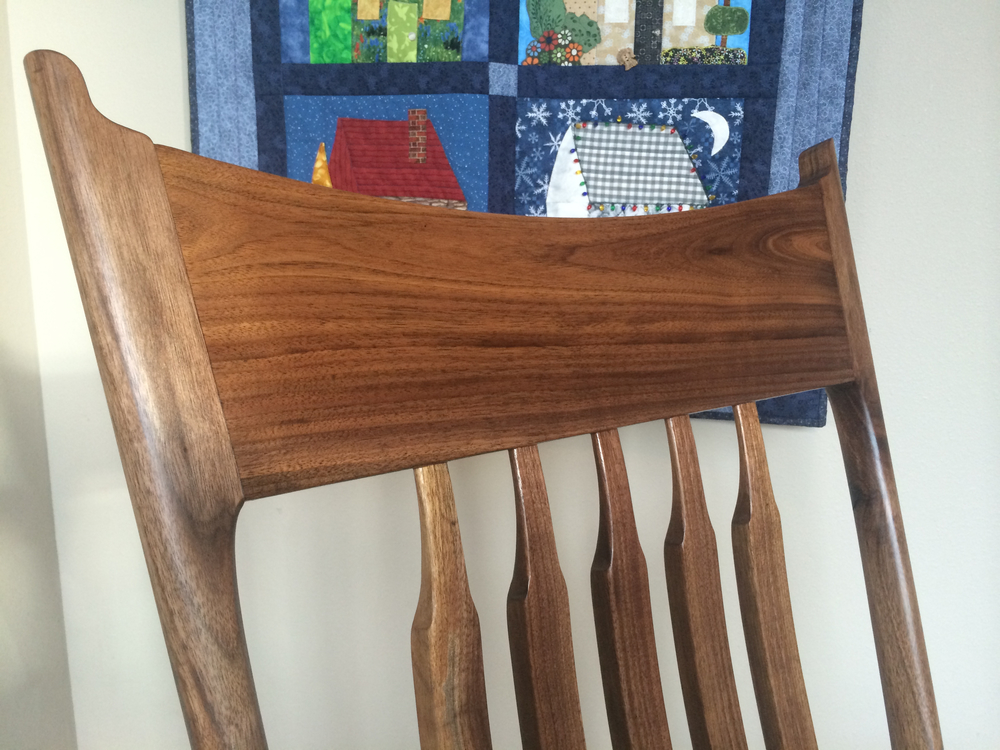
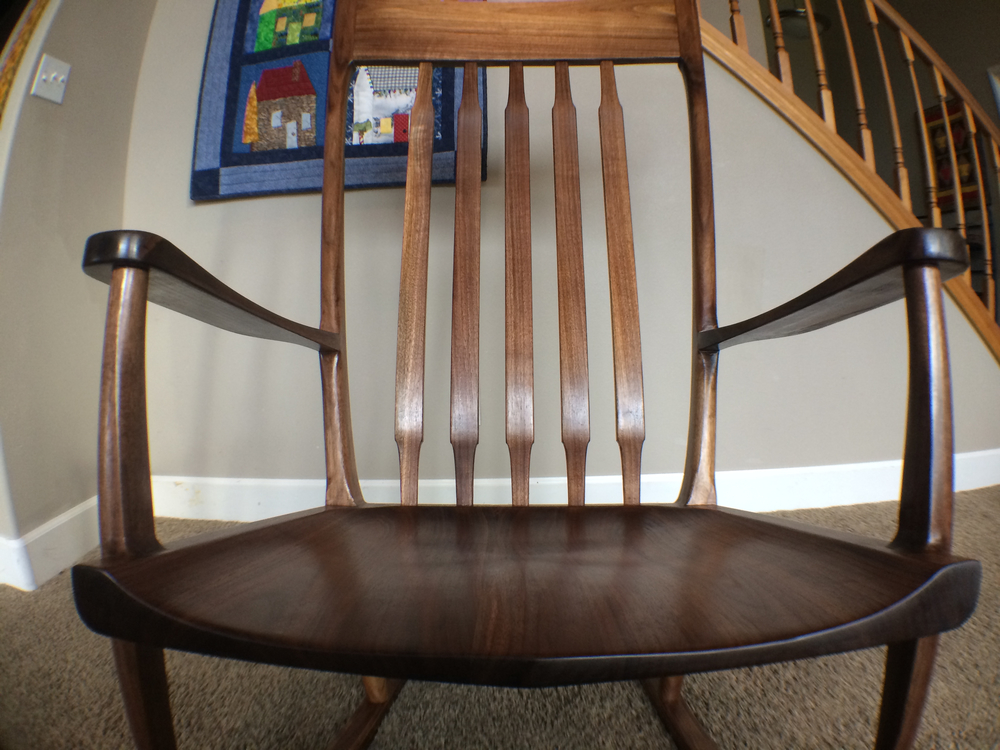
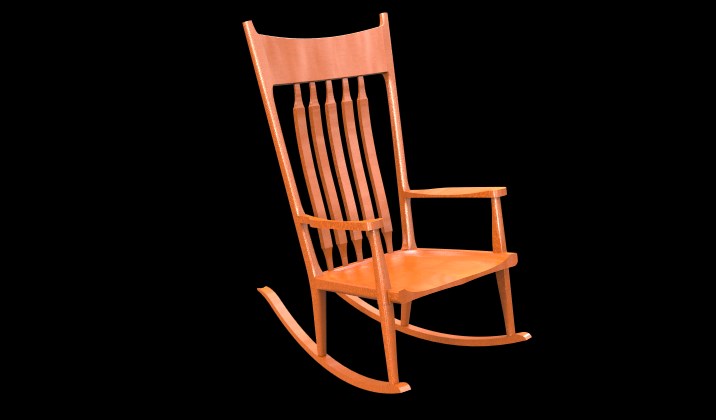
We started off drawing up, or is it clicking up, a 3D mockup in Rhino (see photo). After the chair was modeled it was time to figure out how to actually cut/machine the chair. It probably took a month of prototyping to get the CNC accurately cutting out each of the parts. Some parts where easy to program, like the arms and the seat. For those it was just programing in the 3D contours and hit go. One prototype and they where ready. Other parts like the back legs proved to be much more challenging. Those parts took the most prototyping but also offered the most learning.
With a part like the back legs, we wanted to CNC the two legs nested in order to save wood and time. But it took time to figure out how to get the best finished surface and make sure they where held securely together so they could be flipped to do both sides. We ended up using a round over bit for the outsides of the legs and 3D carving the insides. This gave us reliable results, quick cut times, and didn’t compromise our design.
It takes us about a day and a half to get the lumber milled and cut on the CNC. After that we cut the Maloof joints on the back legs, using the table saw as there is no easy way to do the precise compound cuts on the CNC. Then a couple hours of final sanding and fitting and the chair is ready for assembly. Off the CNC, most parts are pretty clean and a little bit of 220 grit sandpaper on a random orbit sander is all that’s needed. Assembly was pretty easy we just took one joint at a time and drilled, screwed and plugged.
As for finishes, we used the traditional Maloof Oil/Poly and Oil/Wax, 3 coats of each with some light sanding in-between and that is it. It took us two months to get the design and the first one done, but we can now produce two a week.
Advertisers


