Charger’s Adirondack Guide Boat
Viewer Project
-
By Charger
Added on June 5, 2011
In the summer of 2009, my wife and I went camping up in the Adirondacks for a week with friends. While there we attended a book signing of Adirondack Authors in Long Lake, N.Y. My wife bought a book by John Michne & Michael Olivette called “Building an Adirondack Guide Boat”. I asked her what she wanted me to do with it because the print was so small I couldn’t read it since I am legally blind. She said and I quote, “Build the damn boat!” We went over and talked to John and he reassured me that I have enough talent to build it.
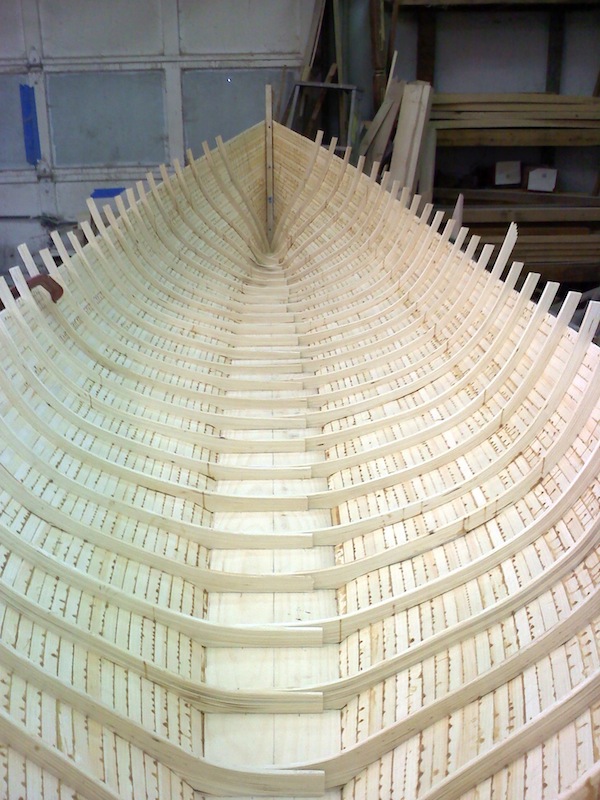
Well this past February I started the build. I had to cut over 300 lamination strips that were 1/8″ thick x 33″ x 1 3/4″ for the rib blanks. It took me a good five weeks of gluing and clamping the strips together to form the rib blanks. Each blank would make 4 ribs and I needed 52 so you can see how it would be time consuming.
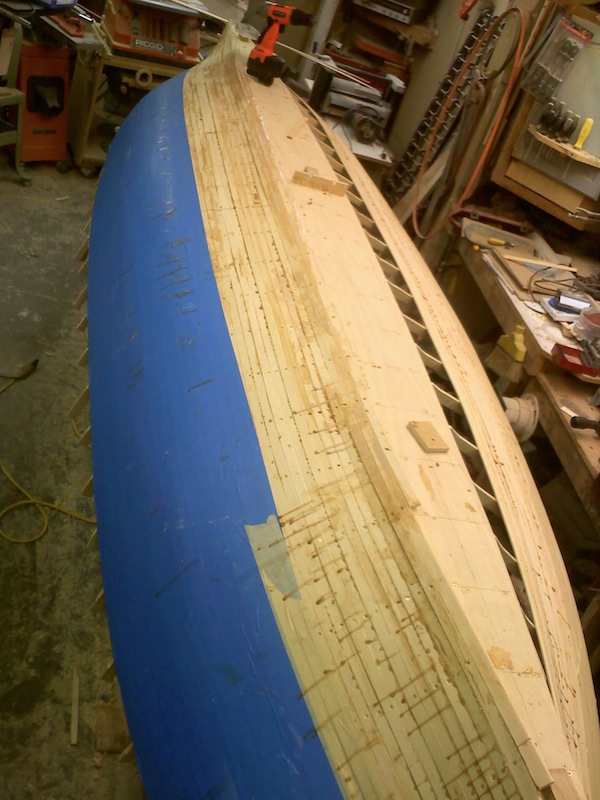
After the ribs were completed they were ready to install onto the bottom board made with select pine. Below you can see where the point when I had 16 strips installed. I was only able to attach 5 strips per day so it took me a while to complete the hull. The next picture shows one side of the hull done. After the strips were all installed I installed the Cherry Outer Stems.
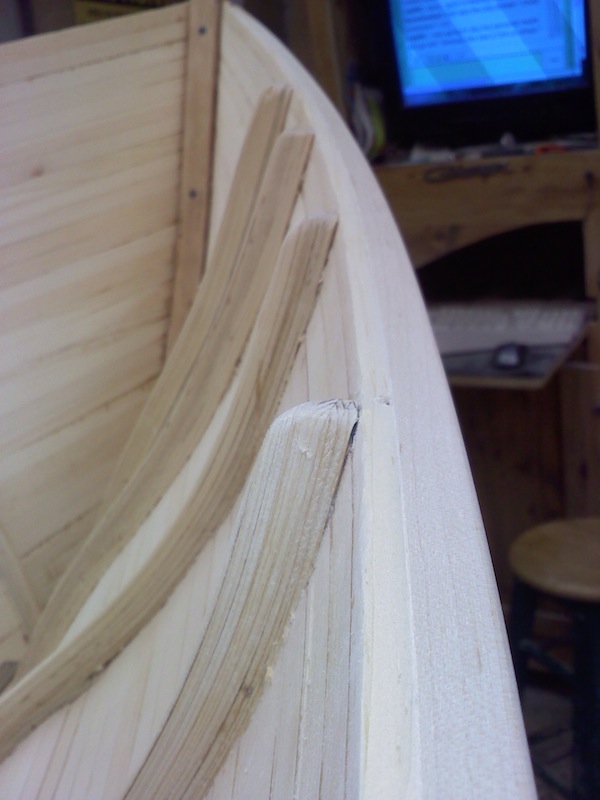
Then the big day , I took the boat off the assembly stand and was able to see the inside for the first time. I just started to shake my head. The excess glue had run down from squeeze out of the strips in between the ribs. That meant I had to clean all that out. It took one complete week to do that; scraping and sanding in between each rib. When that was done I trimmed the ribs to there final length and fitted the gunwales to the boat.
Looking for a really good Varnish for the boat I did a lot of research. I found this product that is made in France and has been for over 100 years. It is a Linseed oil,Tung oil based Varnish. It is called Le Tonkinnois. Pronounced ( Lee Ton Kin Wha) I found a dealer that was in N.Y. and ordered 2 qts. of it and 1 qt. of their Bio Primer Varnish. I was told that the primer would soak through the wood even though it was 3/16″ thick. I was thinking, “Yeah right” but to my surprise, IT DID. That made me feel pretty good about the sealing of the wood. Then I coated the inside with their Classic Varnish with three coats.
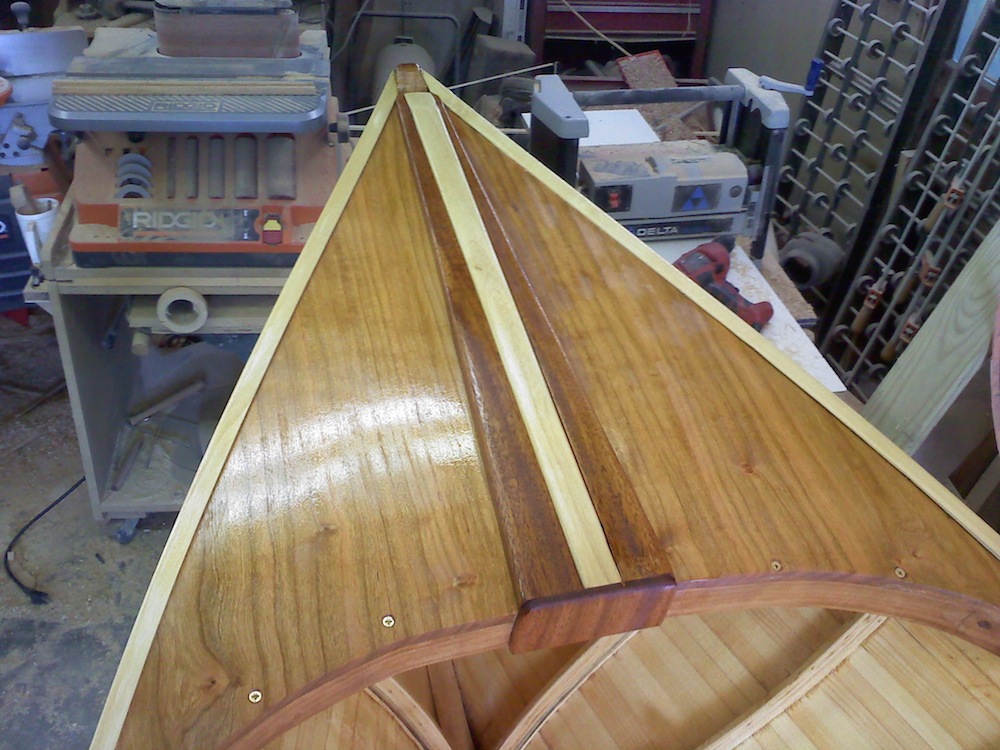
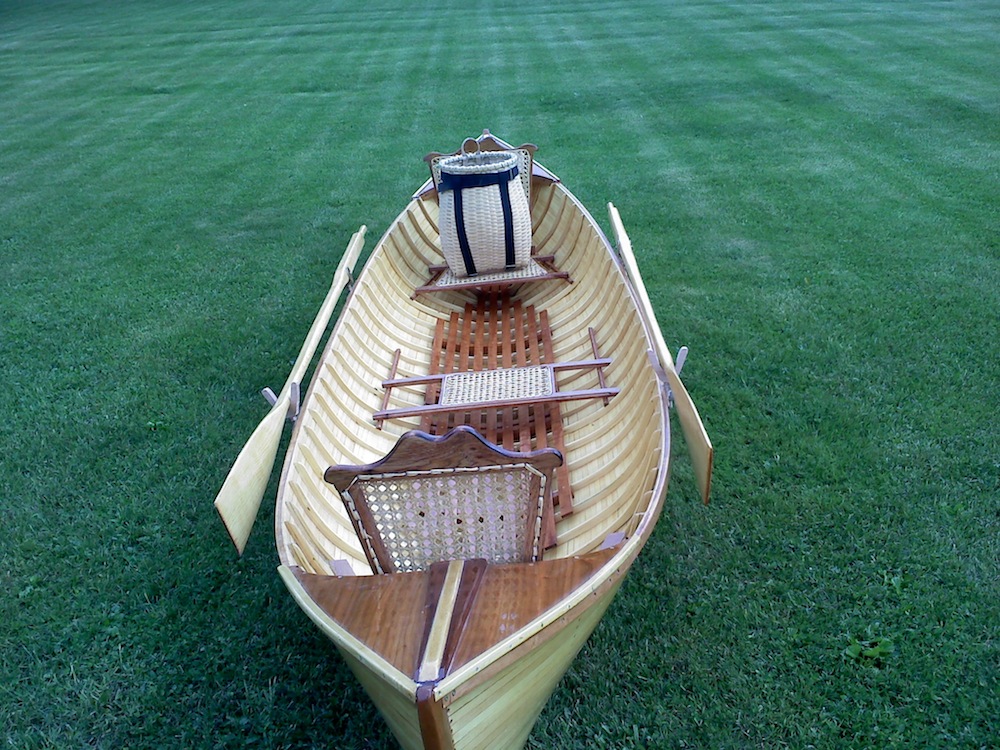
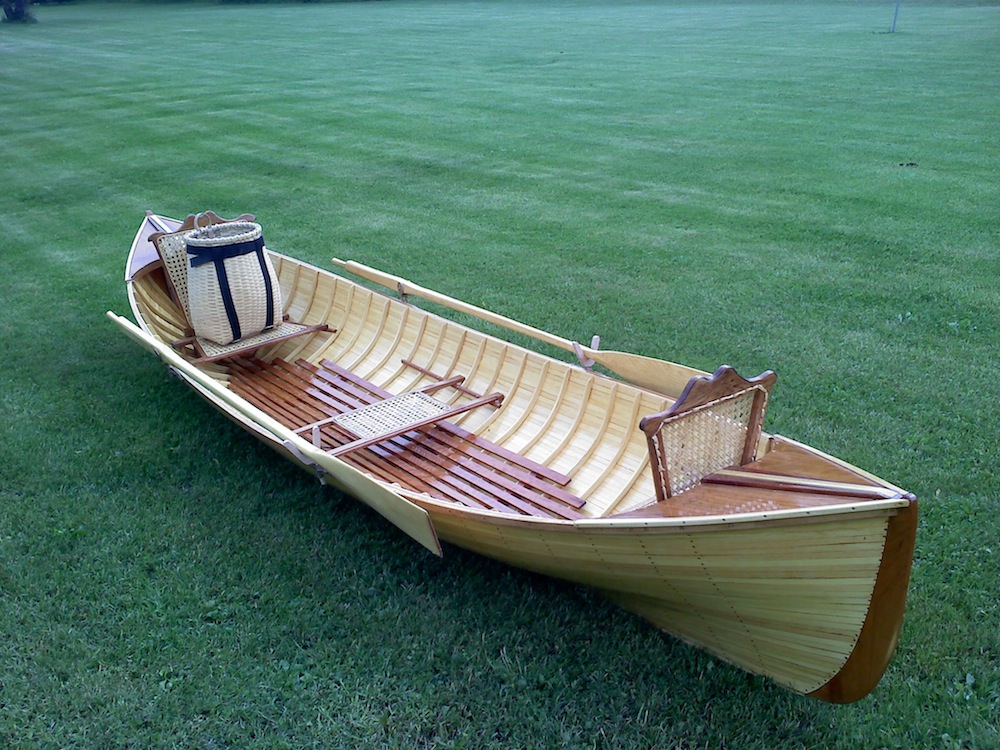
Next up was the making of the decks. I made them with Book Matched Cherry, Mahogany & Maple. The following thing that was done was the varnishing of the outside of the hull and the decks. 1 coat of primer and 3 of the classic. I then made the Hard Maple Shoes to protect the bottom board. With their completion that marked the finishing of the main structure. I then started the seats, made with Maple I drilled a series of holes around the inside perimeter for the caning process. It took me 7 hours per seat piece to cane them all. I broke every finger nail on both hands doing that caning but it was worth it.
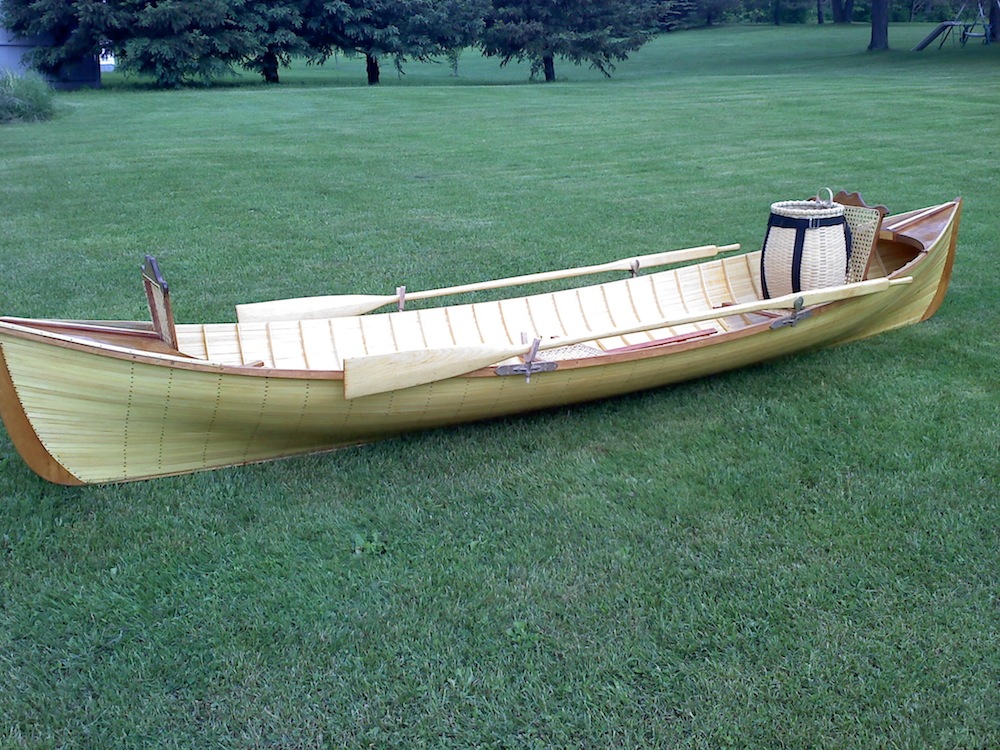
In the last 3 pictures you can see the completed Guide Boat. It took a total of 470 Hours, 2280 brass screws, 3- 3/4″ x 10″ x 16′ Pine Boards, 1- 3/4″ x 10″ x 14′ Pine Board,1- 3/4″ x 12″ x 60″ Cherry Board, 1- 3/4″ x 8″ x 48″ Mahogany Board, 1- 3/4″ x 6″ x 60″ Maple, there are over 1000 feet of glued joints on the boat and my arms are now stronger then they have ever been from all the sanding, scraping, shaping, planing (that’s right paning), and hand cutting wood. I have also created two video links of the boat in the water. The first is the Water Test to check for leaks. The second is the actual Maiden Voyage.
Checking For Leaks
The Maiden Voyage
Advertisers


