Adam’s Tool Cabinet
Viewer Project
-
By Adam Barnett from Los Angeles, CA
Added on November 29, 2012
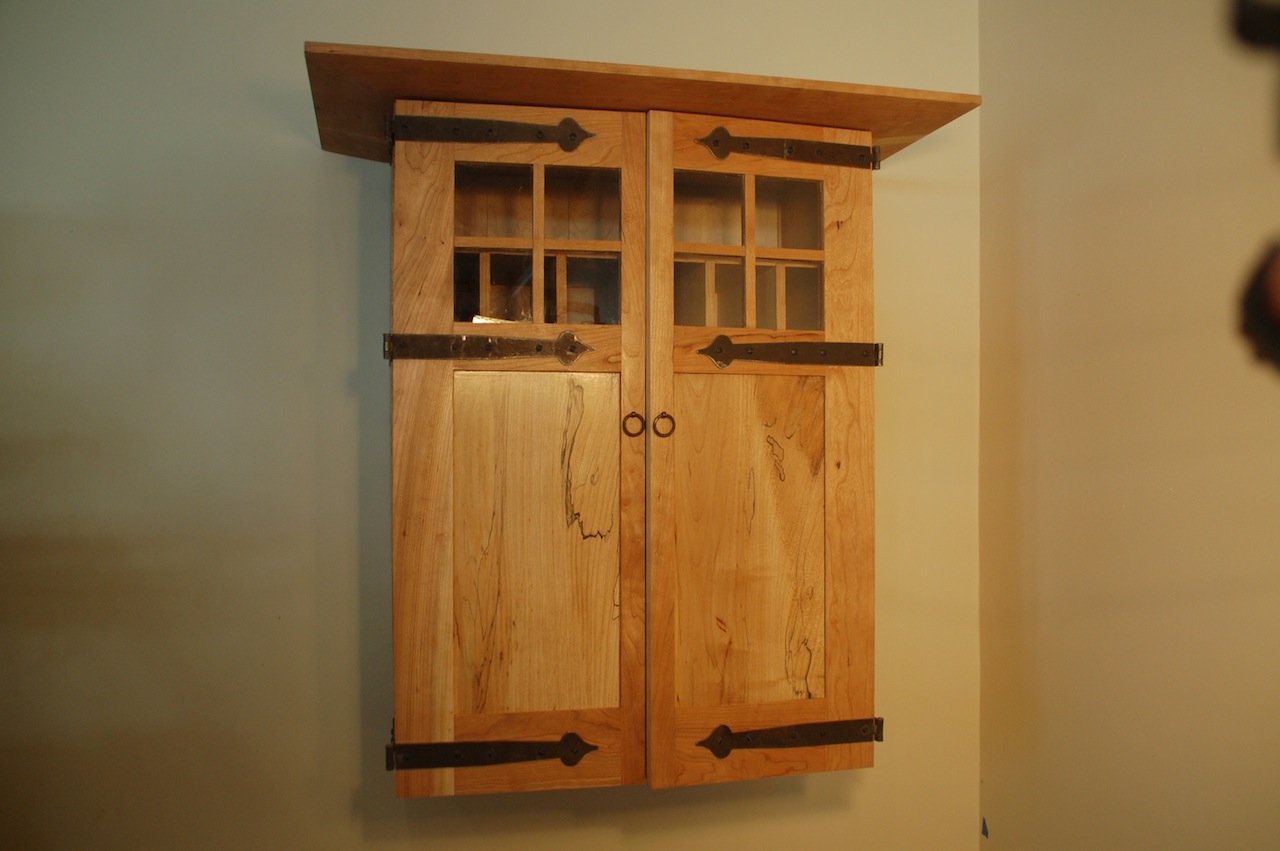
The inspiration for my project was Chris Schwarz’s Tool Cabinet / Dec. 2004 Issue #145 / Chapter 41 “Arts & Crafts Tool Cabinet” from Hand Tool Essentials book. The problem with Chris Schwarz projects is that they remind you that you are not Chris Schwarz; I can’t even grow a beard. This project took me forever, not just because I am slow and a novice, but because I gave up woodworking no less than 3 times during the process. This project has a difficulty level of intermediate, and as it turns out, I’m not an intermediate level woodworker. I bit off way more than I can chew. Who knew? I kept seeing this cabinet turn up in books and magazines and just fell in love with it.
This is the first time I tried something anywhere close to this and ran into trouble every step of the way. I really had a hard time getting everything lined up properly. Those dadoes that hold the shelves weren’t all that on, and I got a bit of a bow in the carcass. If you look close, you may see that the vertical openings lean a tad to the left.
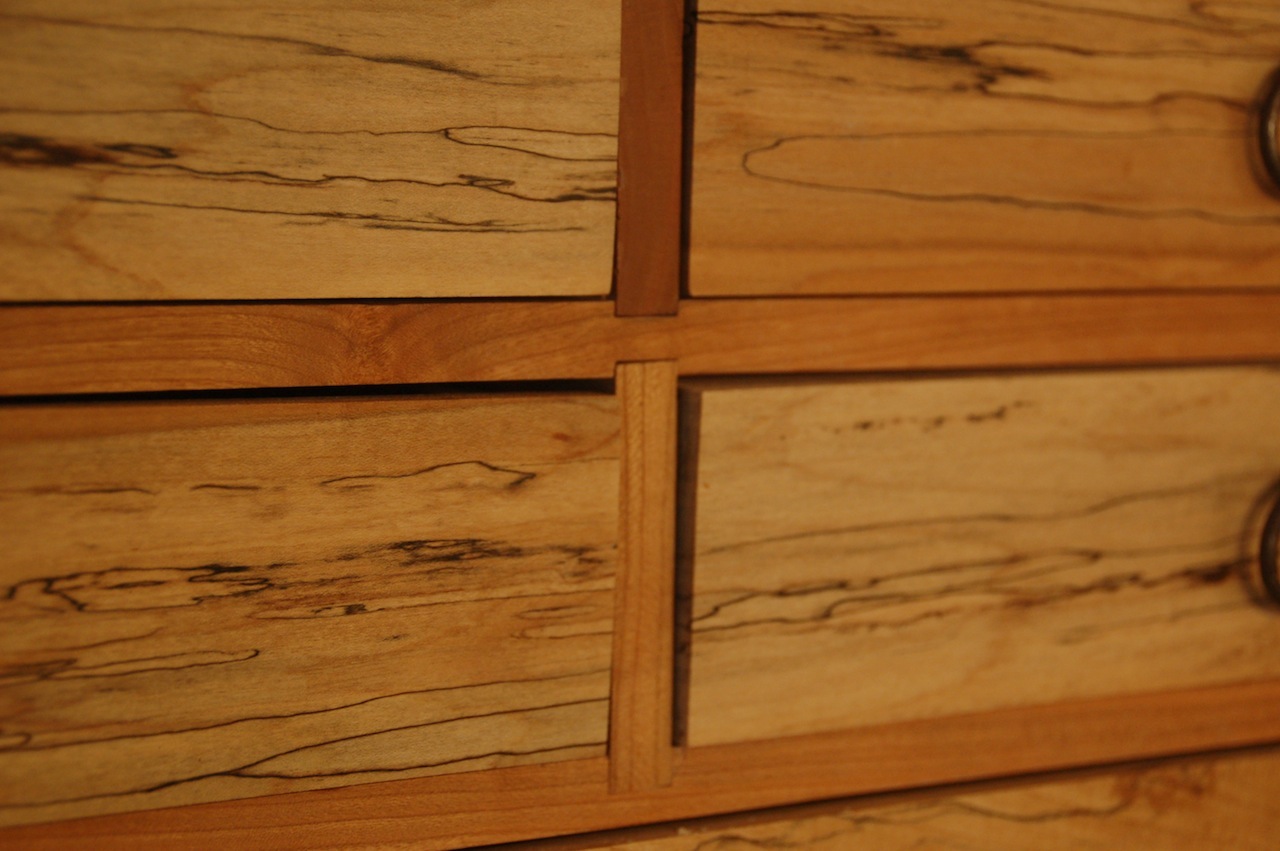
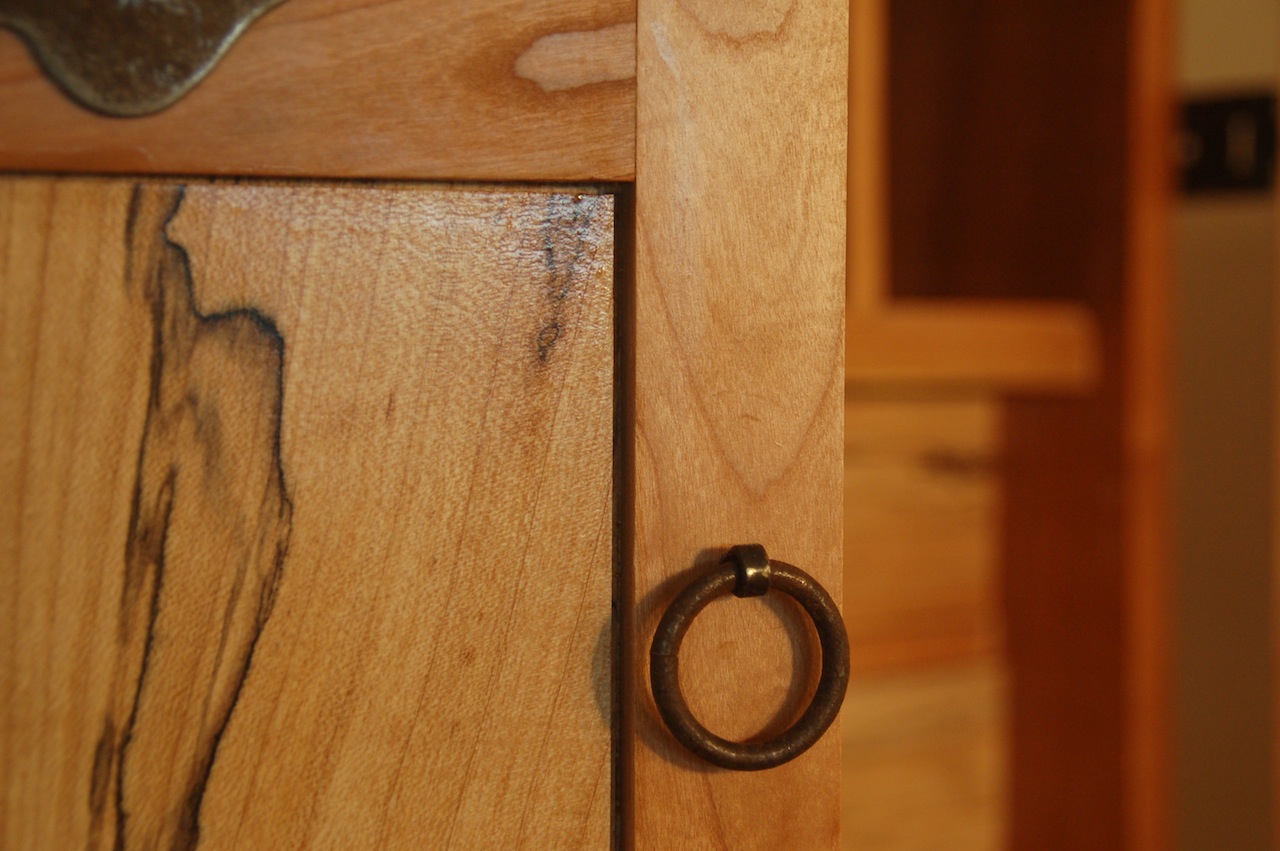
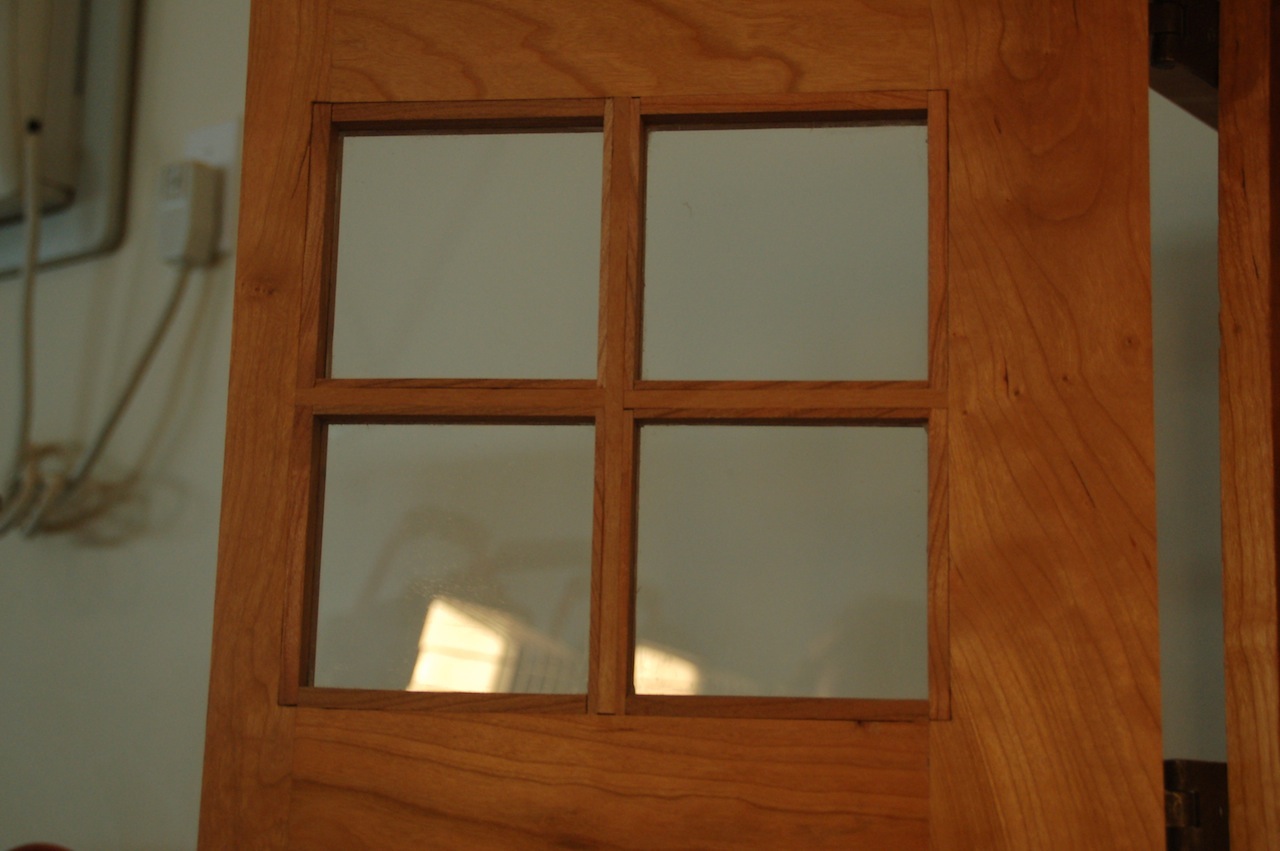
Other problems: I was disappointed with the color contrast between the maple and cherry. The shellac turned the panels orange, so I sanded them down and used a water-based finish, thanks Marc! But still what I wanted. The door panels were put inside-out, so there’s a small gap on the outside vs. the inside. Because the shelves weren’t exactly straight and even, fitting the drawers was murder. You can see they stick out a bit, and the reveal is sloppy all around. The right door doesn’t close all the way. The left door sits in from the side of the carcass.
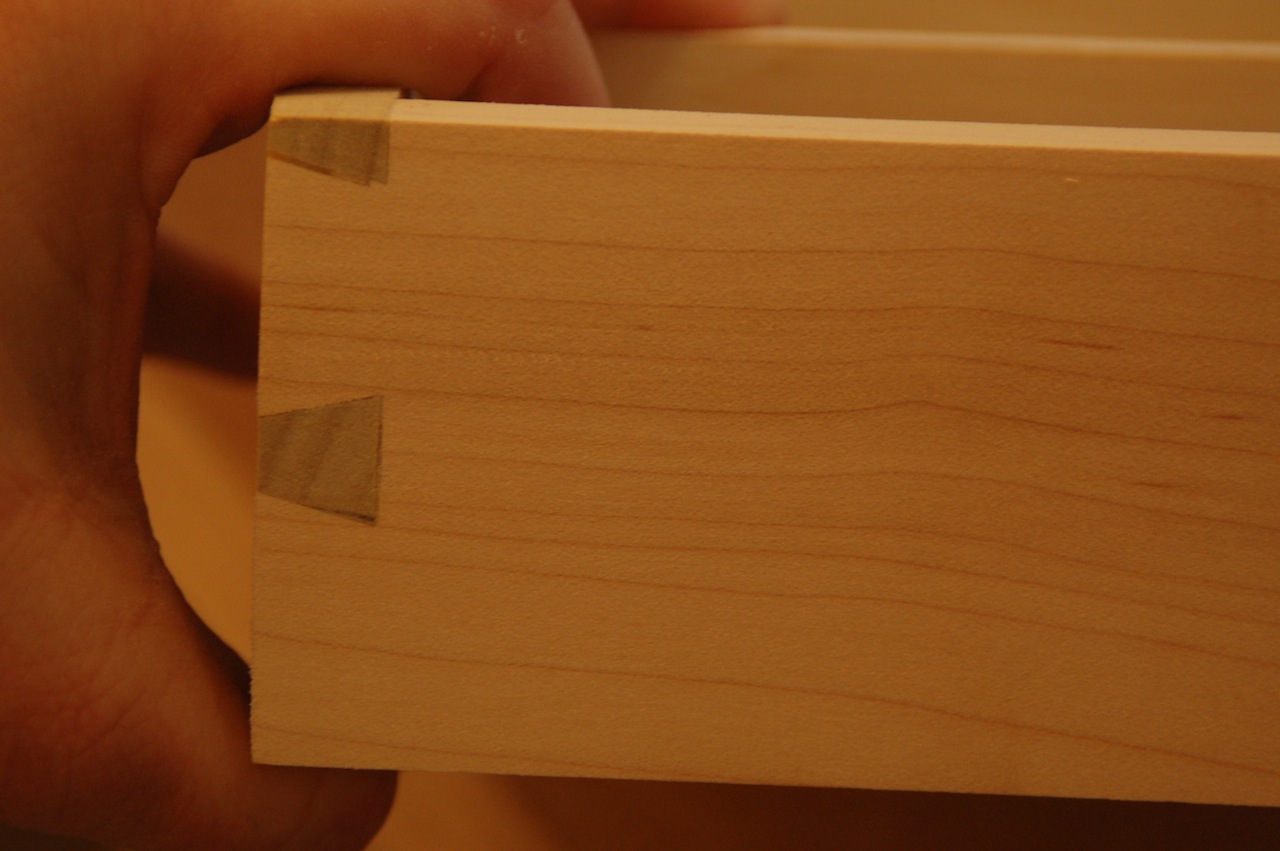
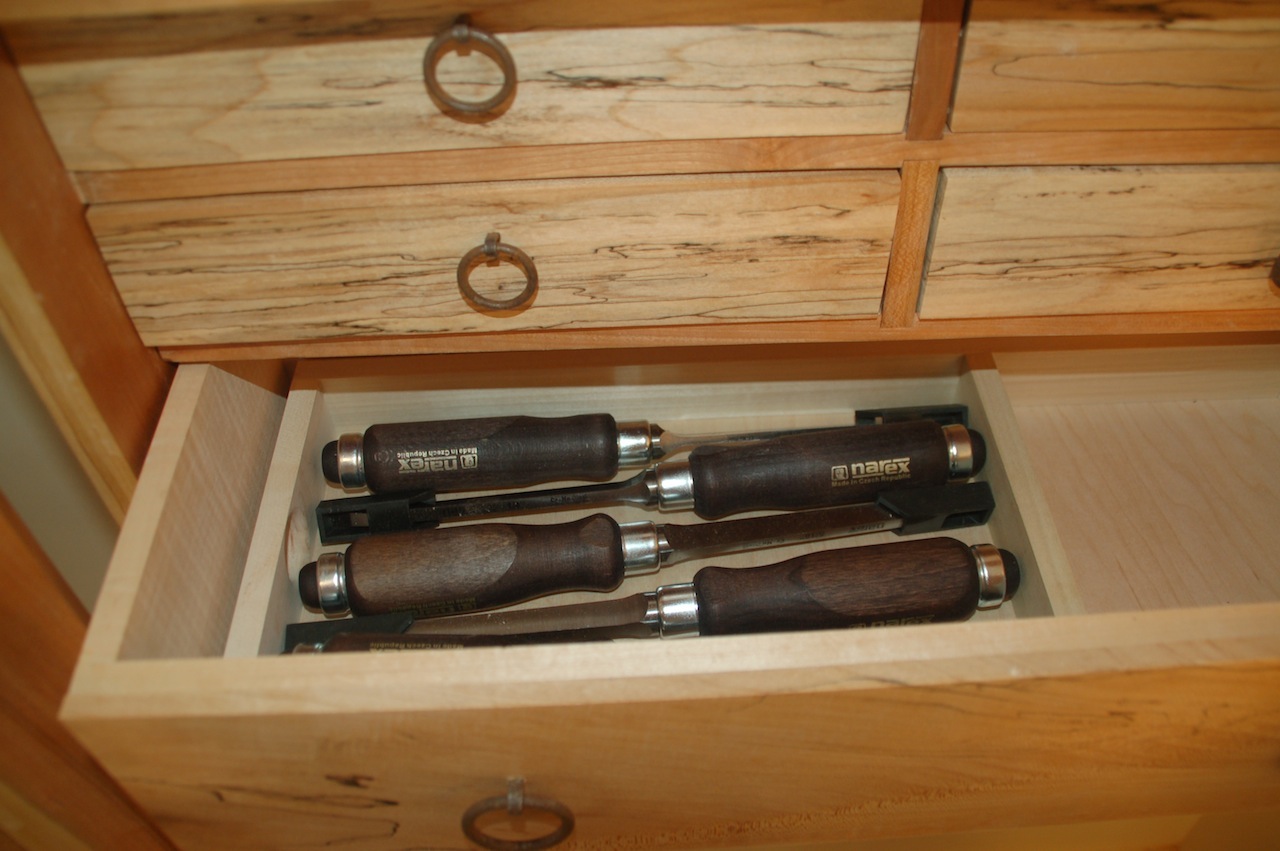
I machined the dovetails for the bottom and the 2 larger drawers. I tried my first hand-cut dovetail and cried from shame. I decided to use a trick I saw in a magazine where I used a 14 degree router bit and cut the 2 tails. Then I laid out the pins and used the cheat guide from Veritas, pictured, and it helped a bunch. I still plan on learning how to do it without the guide, but I really needed the training wheels for this one.
There are small gaps where I notched the sides of the shelves, so I just shoved a wood chip in and hope no one notices. The backing strips used to hold in the glass panes I used were too large and kind of stick out.-oops.
Things I learned: My workbench that I was so proud of must be burned. It is completely inadequate. I now know where the phrase, “blood, sweat, and tears” came from. I am not as patient as I thought/need to be.
I plan on making the additional chisel holder and saw holder when I get a set of bench chisels and a western saw. My next project should be simpler. I could really use a “win”, if you know what I mean.
Advertisers


