Looking for Part 1? Click here.
Free Plans
Please feel free to download the plans and build your own Woven Panel Rolling Hamper!
Finishing Touches
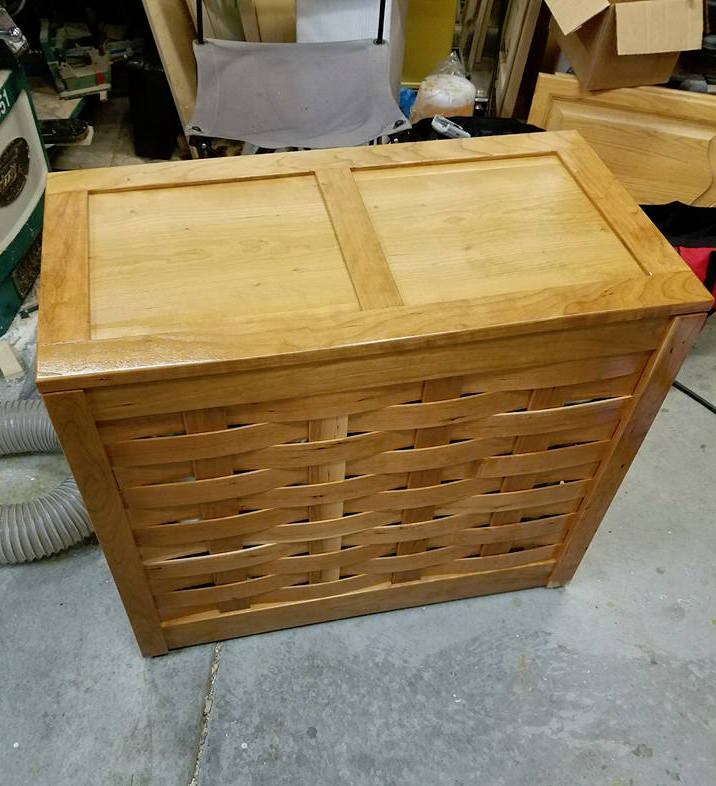
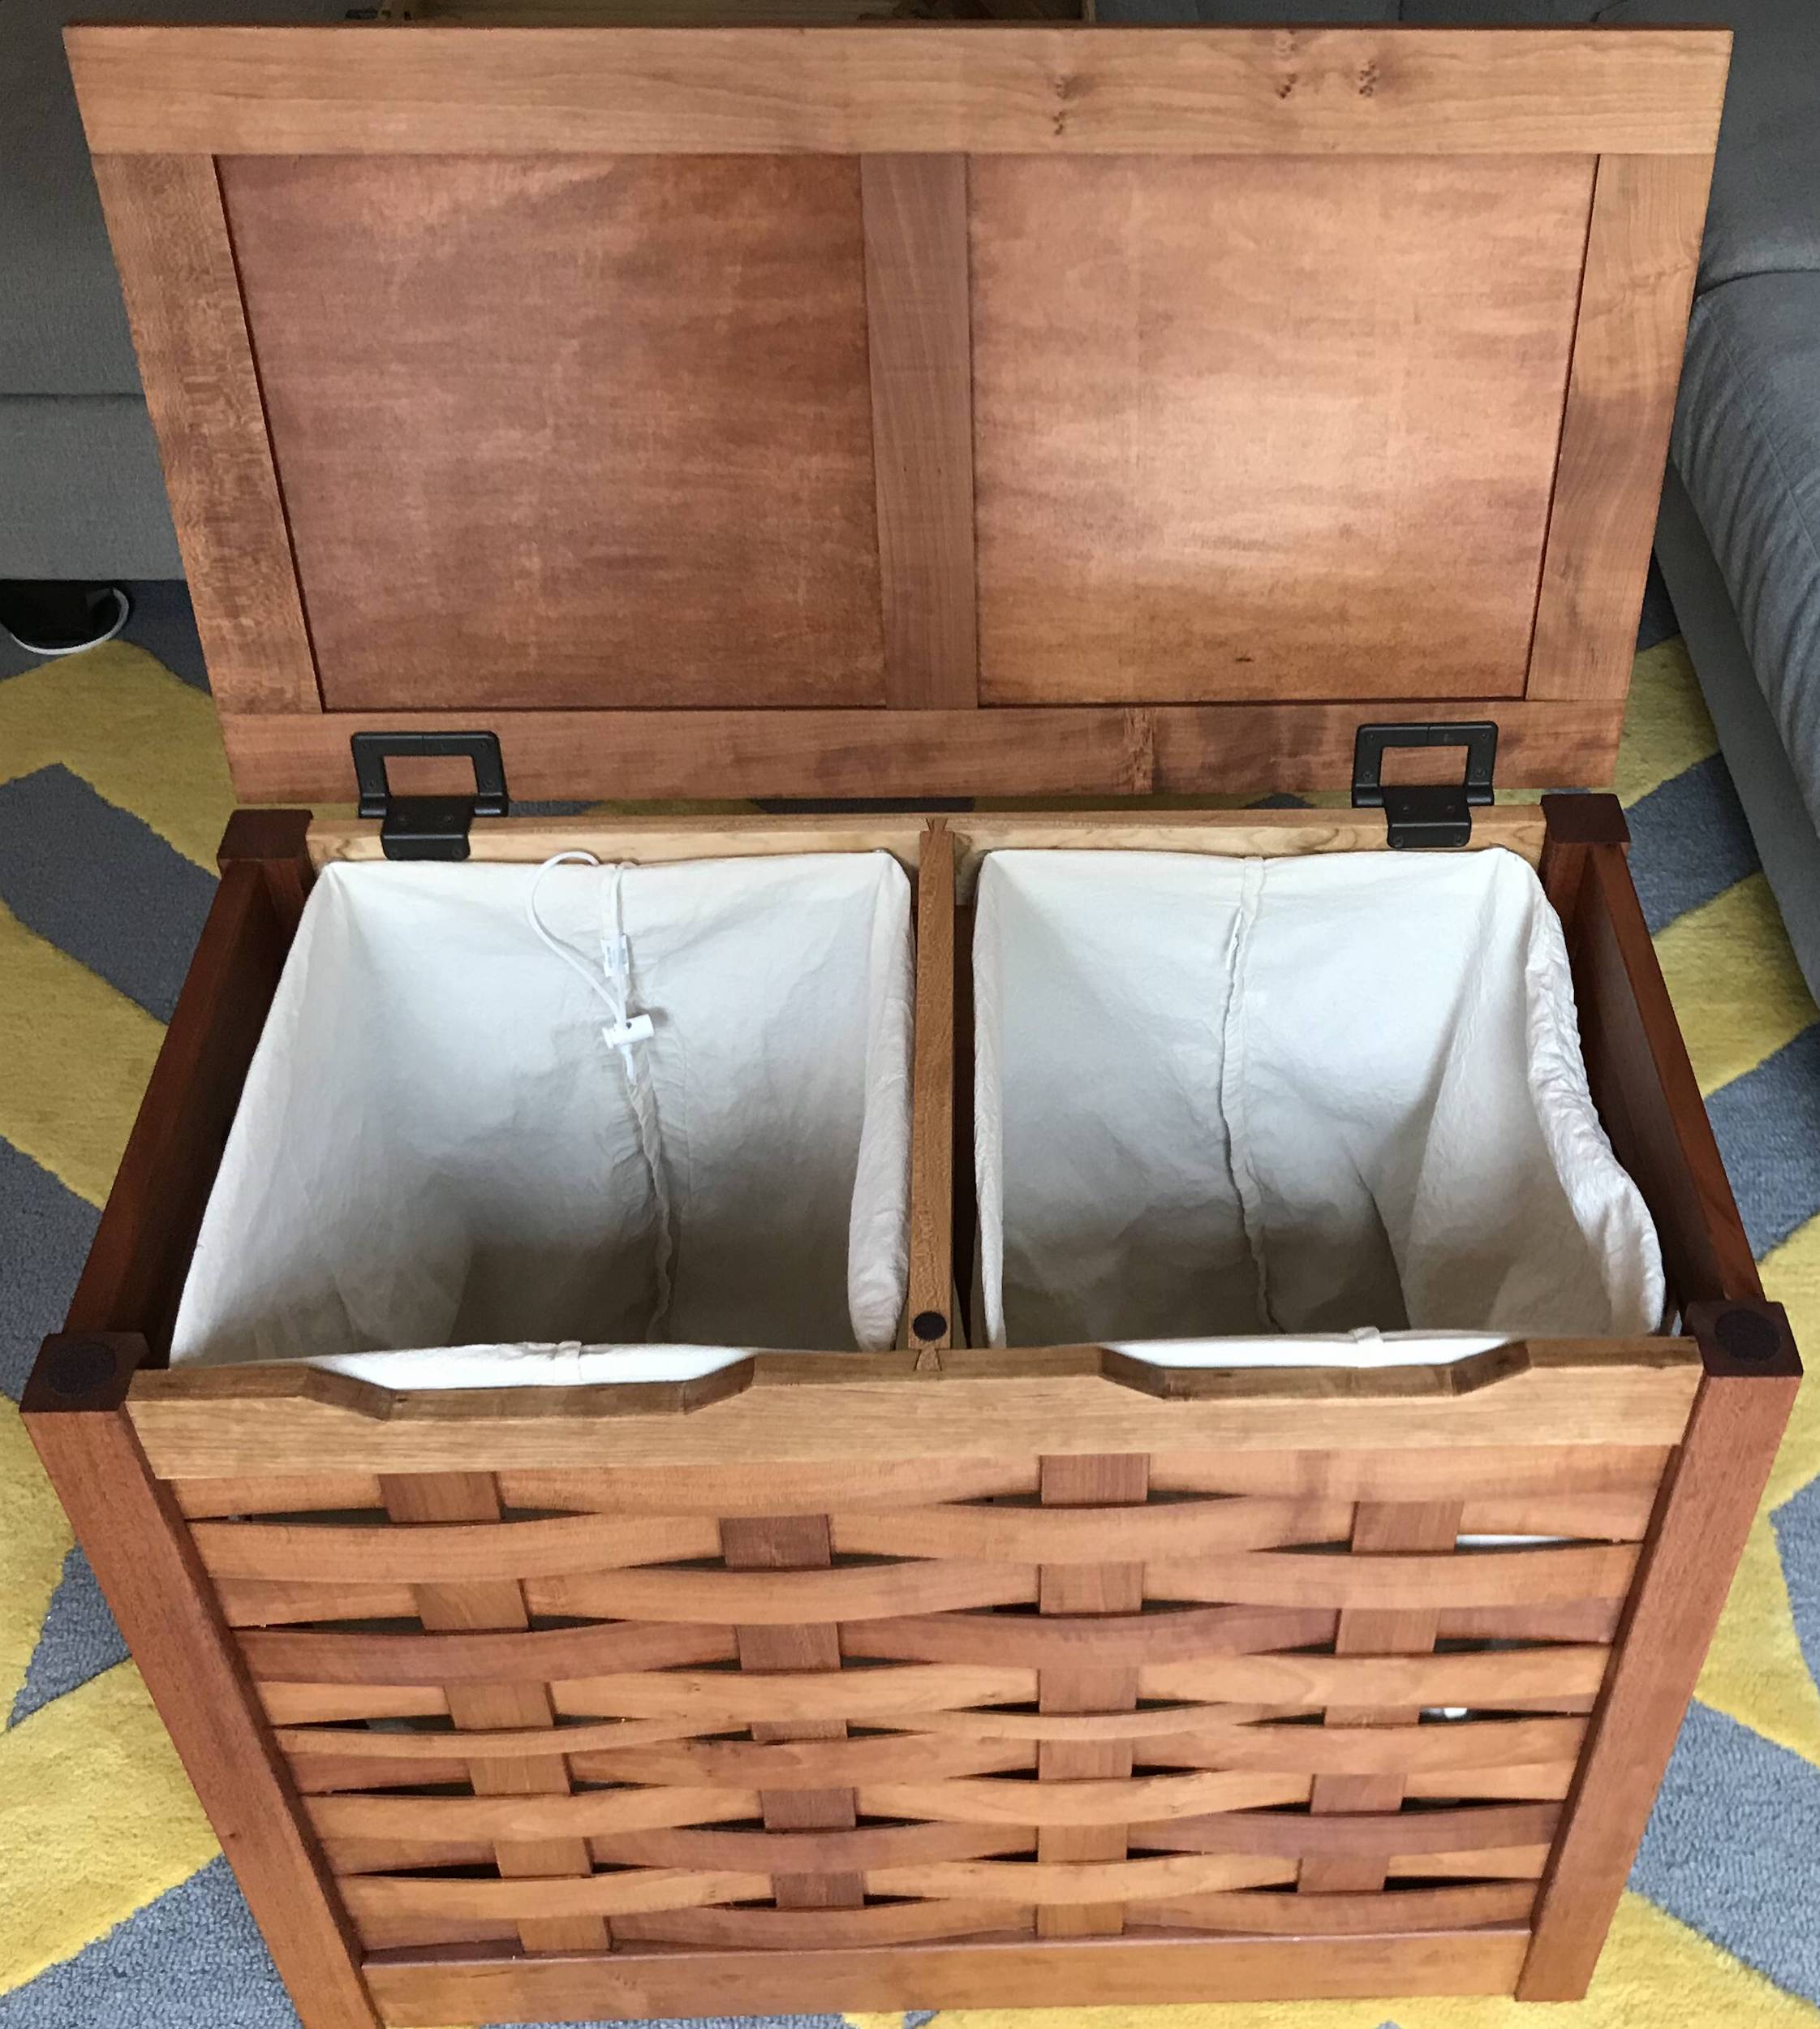
We have a lot to do before assembly. First, we need to add chamfers just about everywhere. This easing of the edges not only looks cool, but in the case of the weave pattern, it will make our job a whole lot easier! The top front rail receives two relief cut-outs that not only provide additional air circulation, but also make for a nice finger zone when raising and lowering the lid. The lid panels are dyed to help disguise the lighter-colored veneer face. And all parts are sanded through 220 grit.
Assembly
I considered numerous different ways to assemble the hamper but all of them proved difficult. What you see here is the least of the evils. Each side is assembled first using a partial glueup where the rails are glued to only one leg. If both legs were glued on, there would be no room for inserting the weave strips. Once all of the strips are installed, the second leg is added and cauls are used to pinch the strips into a single row making it possible to insert them into the leg groove.
Once both sides are glued up, we’ll apply the same partial glueup methodology to the front panel, starting with the front rails being glued to only one of the hamper sides. After the weave strips are installed, the second side can be glued on all at once with the rear rails, the back panel, and the bottom panel. As you’ll see in the video, getting the strips into the leg groove proved to be tricky but I managed to get the job done.
Finishing
I considered pre-finishing parts of this project, specifically the weave elements, but decided against it. First, pre-finishing 33 thin strips would have added a significant amount of time onto this project. Consider two coats with additional time added for optimal curing and that’s a pretty big delay. Second, new finish has a tendency to grab. Before the finish itself is fully cured, it can bind to other finished pieces in such a way that it might make the weaving process even more difficult instead of easier. And third, the weaving process itself would scuff and scratch the finished strips requiring me to do some additional finishing anyway. So I opted to apply finish after the assembly was complete and guess what! It wasn’t that bad.
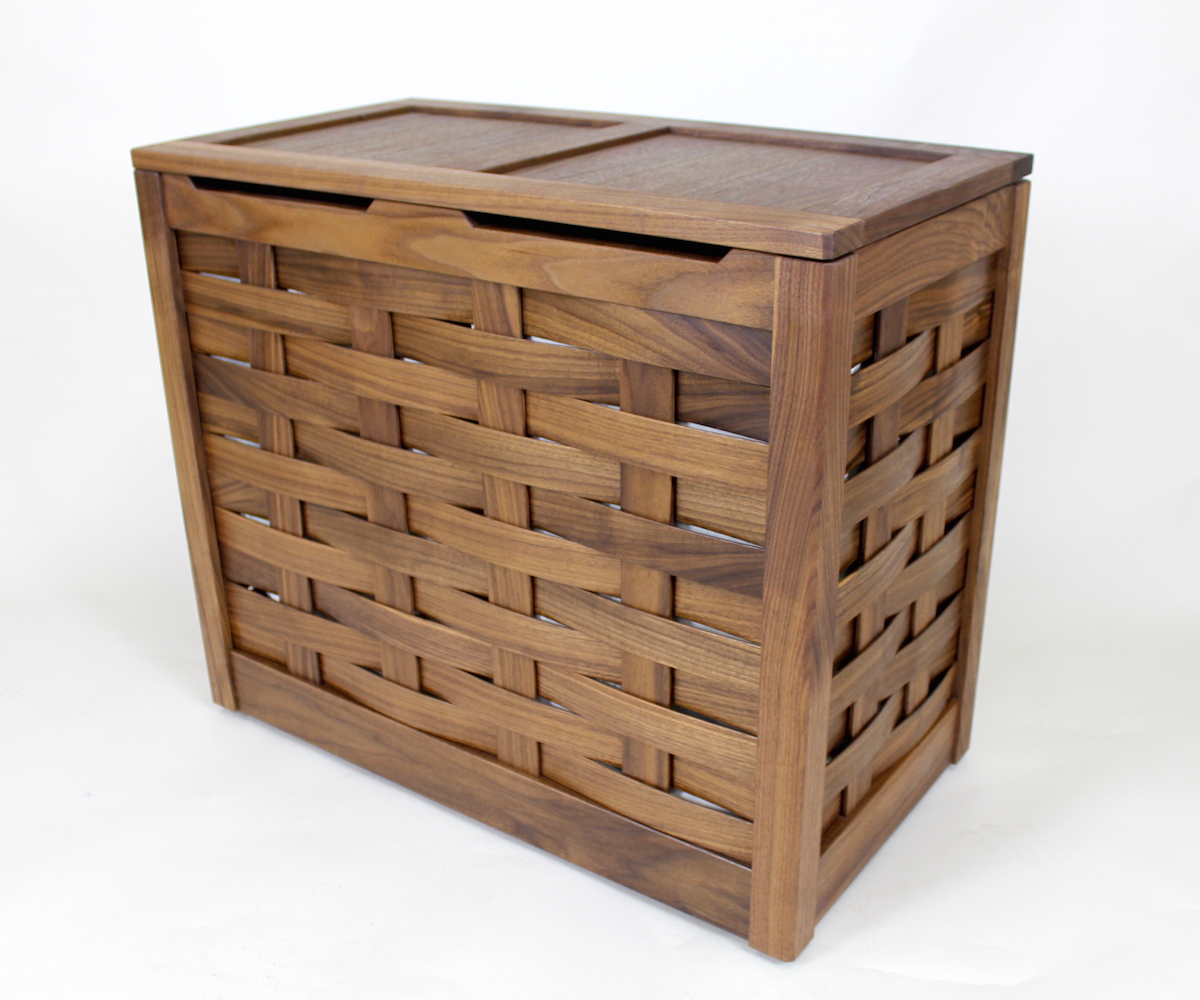
Two coats of Teak Oil (outdoor-friendly Danish Oil) applied with a brush and wiped up with a rag really did the trick. The oily finish readily absorbs into the fibers and seeps into the nooks and crannies. So if anything should move in the future, it won’t expose unfinished wood. I let the first coat dry overnight and applied a second coat the next day. This isn’t a heavy duty finish by any means but it keeps the natural look and offers at least some protection. Furthermore, its super easy to repair.
Hinges & Casters
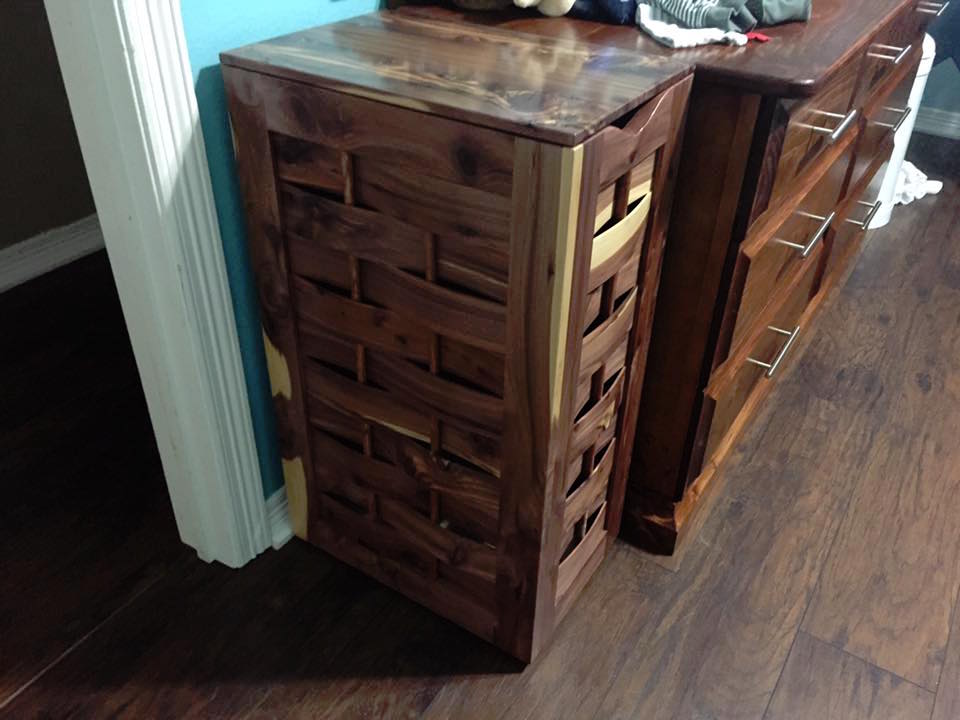
The hinges I used are Rockler’s Torsion Hinges (15 inch-pound) and they are incredibly easy to install. These hinges are self-supporting and are great for things like blanket chests, toy boxes, and even hampers! The casters were simple 2″ heavy duty casters from my local Home Depot. And here’s the final result!


Helpful Links
- Rockler Torsion Hinges
- Cotton laundry bags
- Snap Button Screw-In Studs
- Canvas Fastener Kit
- General Finishes Water-Based Dye
Viewer Gallery