Welcome to the first in a series of four project videos produced in partnership with Honda. We’re calling it the Honda Ridgeline Saturday Project series! Each project is designed as an approachable and fun weekend project that anyone can build. Just to show how versatile the all-new 2017 Honda Ridgeline can be, we’ll build each project right in the bed of the truck!
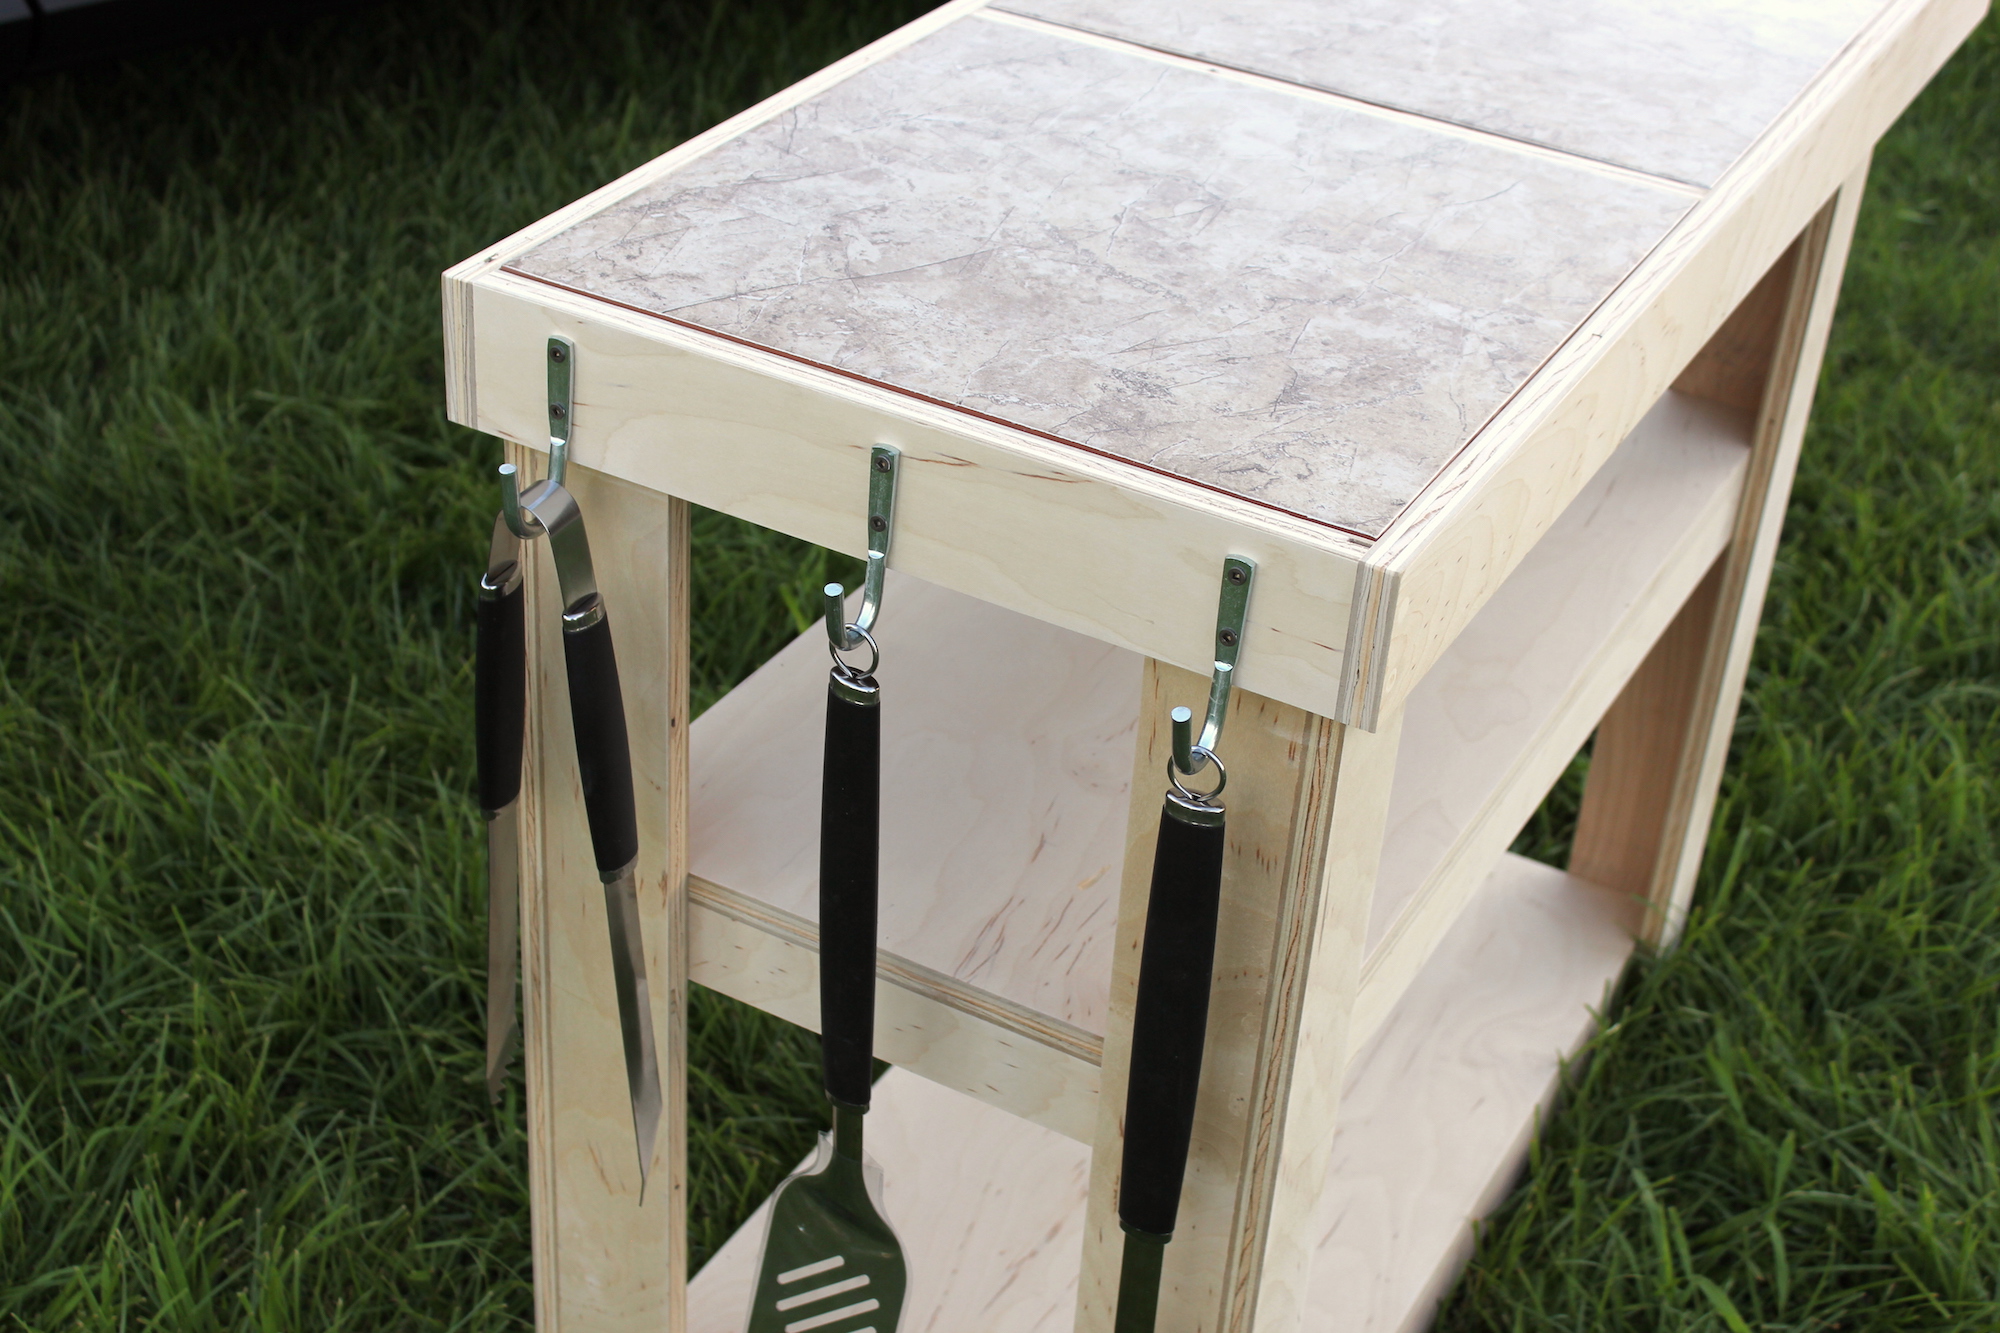
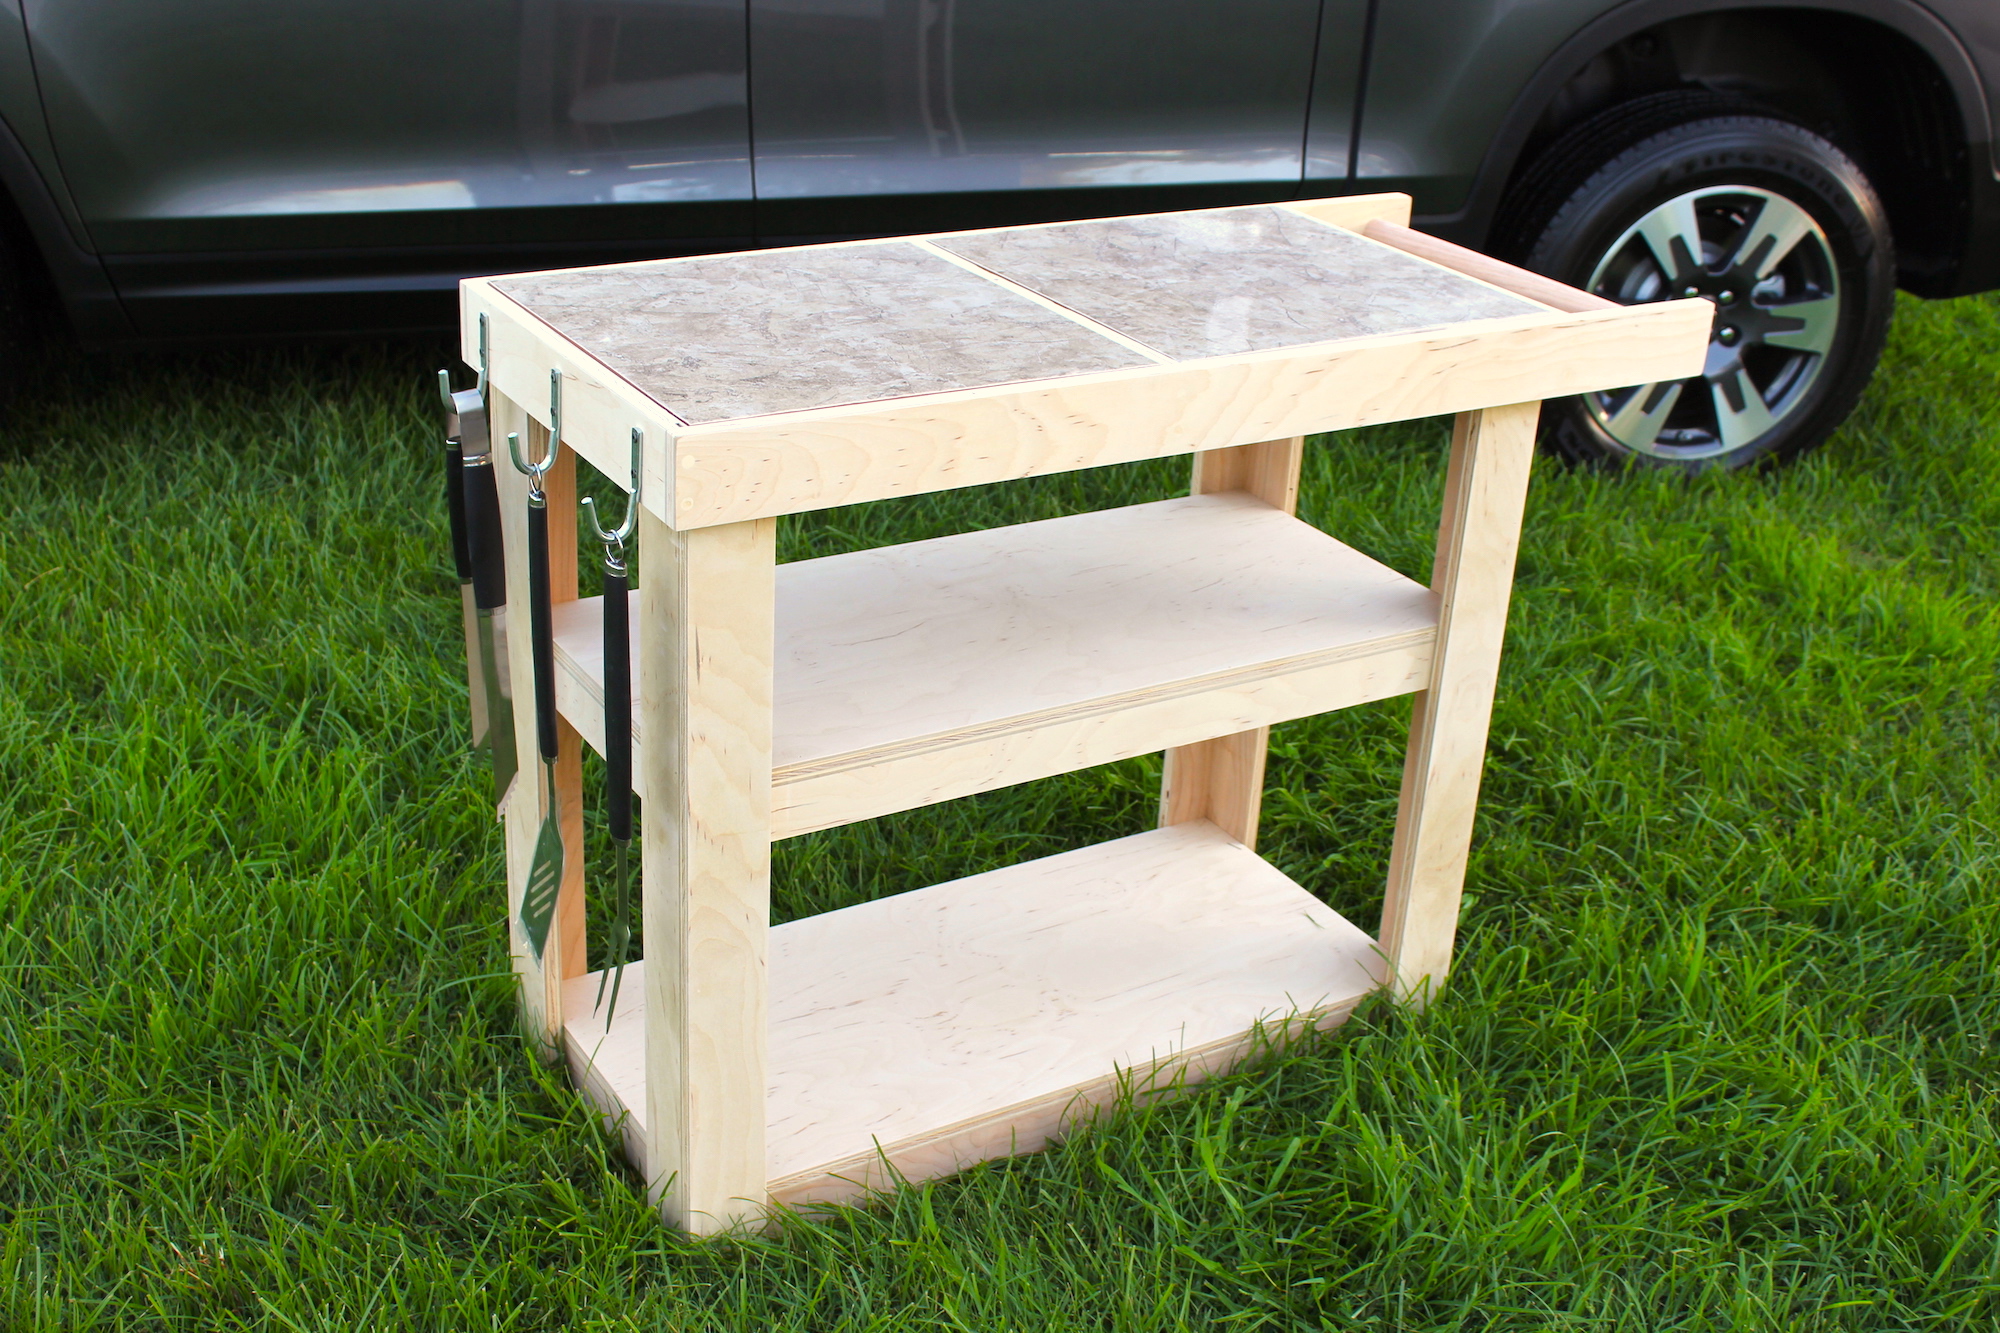
A Barbecue Cart is a handy thing to have around whether you’re a backyard grill-master or the King/Queen of the tailgating party! It features a durable tile prep surface that’s removable for cleaning, ample storage from two large shelves, hooks for your favorite grilling tools, and casters for mobility.
Download the Plans
Materials
- 1 Sheet of 3/4″ Plywood
- 1 – 1 1/2″ Dowel Rod
- 2 – 17 1/4″ Tiles
- 3 – Utility Hooks
- 4 – 2″ or 3″ Casters
1. Cut the Parts
 Using a circular saw and a clamping tool guide, break the plywood down based on the plywood diagram in the PDF Cut List. All strips can then be cut to final length using a chop saw or circular saw. The shelves are kept oversized at the moment and will be cut to final dimension later.
2. Top Assembly
 Drill a 1 1/2″ diameter hole about 1/4″ deep into the inside faces of the long Top Rails using a 1 1/2″ forstner bit. Pre-drill and countersink for two 1 1/4″ screws at each joint. Use glue at each joint and clamps to help keep things in perfect position while drilling.
3. The Legs
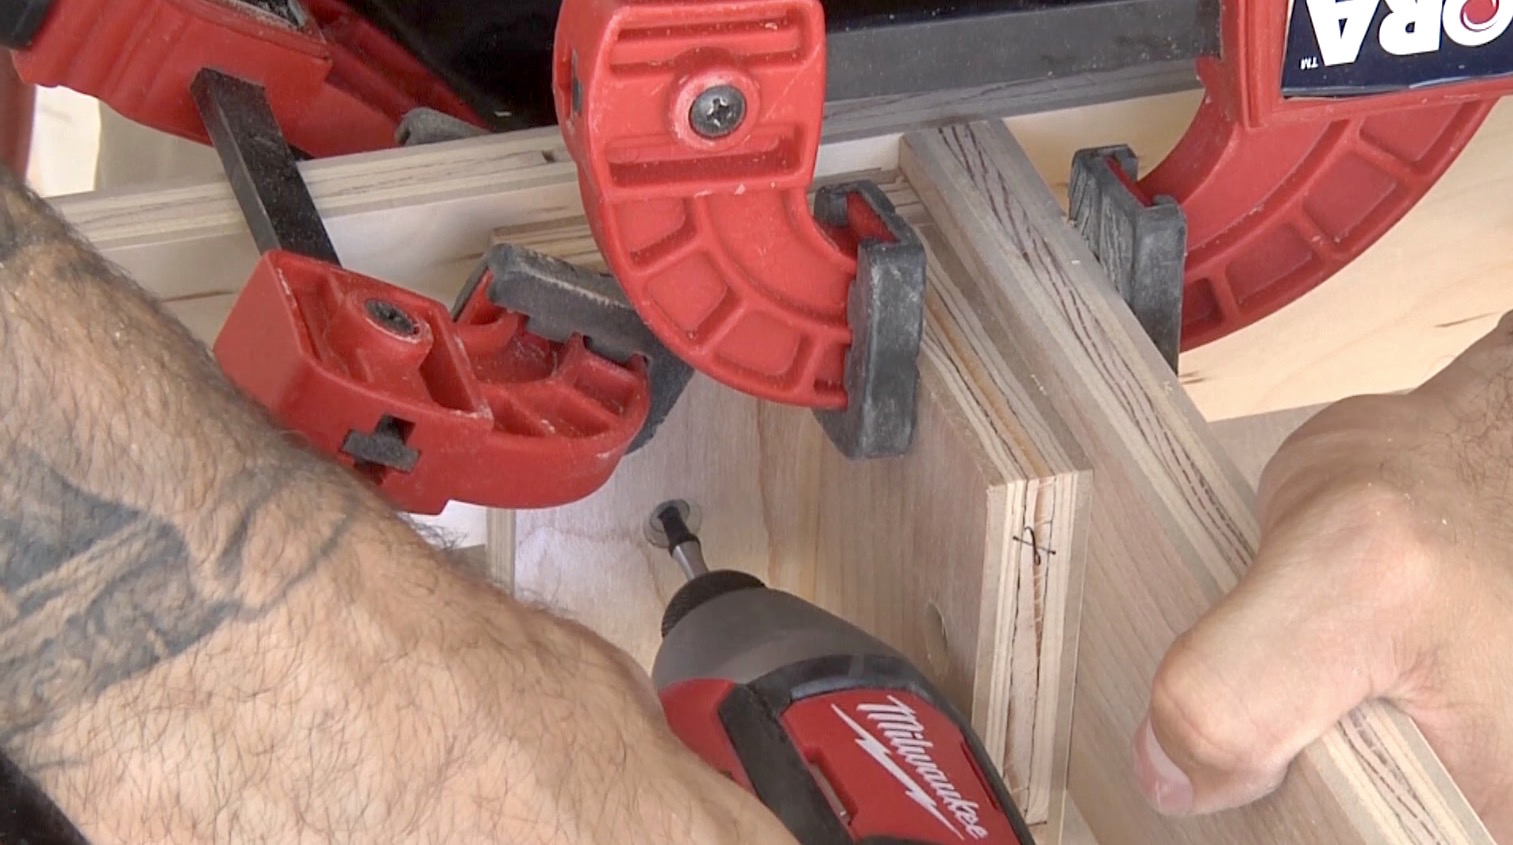 Attach two leg strips together at a right angle to make each four L-shaped legs. Use glue and brad nails or screws to make a strong connection. Attach legs to the inside of the top frame with screws at each corner, 1/4″ down from the top surface. Attach two cleats on either side of the center rail, 1/4″ down from the top surface.
4. Shelves
 The shelves are measured and cut to final size based on the actual cart itself. The shelf supports are glued and nailed or screwed to the underside of the shelf making two shelf assemblies. The upper shelf is installed 19 1/2” up from the bottom and the bottom shelf is installed flush with the bottom of the legs.
5. Finishing Touches
 To make the cart mobile, attach four 2″ (for smooth terrain) or 3″ (for rough terrain) casters to the bottom shelf. Fill any screw holes with wood putty and sand the entire project. Finish it off by applying a couple of coats of your favorite outdoor-friendly finish and then apply the accessory hooks and drop in the tiles.
Now let’s fire up the grill!
Gallery