Utilitarian Clamp Rack
Article - October 26, 2012
Justification
Whenever I move my shop (which makes me want to cry when I think about how many times I’ve done this), I am posed with a fundamental internal conflict: my desire for a perfect setup vs my need for expedience. I make my living through my shop, so every day I have clamps on the floor or cans of finish in boxes is a day I can’t do my job. So I am constantly making the decision between building something quickly that gets me back to work today, or building something that receives “ultimate” status but gets me back to work next week.
Inspiration
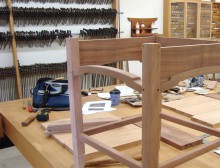
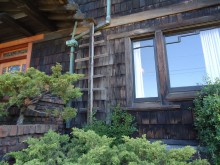
Occasionally, I am able to come up with a compromise that is an attractive and long-term solution as well as a quick and inexpensive project. One such example is my Utilitarian Clamp Rack. This rack was inspired by both William Ng’s clamp rack and the trellis adorning the Thorsen House in Berkeley, CA. William’s rack is designed to hold a massive amount of clamps and is made with off-the-shelf materials. And when I visited the Thorsen House a few months ago, Darrell Peart pointed out the design of the trellis. Both designs feature vertical supports with horizontal members running through the vertical piece at regular intervals. While my rack will use the same materials as William’s, it was the trellis that showed me how something so simple can actually look very cool.
Here’s what you need
– (2) Kiln Dried 2x4s (as straight as possible)
– (5) 1/2″ pipes of desired length (heavy gauge pvc will work too)
– 7/8″ Forstner bit
– 3″ Long Wood Screws or Lag Screws
Construction
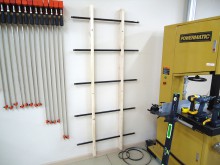
This basic rack is about as simple as it gets. The 2×4’s are attached to the wall and the pipes go through various holes drilled into the studs. Have more clamps than I do? Get longer pipes and space your 2×4’s further apart? You basically have infinite configuration options and if you drill extra holes, you can quickly modify the rack to suit your changing needs.
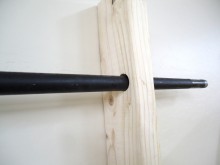
Cut the 2×4’s to about 80″ in length. A person of average height should still be able to easily reach the top row, but feel free to adjust as needed. Clamp the two pieces together and the desired number of holes up the length of the boards. I placed my holes at 8″, 26″, 42″, 60″, and 74″, from the bottom up. I should probably explain when I have the pieces clamped together. While my bit isn’t long enough to drill through both pieces at once, it is long enough to start the hole in the second piece. This ensures that my holes are all drilled accurately in both pieces. After the first board is fully drilled, I remove the clamps and finish drilling the holes in the second board. The forstener bit I used was 7/8″ to accommodate the outer diameter of the pipe. This provides a slightly loose fit for the pipe but doesn’t really impede the functionality at all.

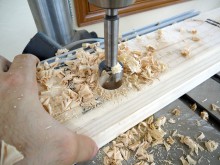
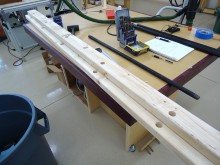
The 2x4s will be attached to the wall on edge, so pre-drill for your screws. My screws were only about 3″ long so I needed to drill a deep counter sink. Not ideal, but I’m lazy and didn’t feel like running to the store to get longer screws. 4-5 screws up the length of each 2×4 should do the trick. Find the stud locations on the wall and screw each 2×4 is directly into a stud. I use the baseboards to help establish the vertical position.
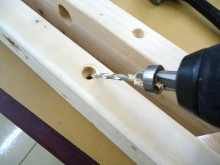
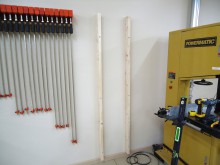
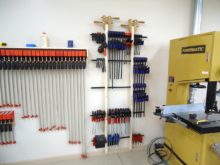
All that’s left to do is feed the pipe lengths through the holes in the two 2x4s and then fill it up with clamps! I now have plenty of space for my F-style clamps as well as the wide array of oddball clamping implements we tend to accumulate over time. The great thing about clamps is that they have handles and are designed to clamp things. So a 1/2″ pipe is really all you need to hang them effectively. Overall, I am happy with the design and utility and as you can see, I need to buy more clamps to fill up the empty space!!
