I’ve been getting a bunch of requests lately for a video on my decorative inlay process. This is definitely on our 2008 to-do list. But until then, I decided to resurrect an old WWA forum post from 2005. Enjoy.
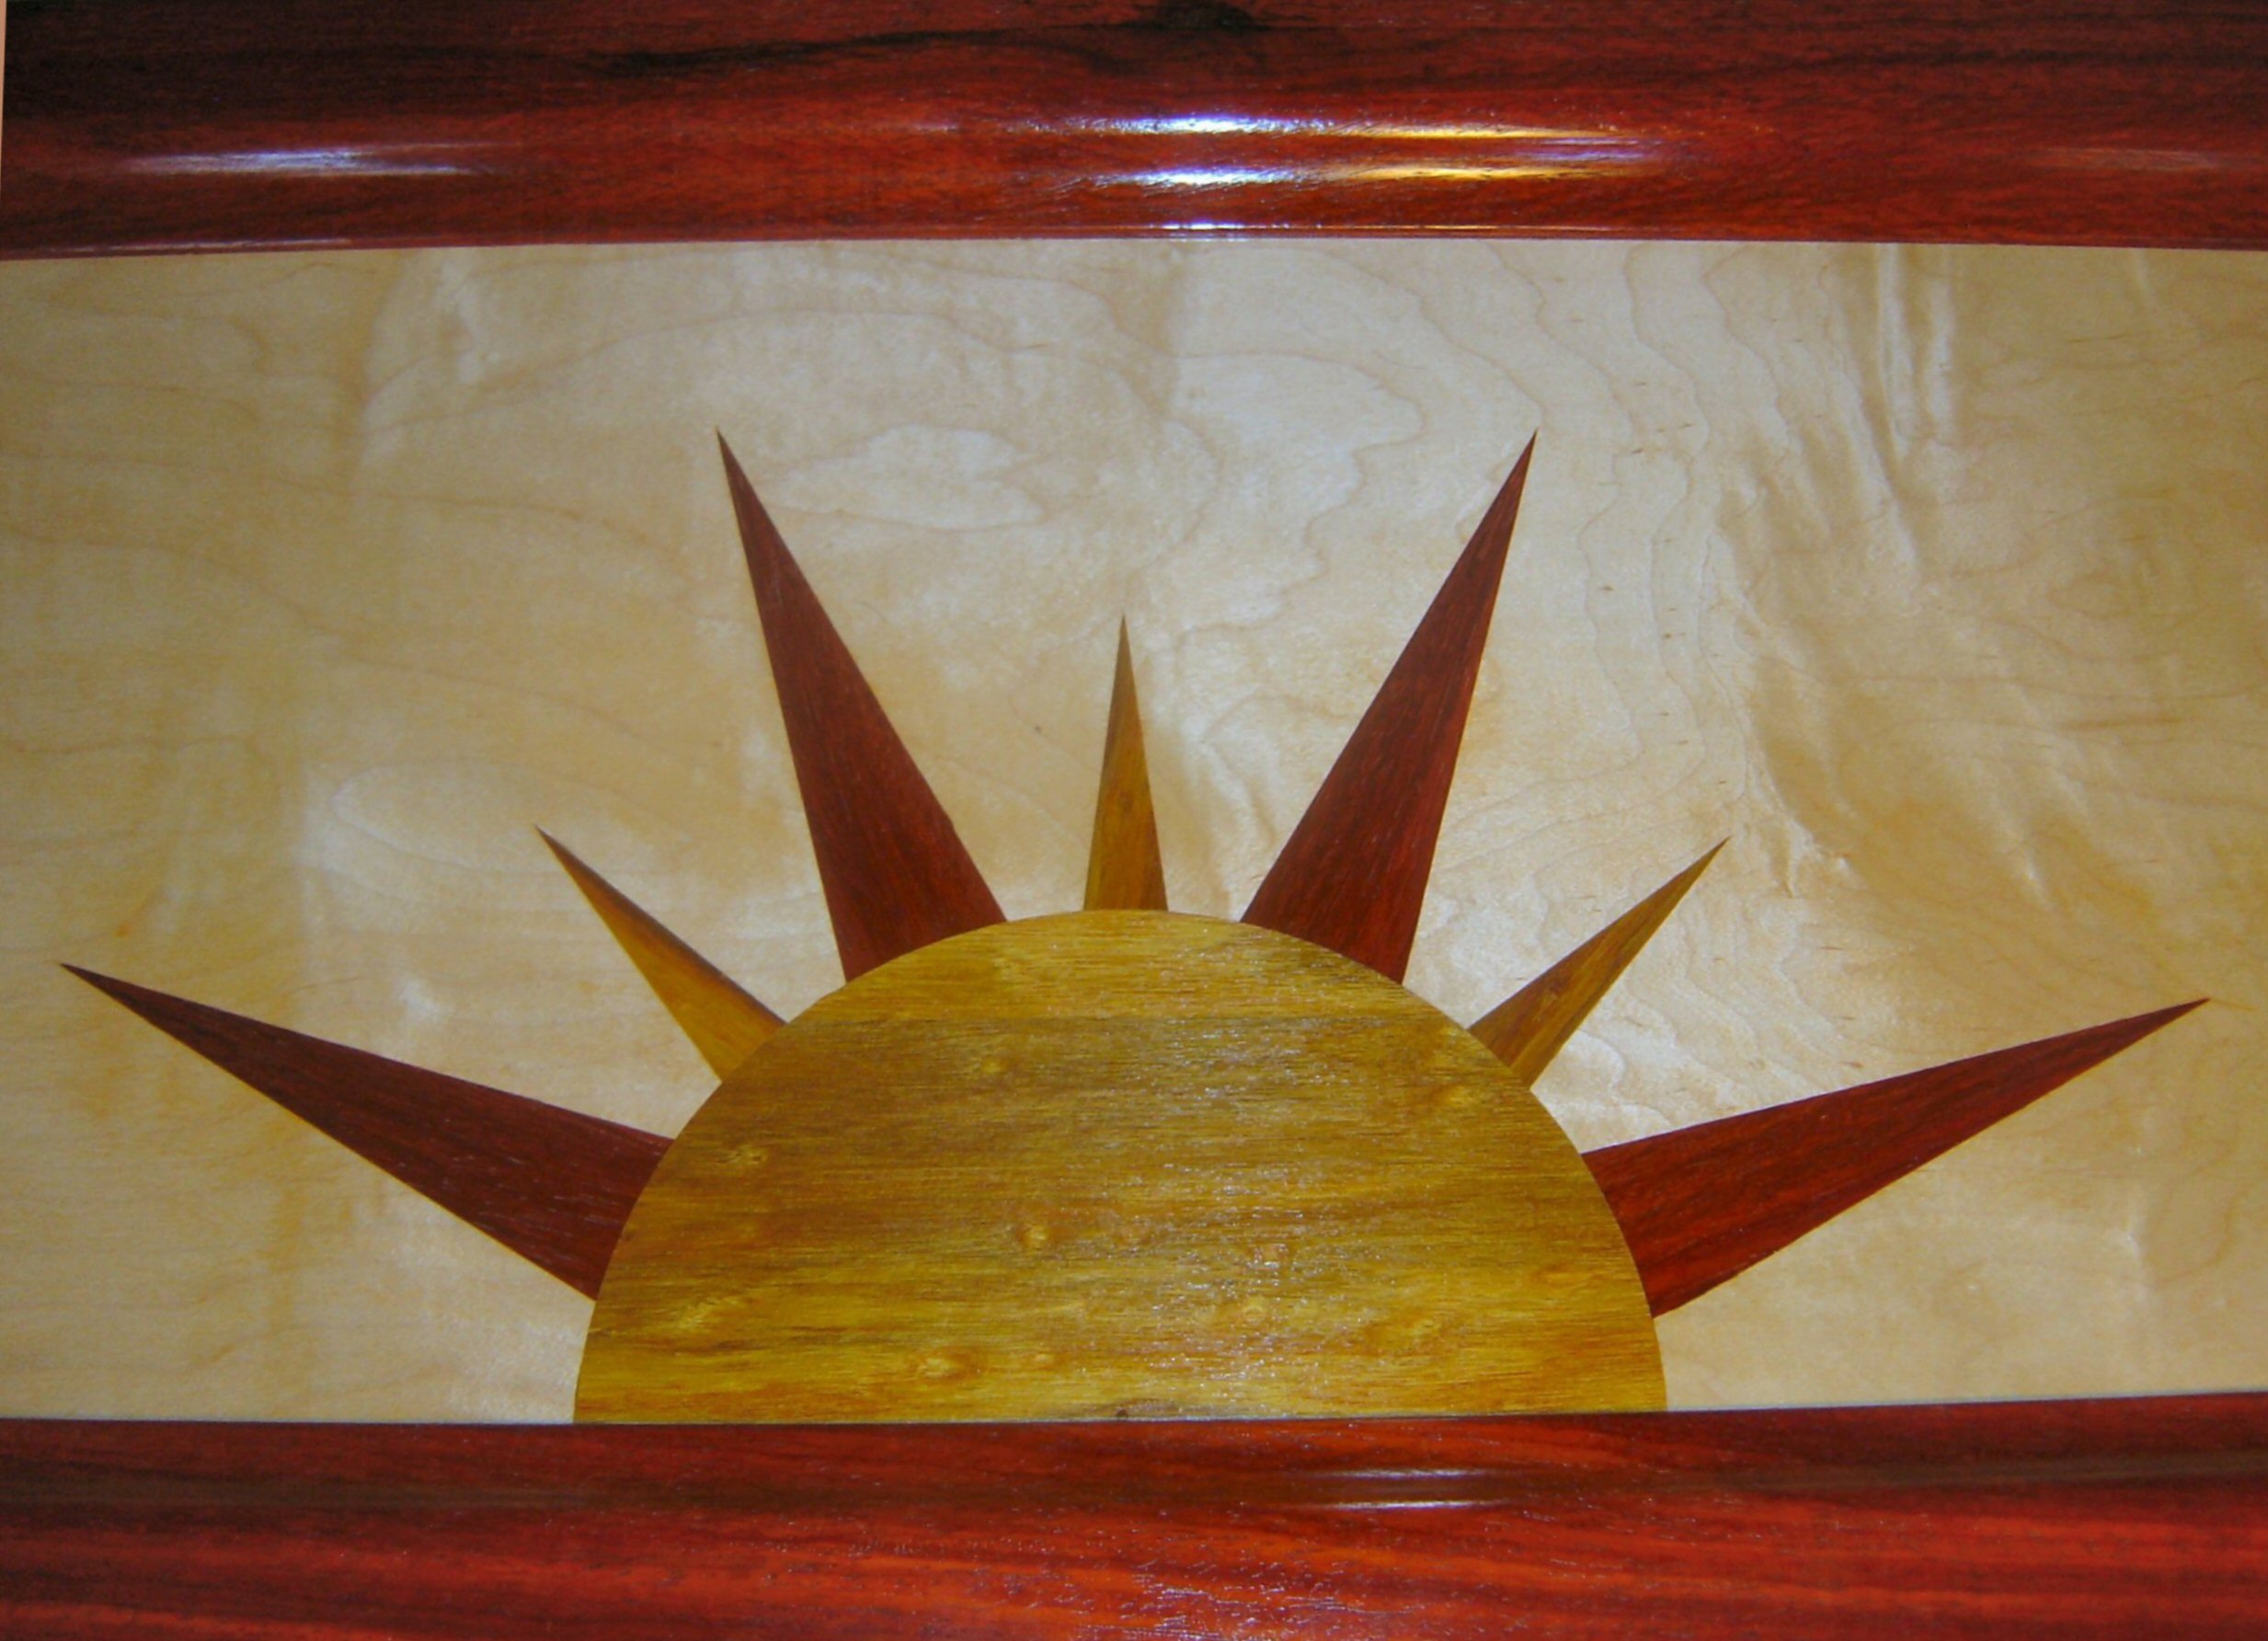
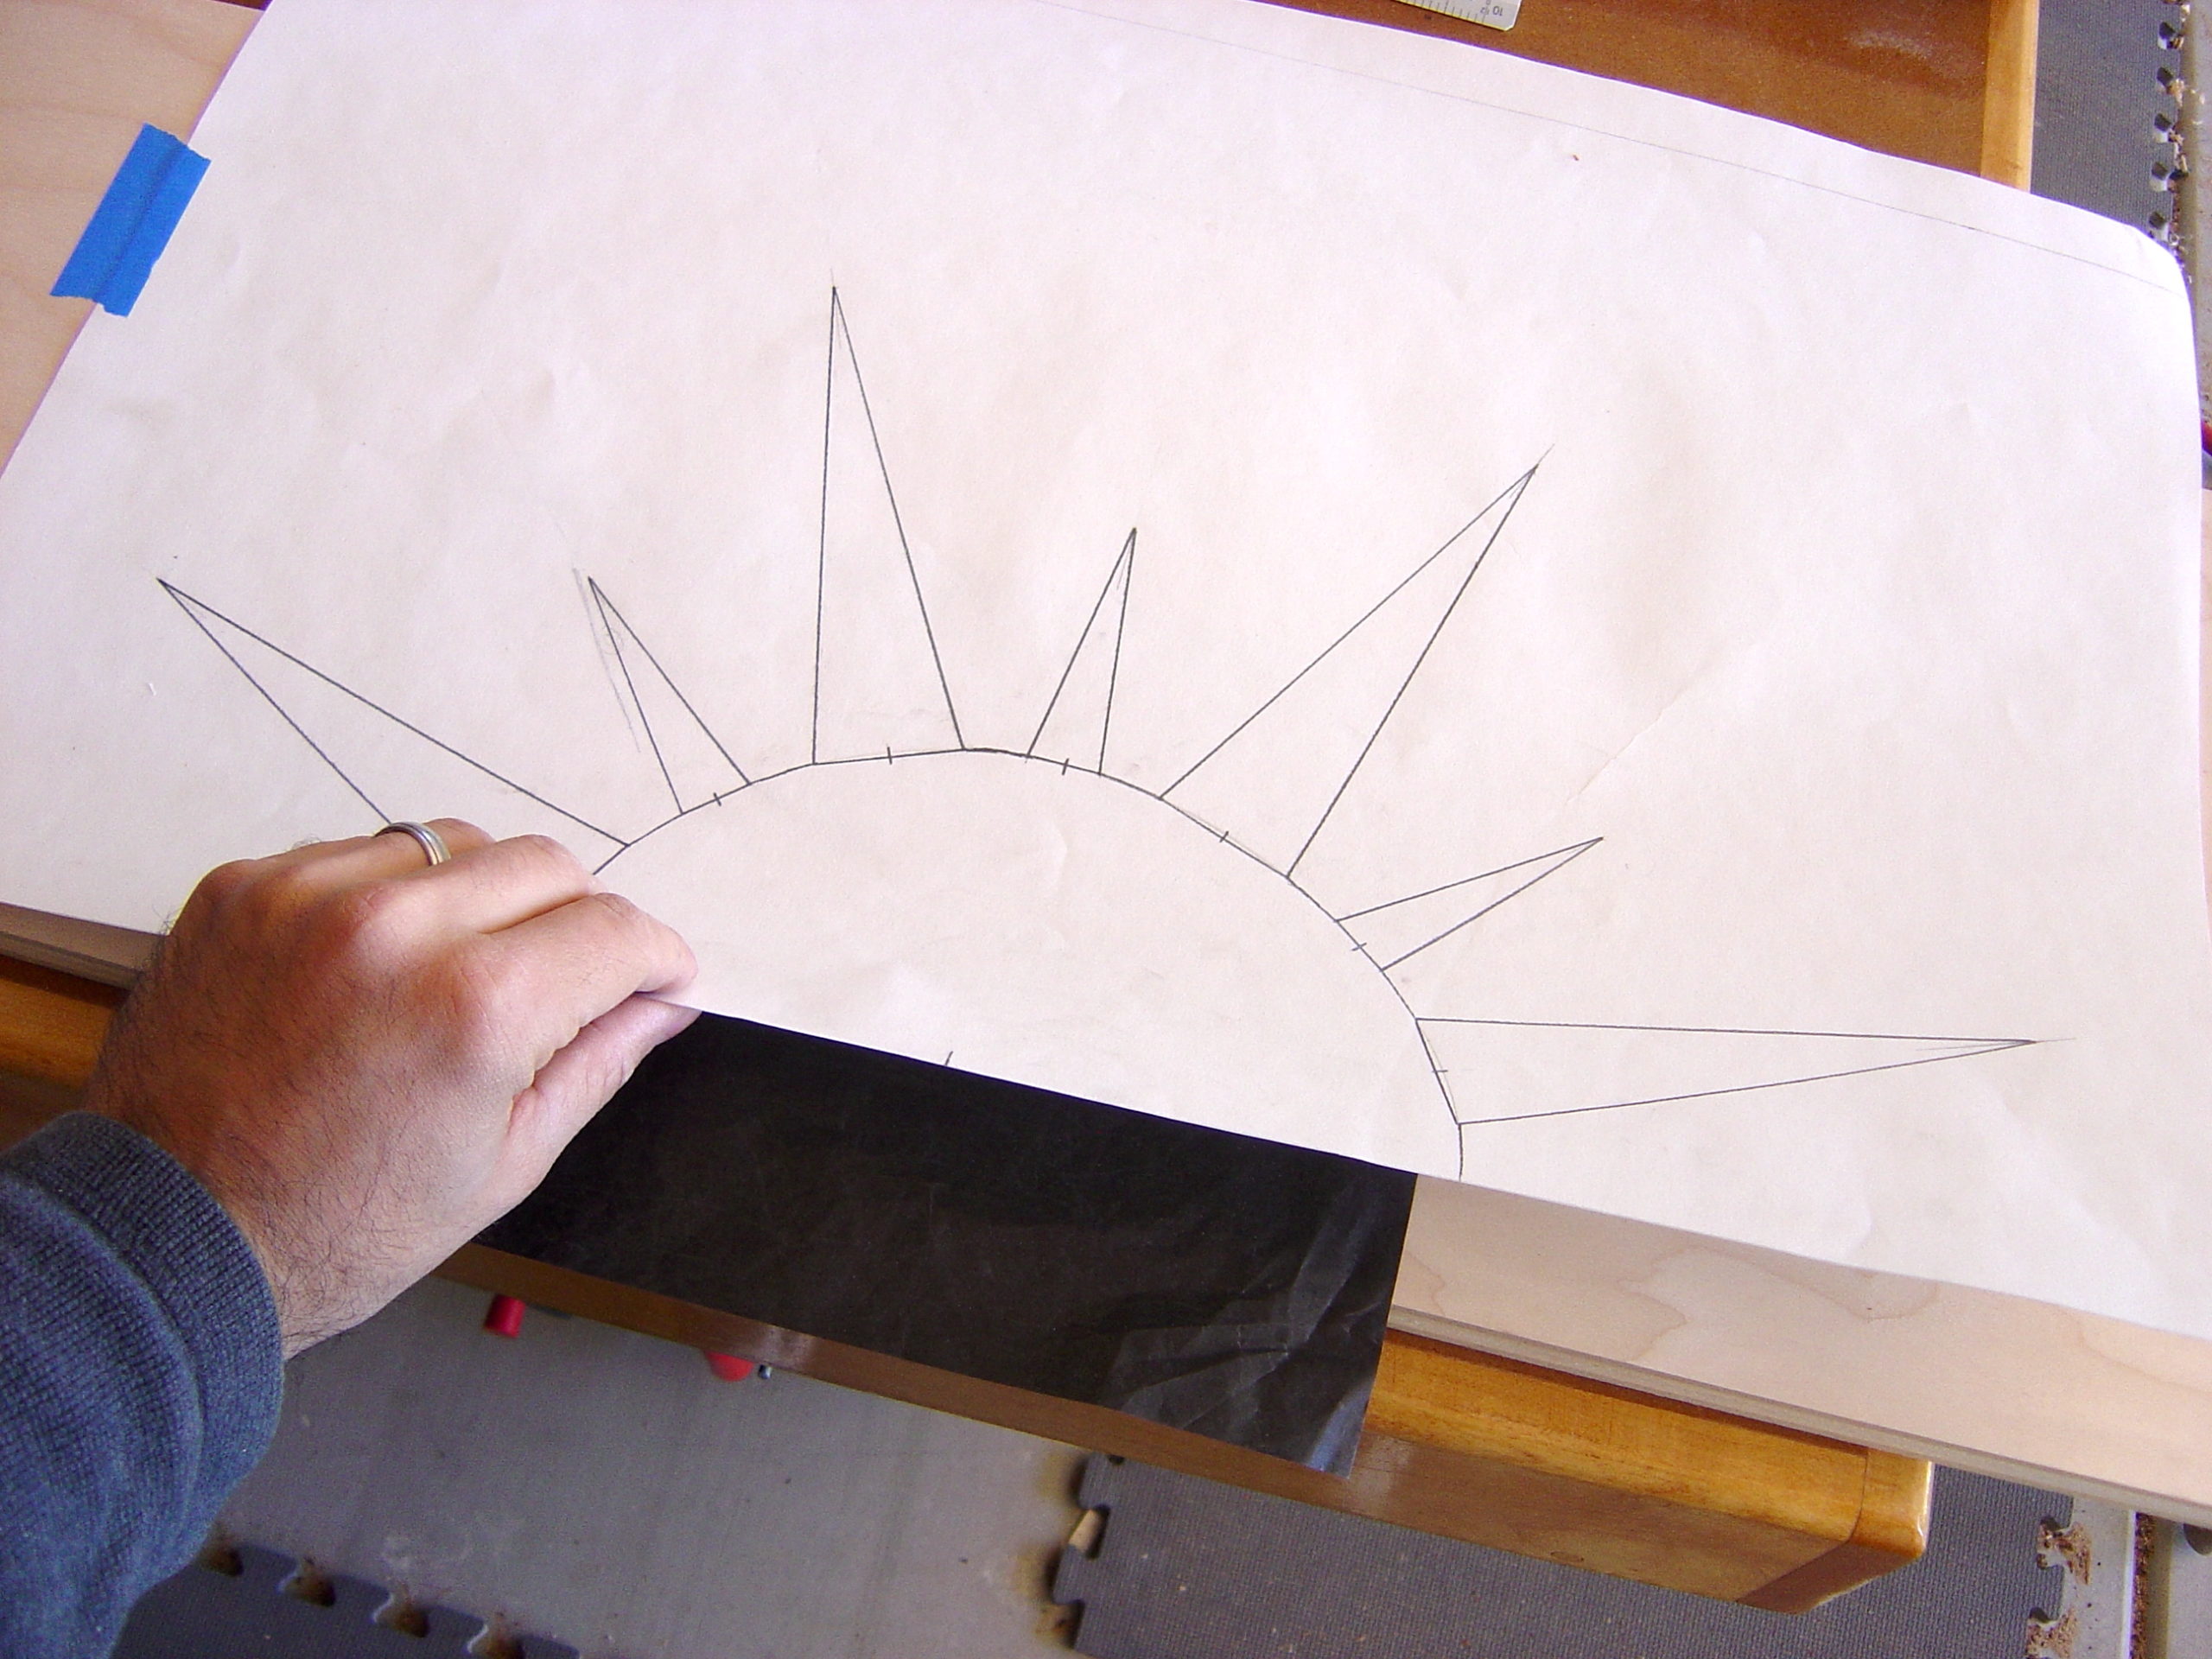
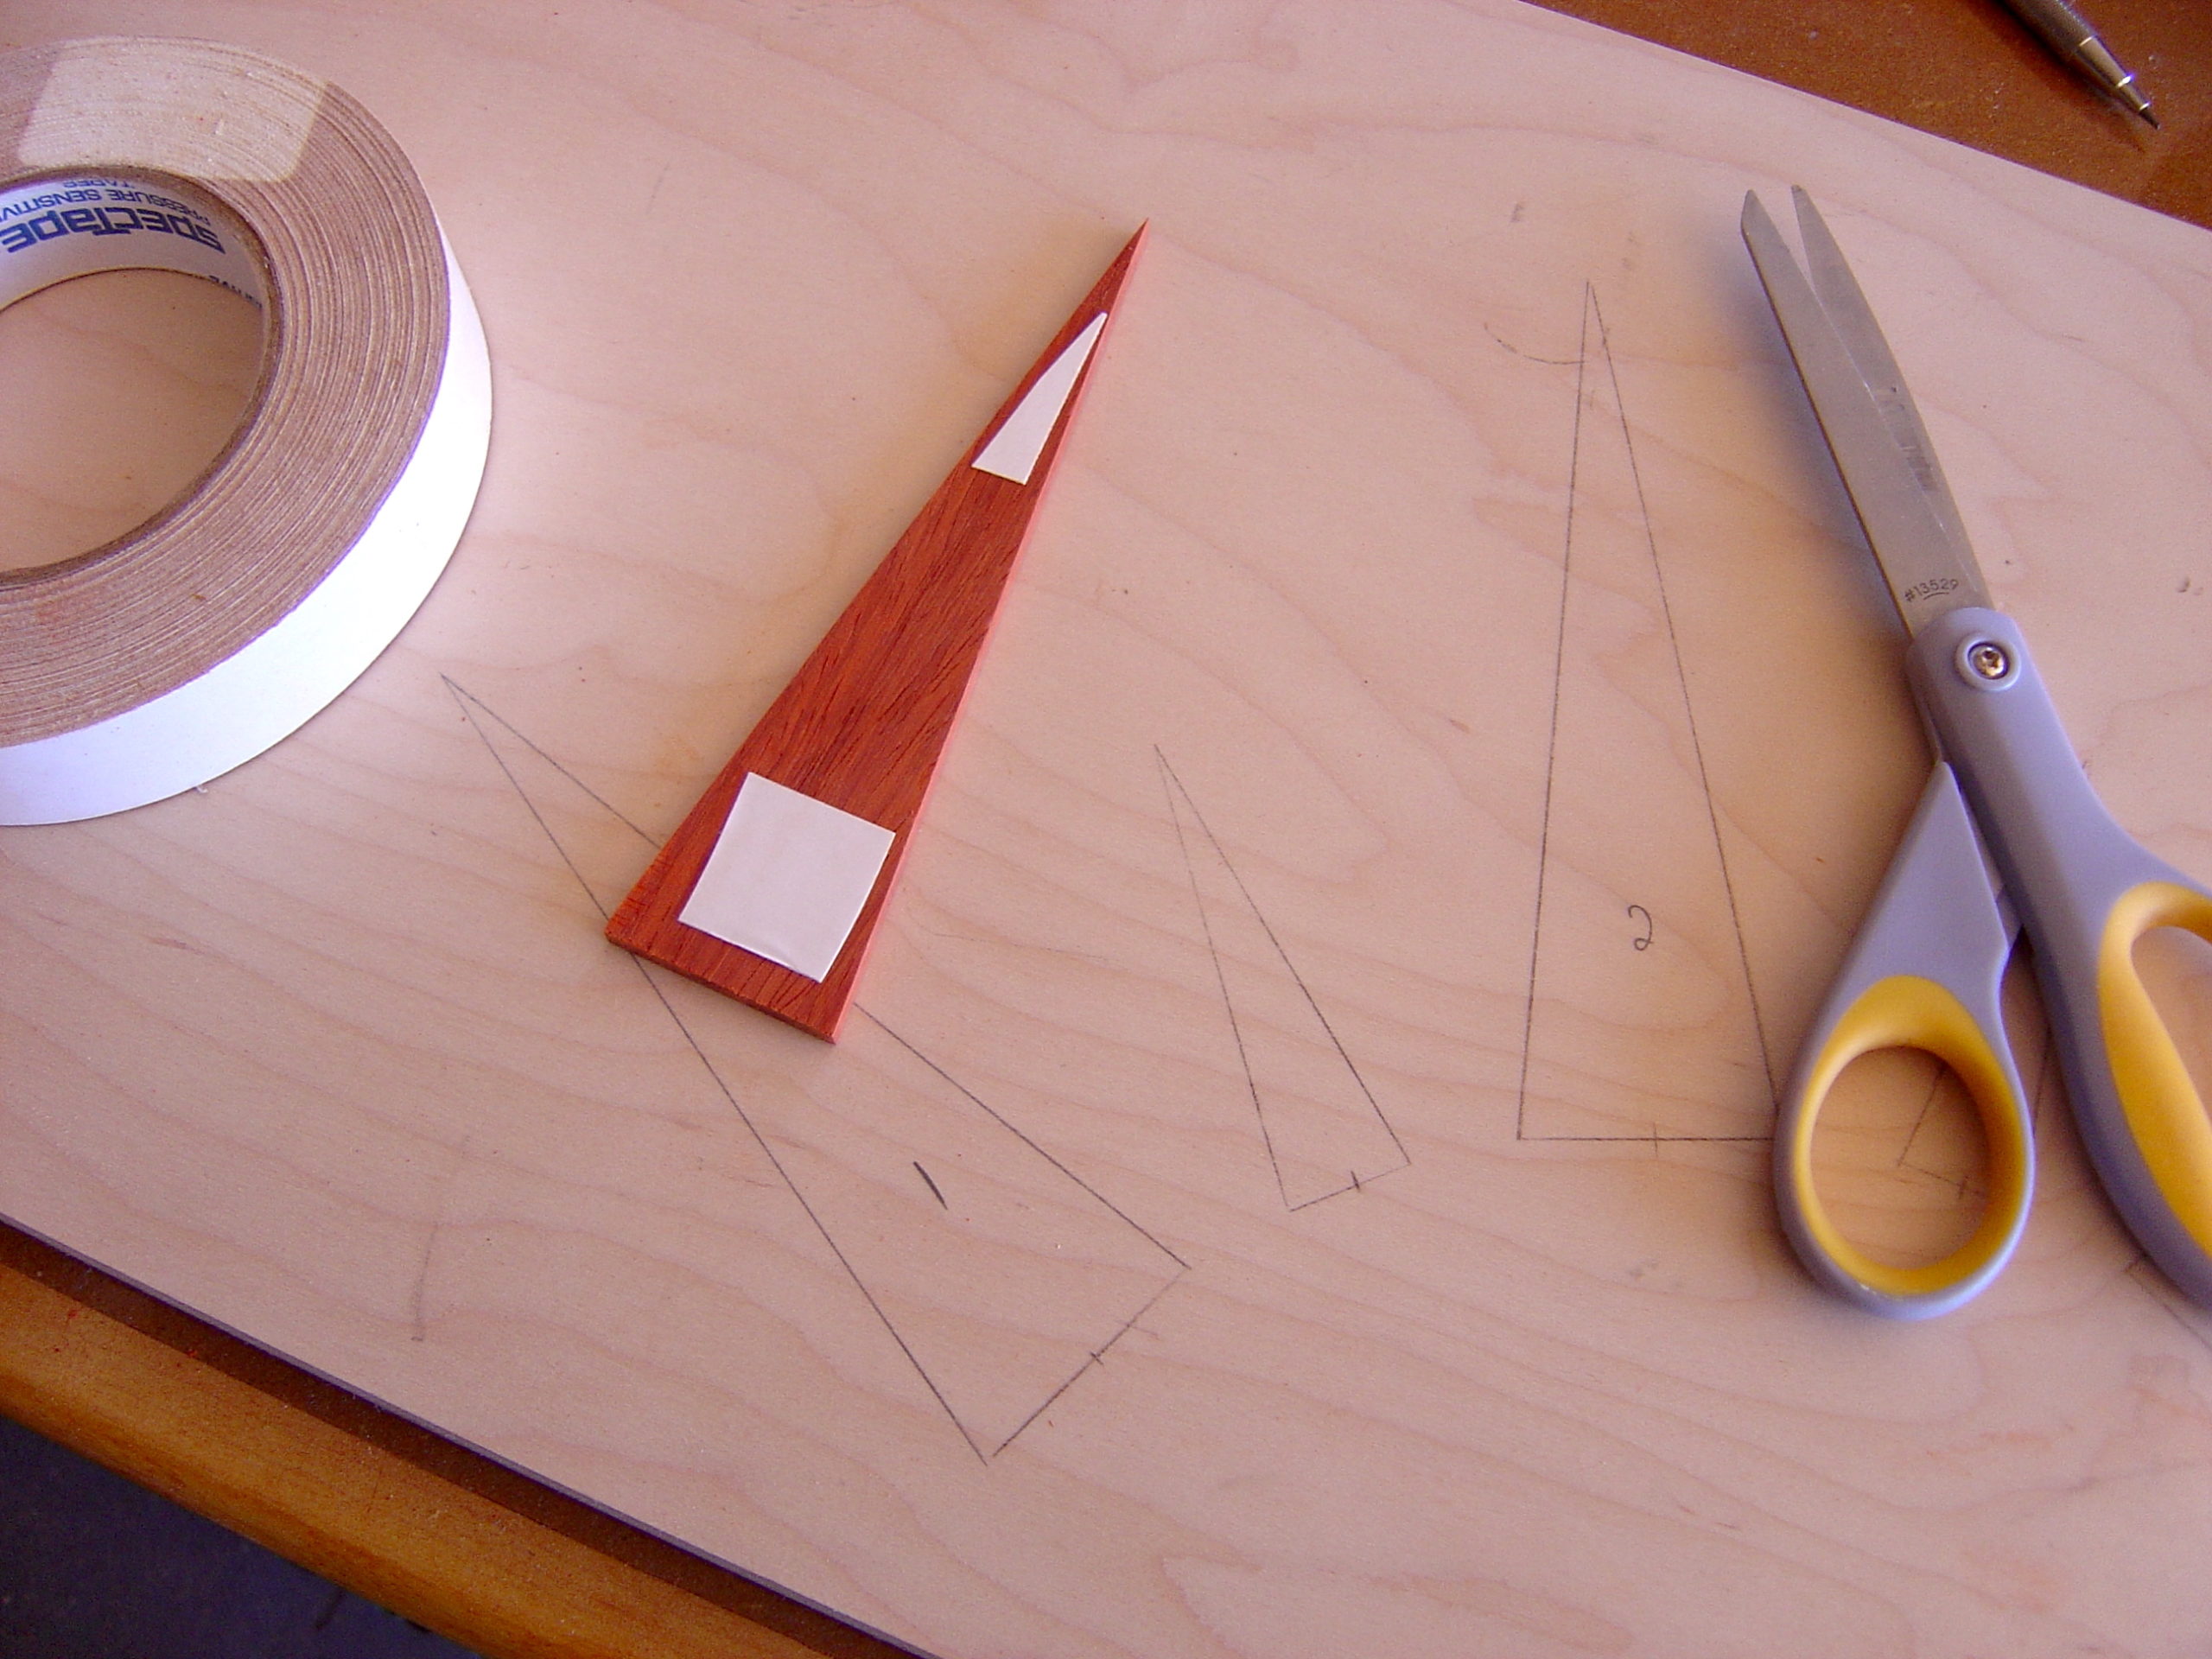
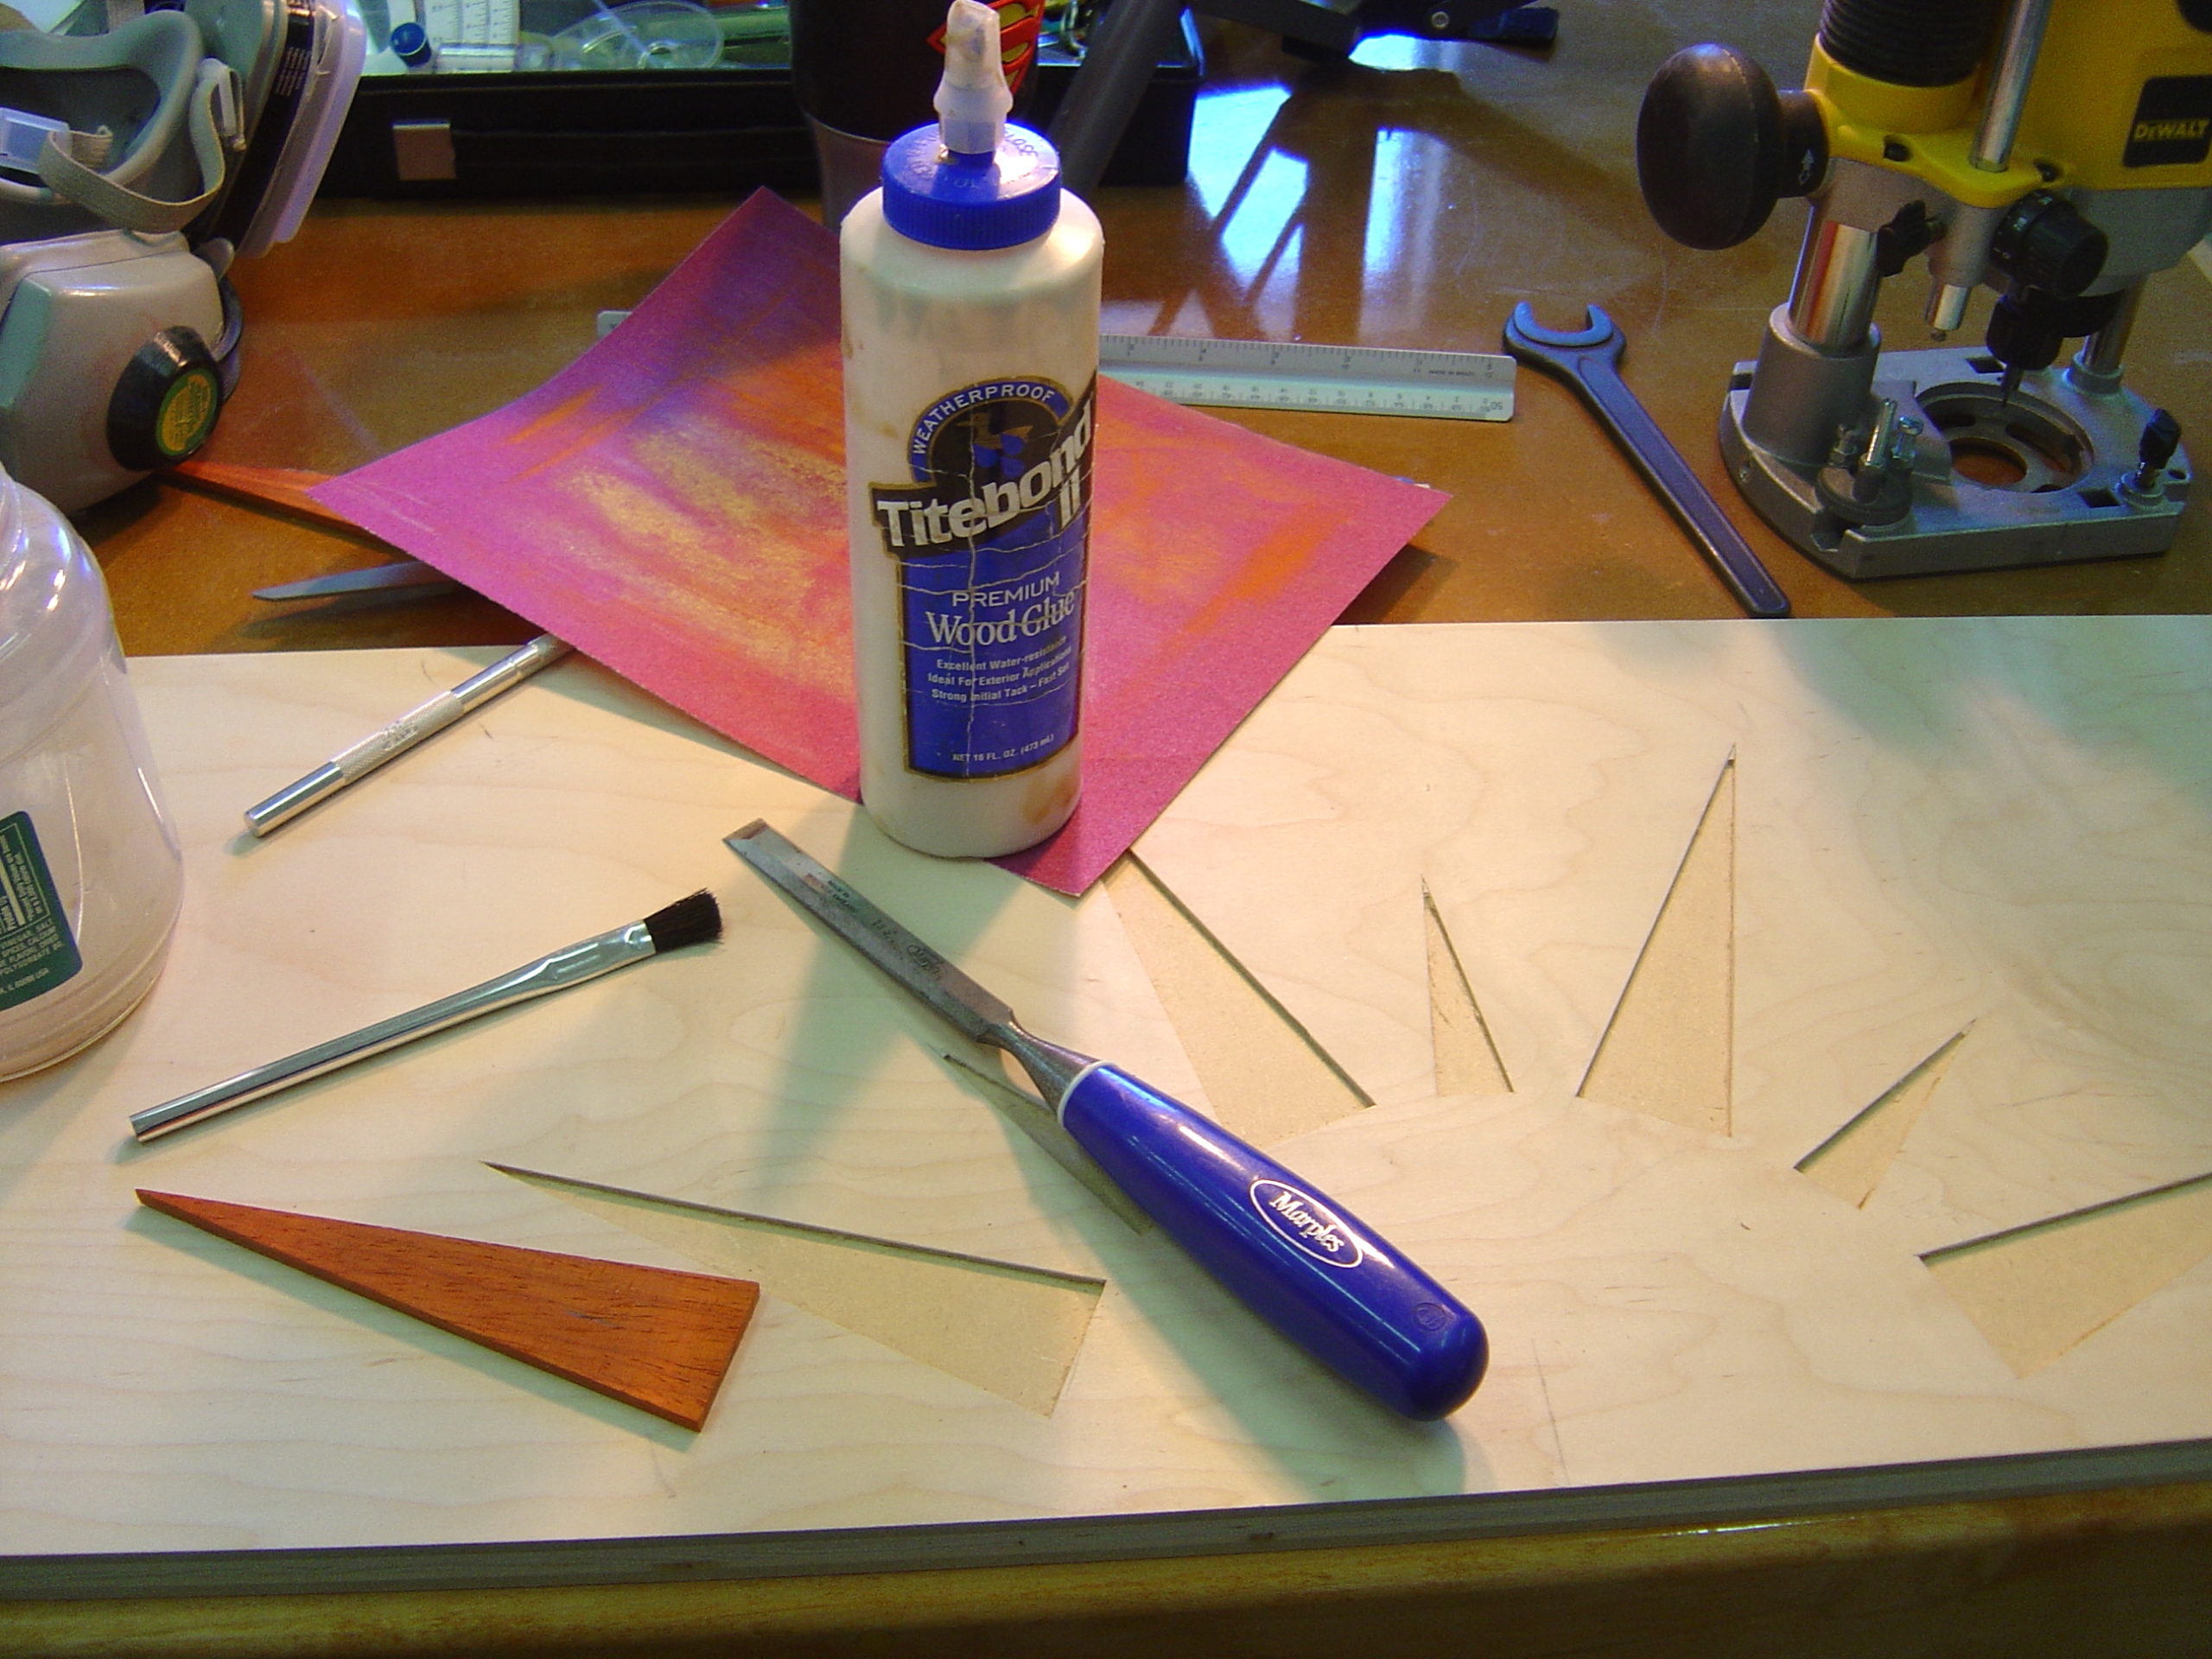
The project is an ottoman tray. It will be a simple piece of 3/4 maple ply with a substantial solid padauk border. The inlay, is a simple interpretation of the sun. So here we go. It all starts with your design. Draw it out exactly how you want it to appear. It helps to have center-line and reference marks as they will make your life easier when it comes time to keep things aligned. Next, position your drawing over the substrate and tape one side in position. Now you can slide in a piece of carbon paper. Simply trace your design thereby transferring it to the substrate. For this design, the reference marks aren’t all that critical since I only need to transfer my design to the substrate once. But if you are doing a more complex design like one of my leaves, you will be re-tracing the design several times. Reference marks are then imperative.
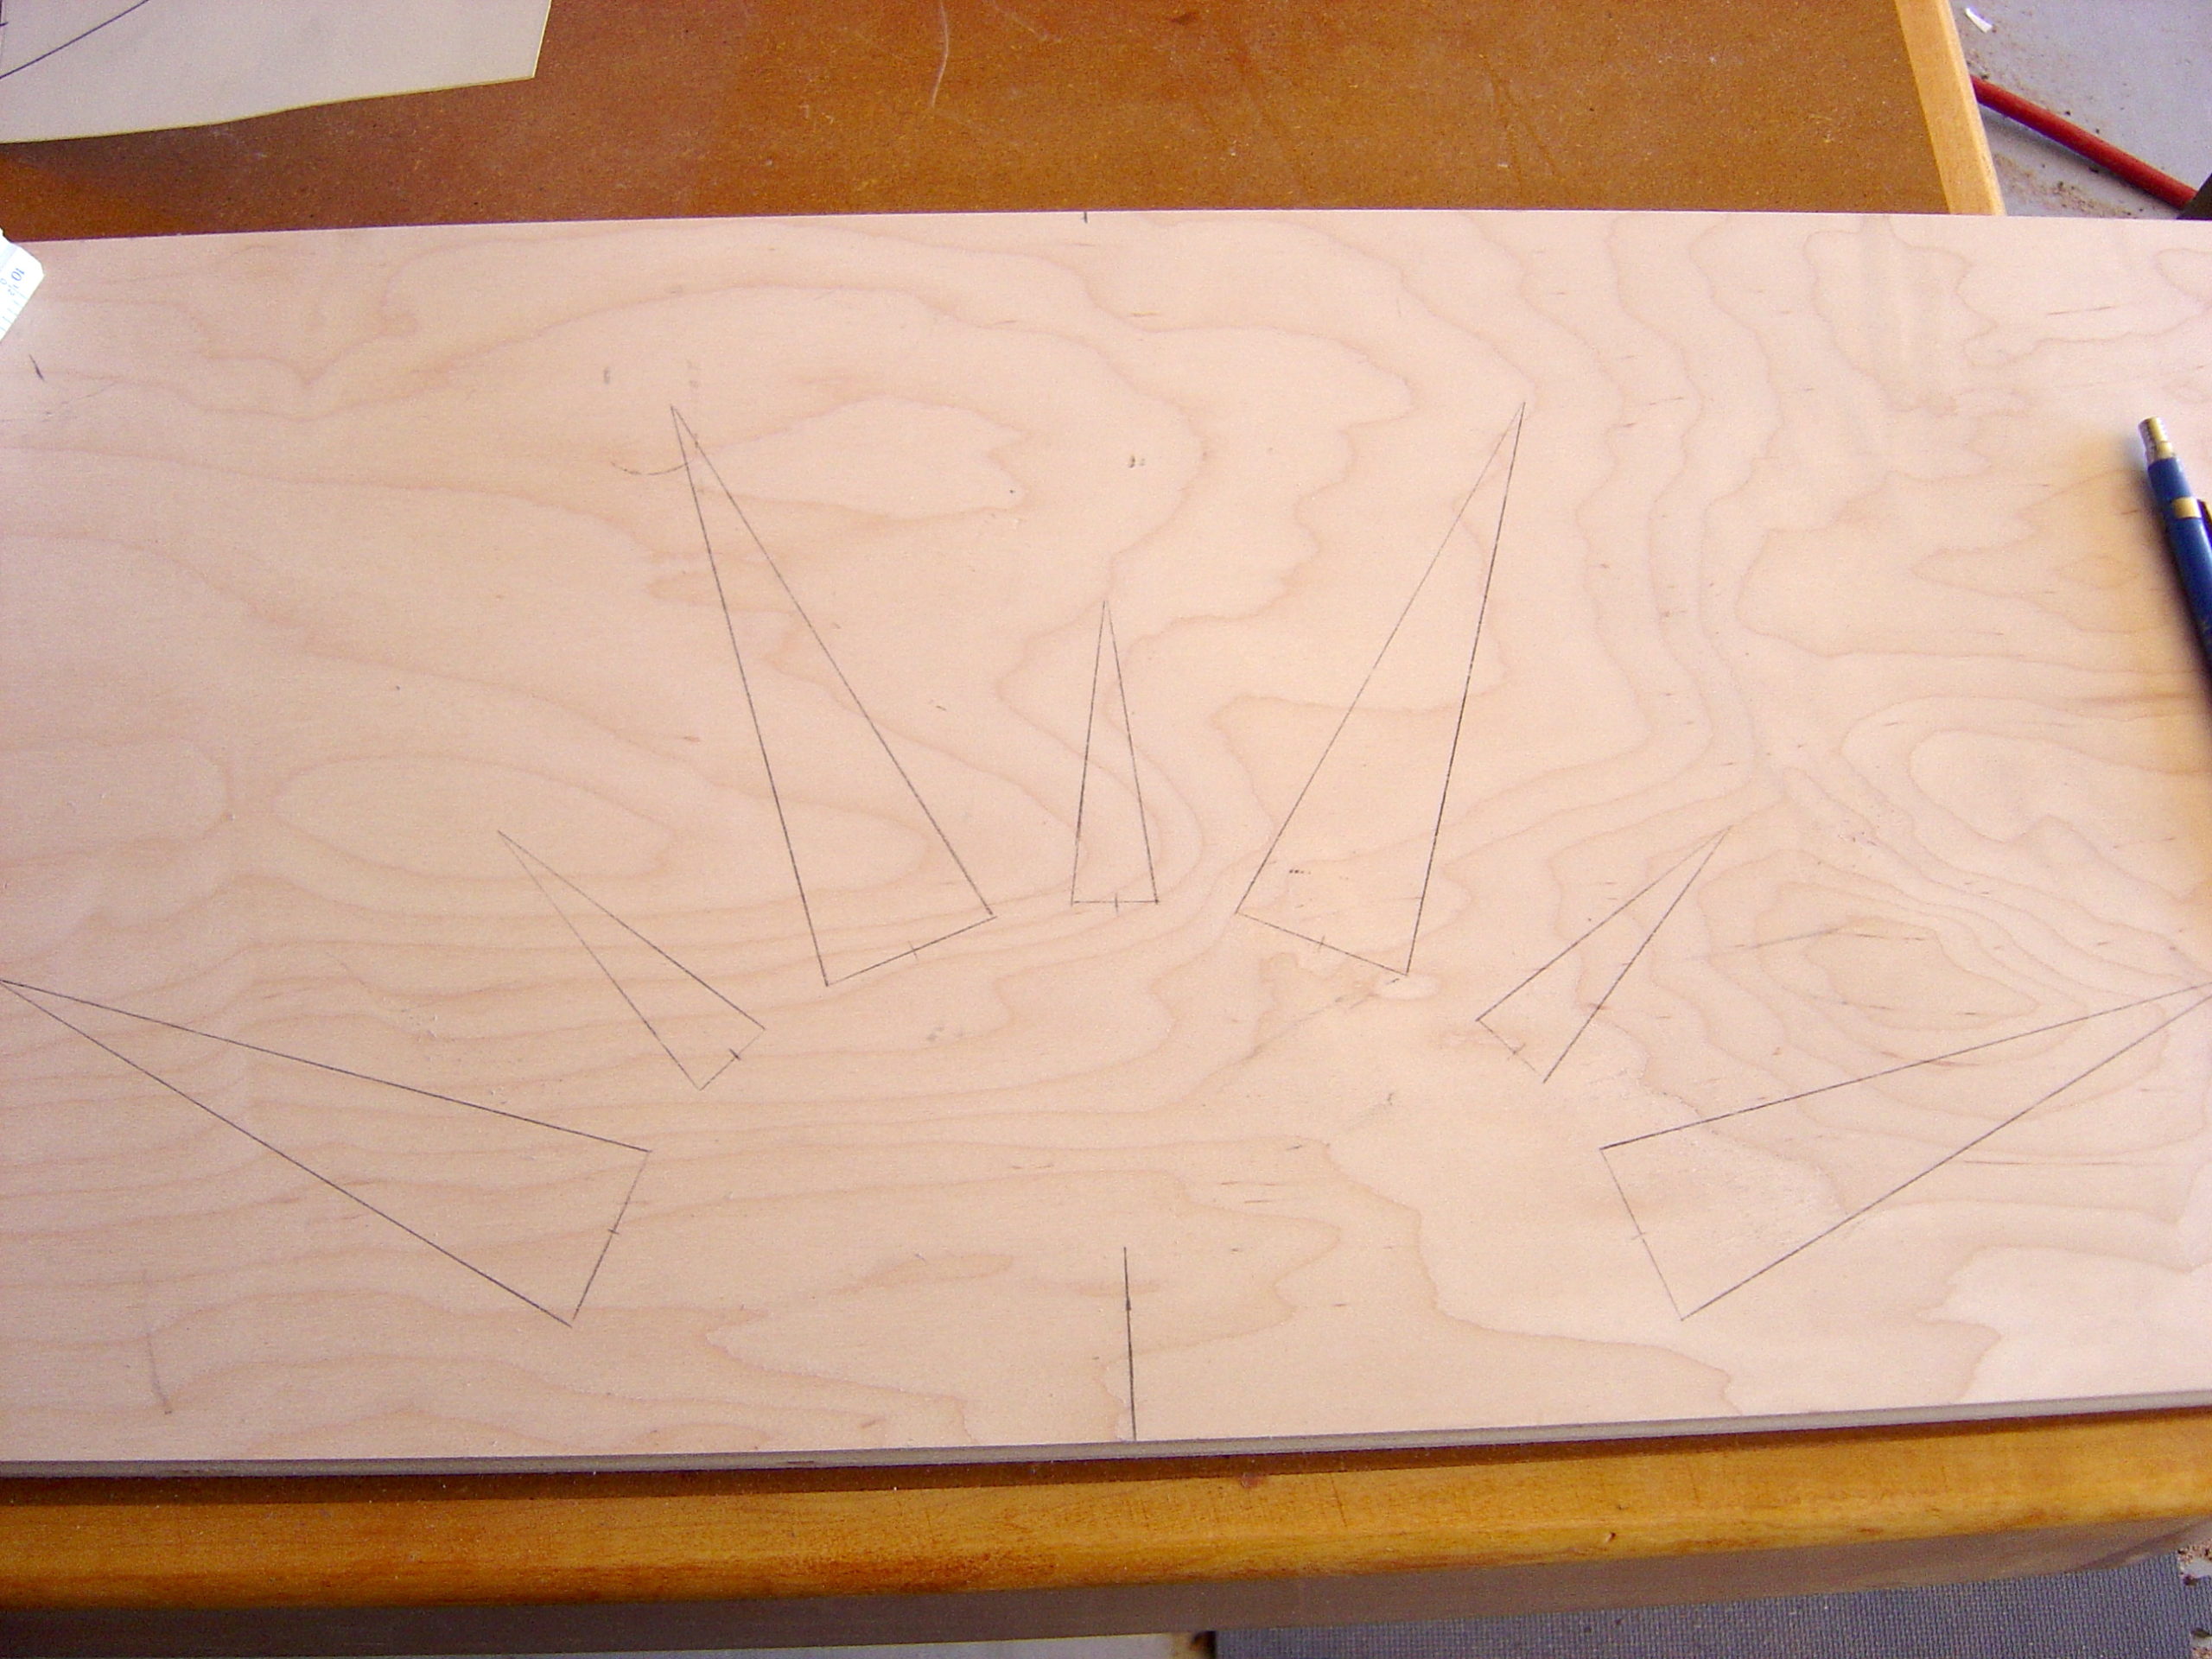
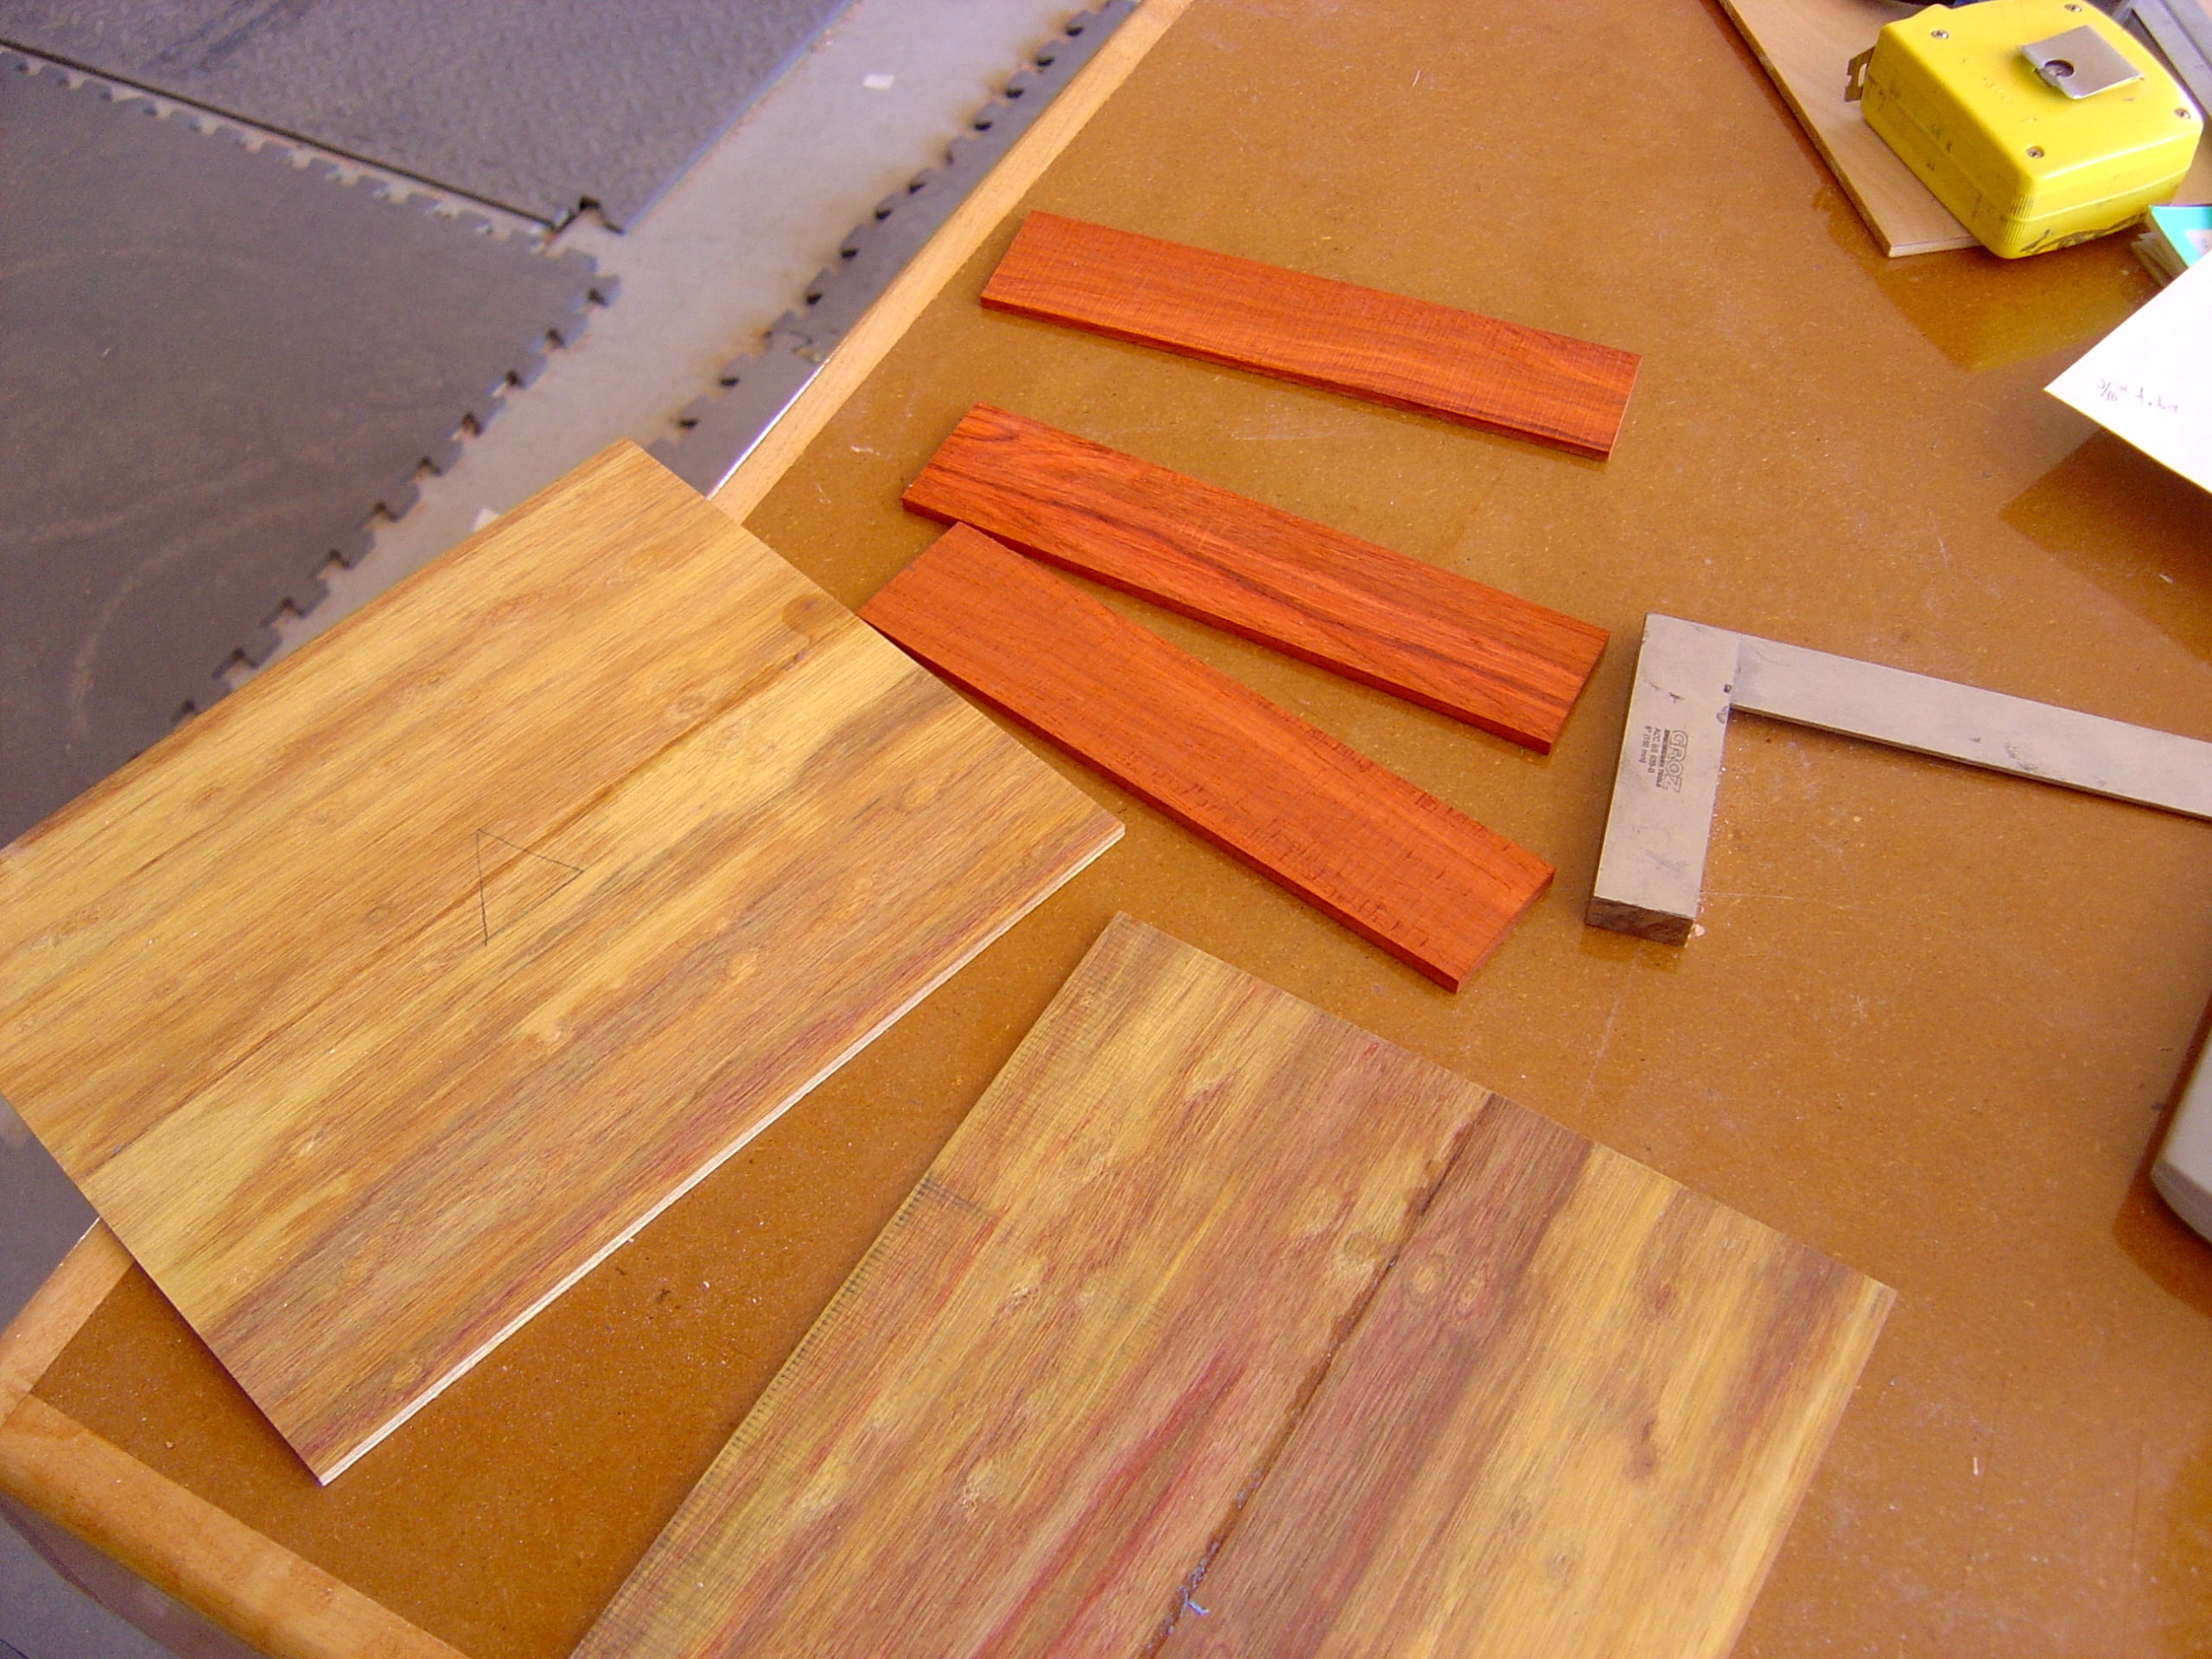
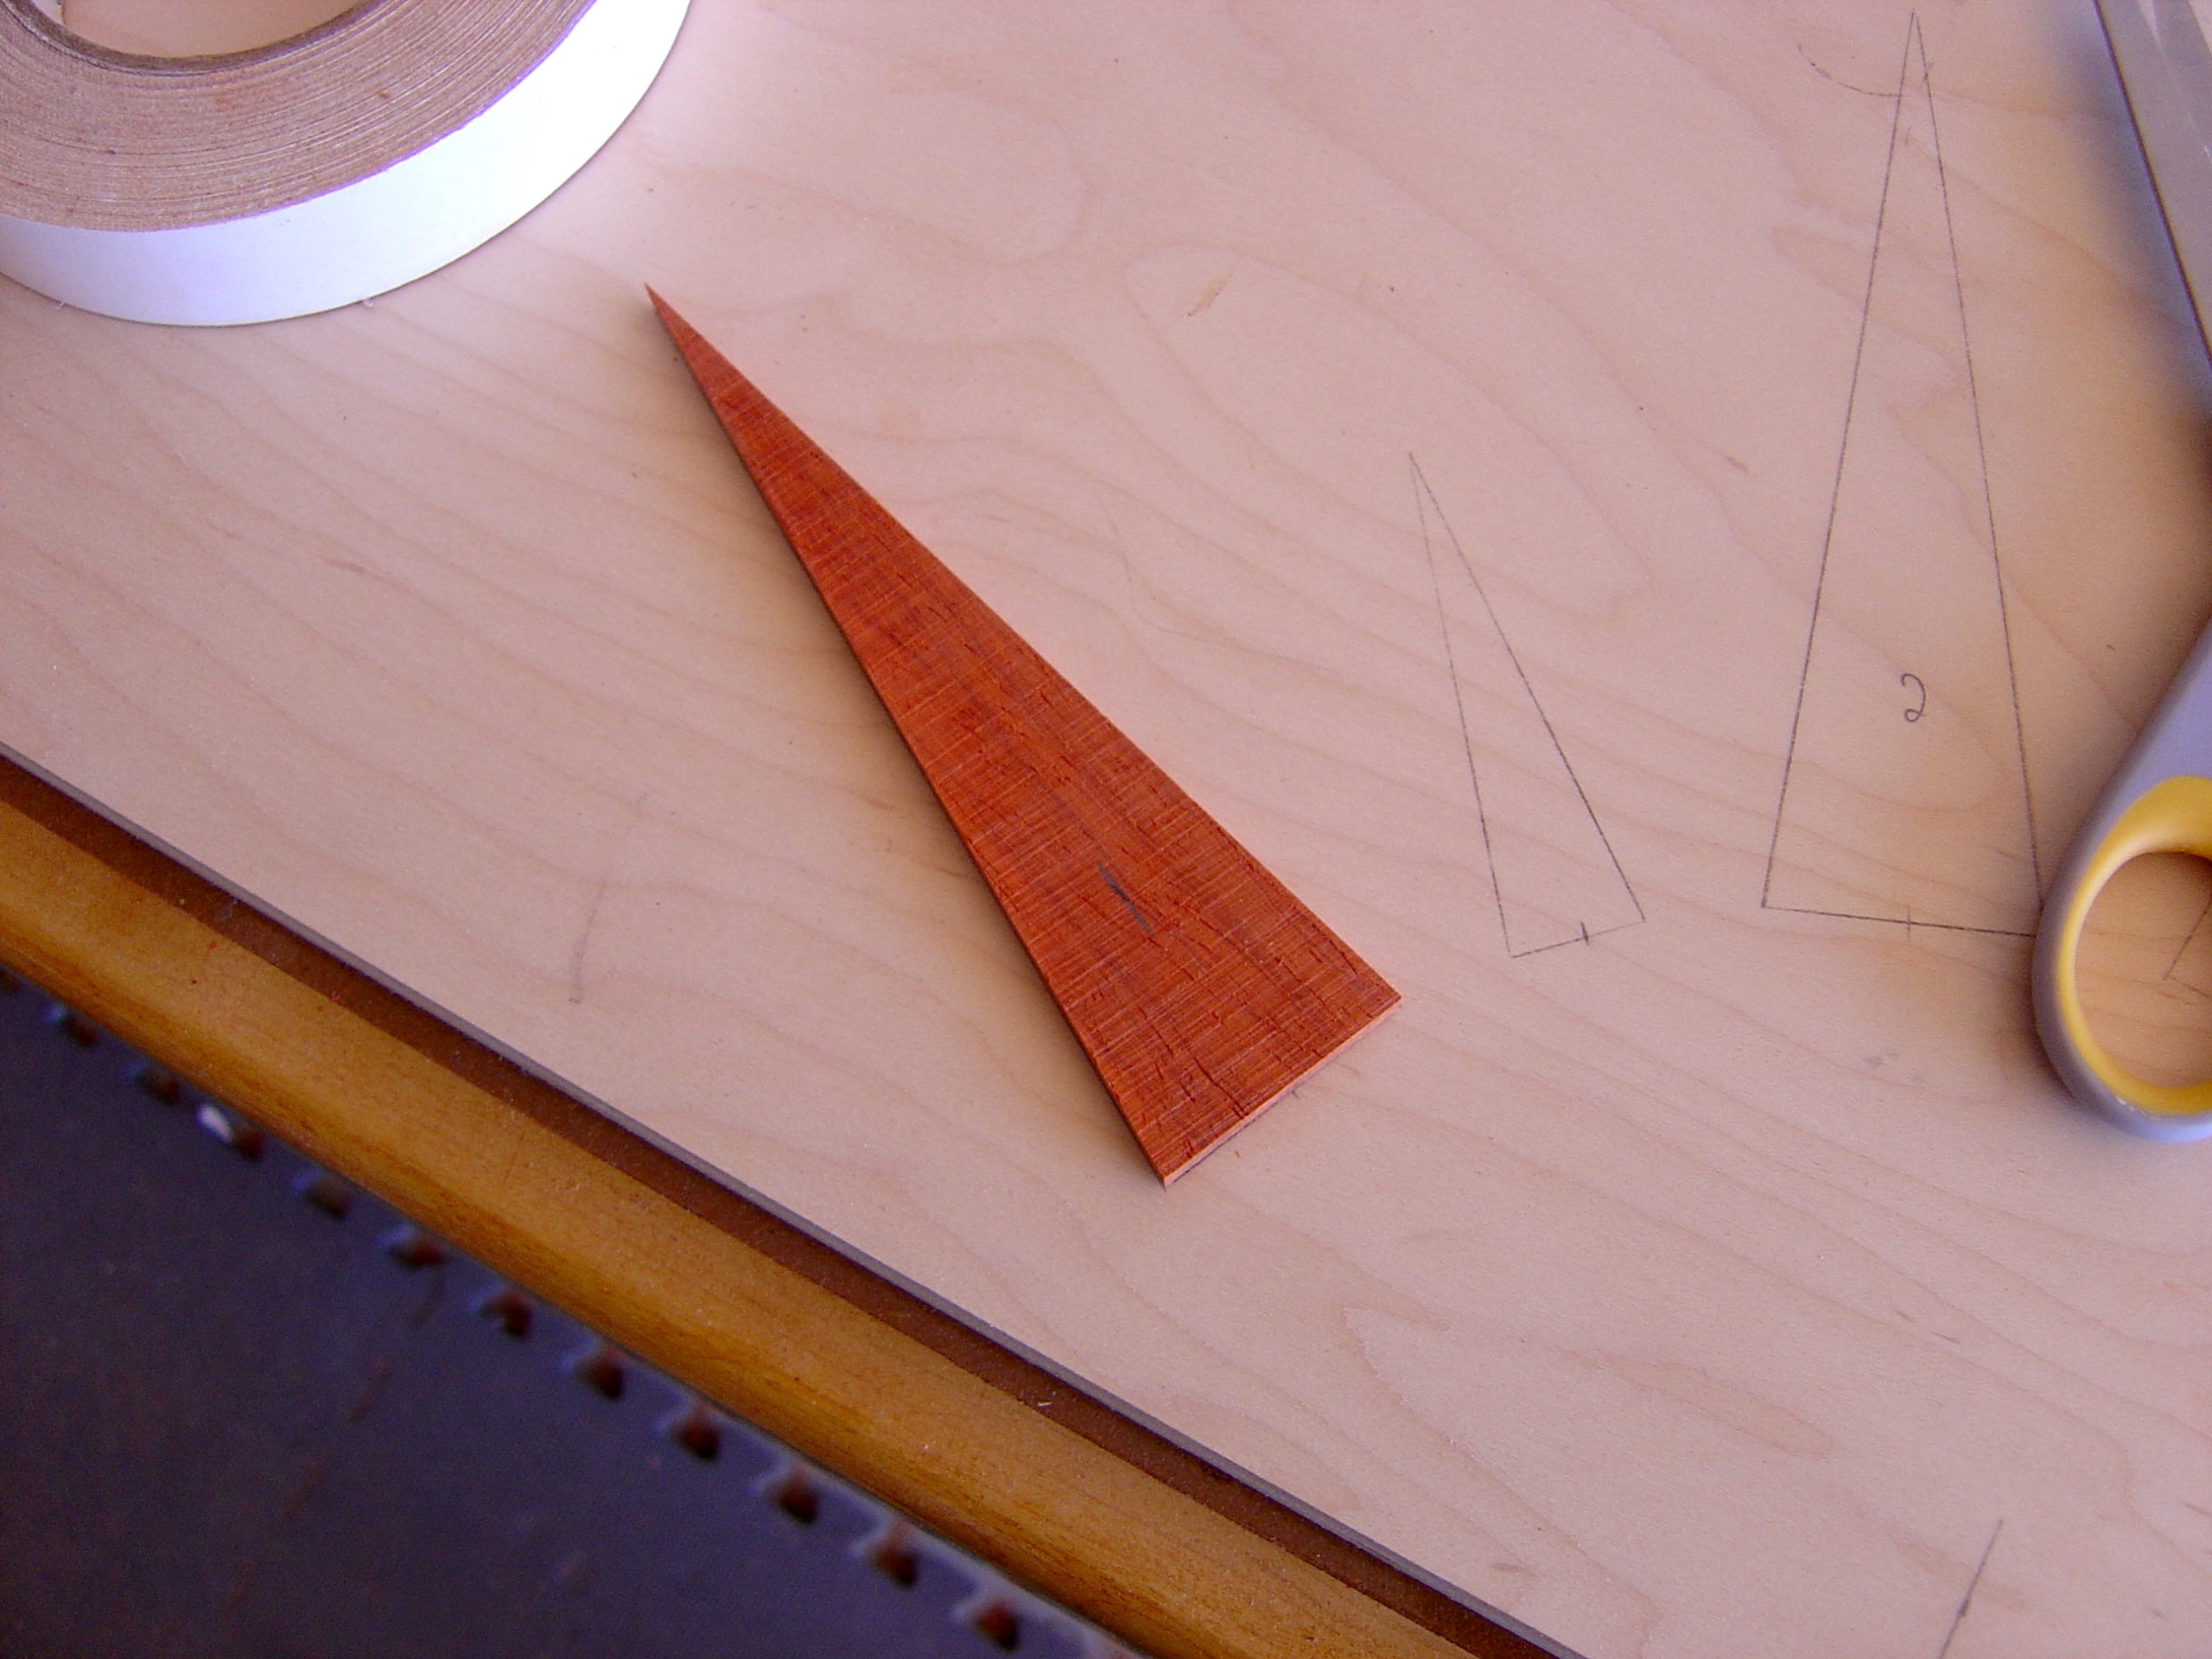
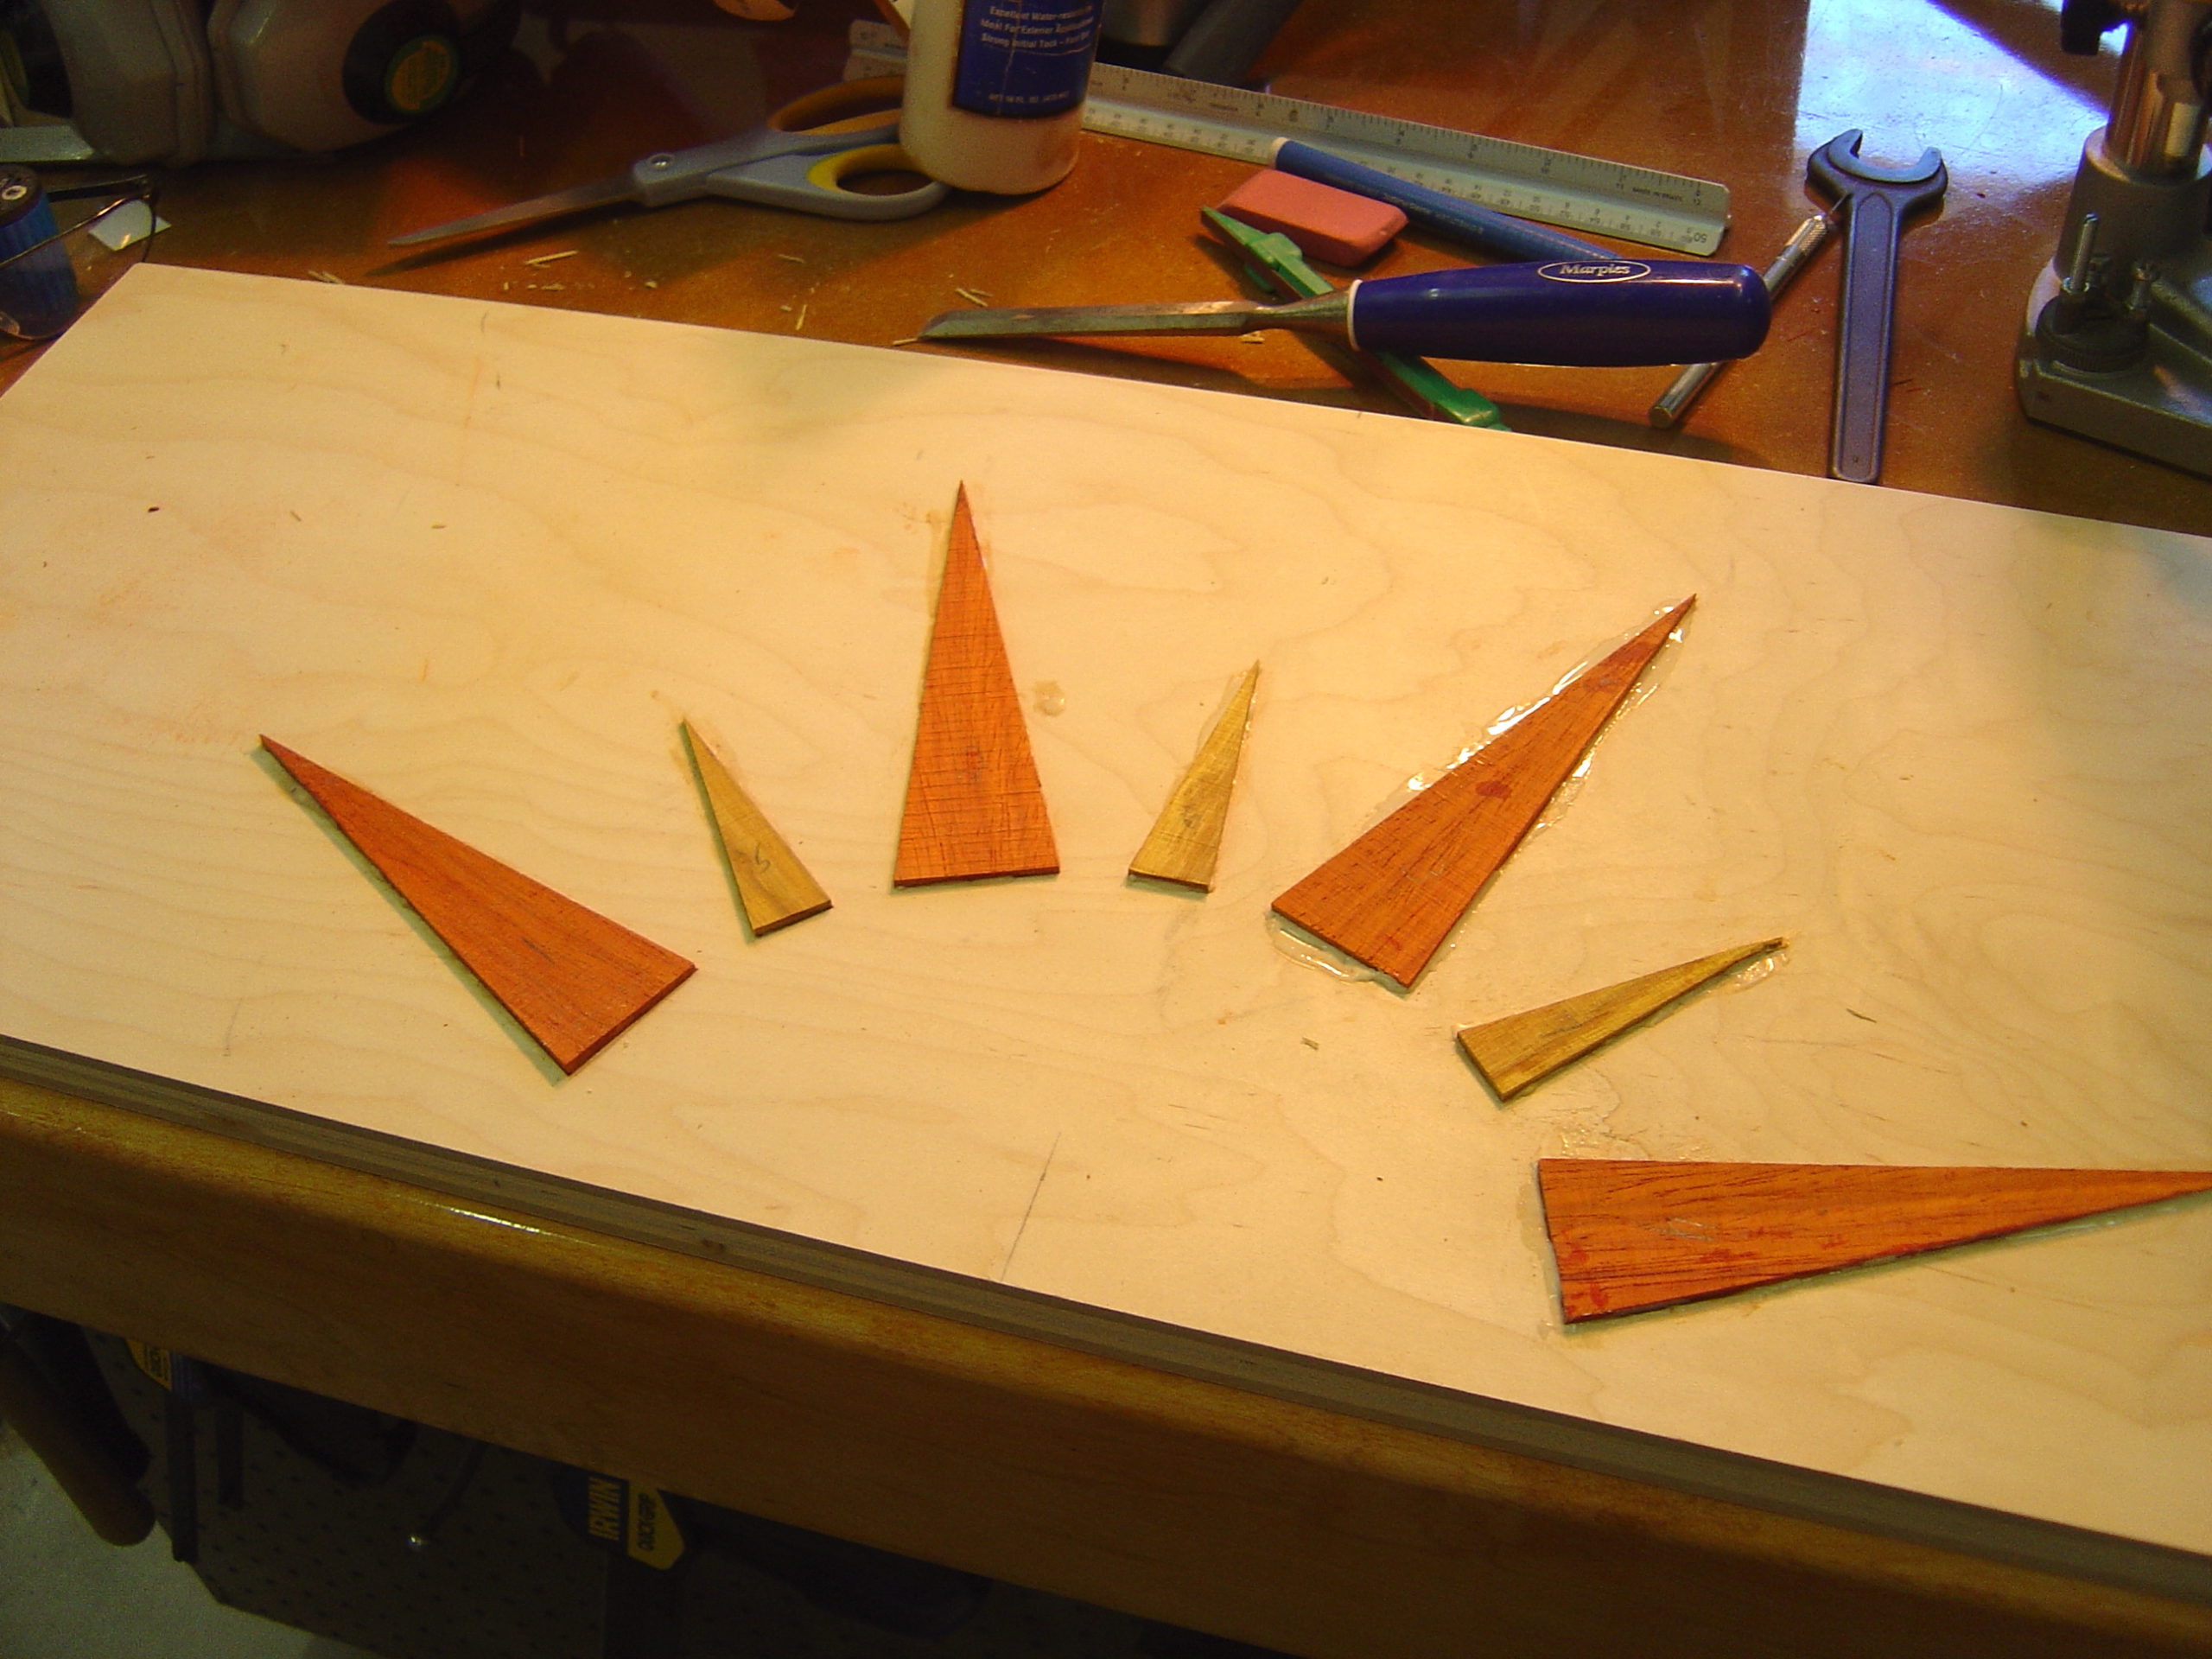
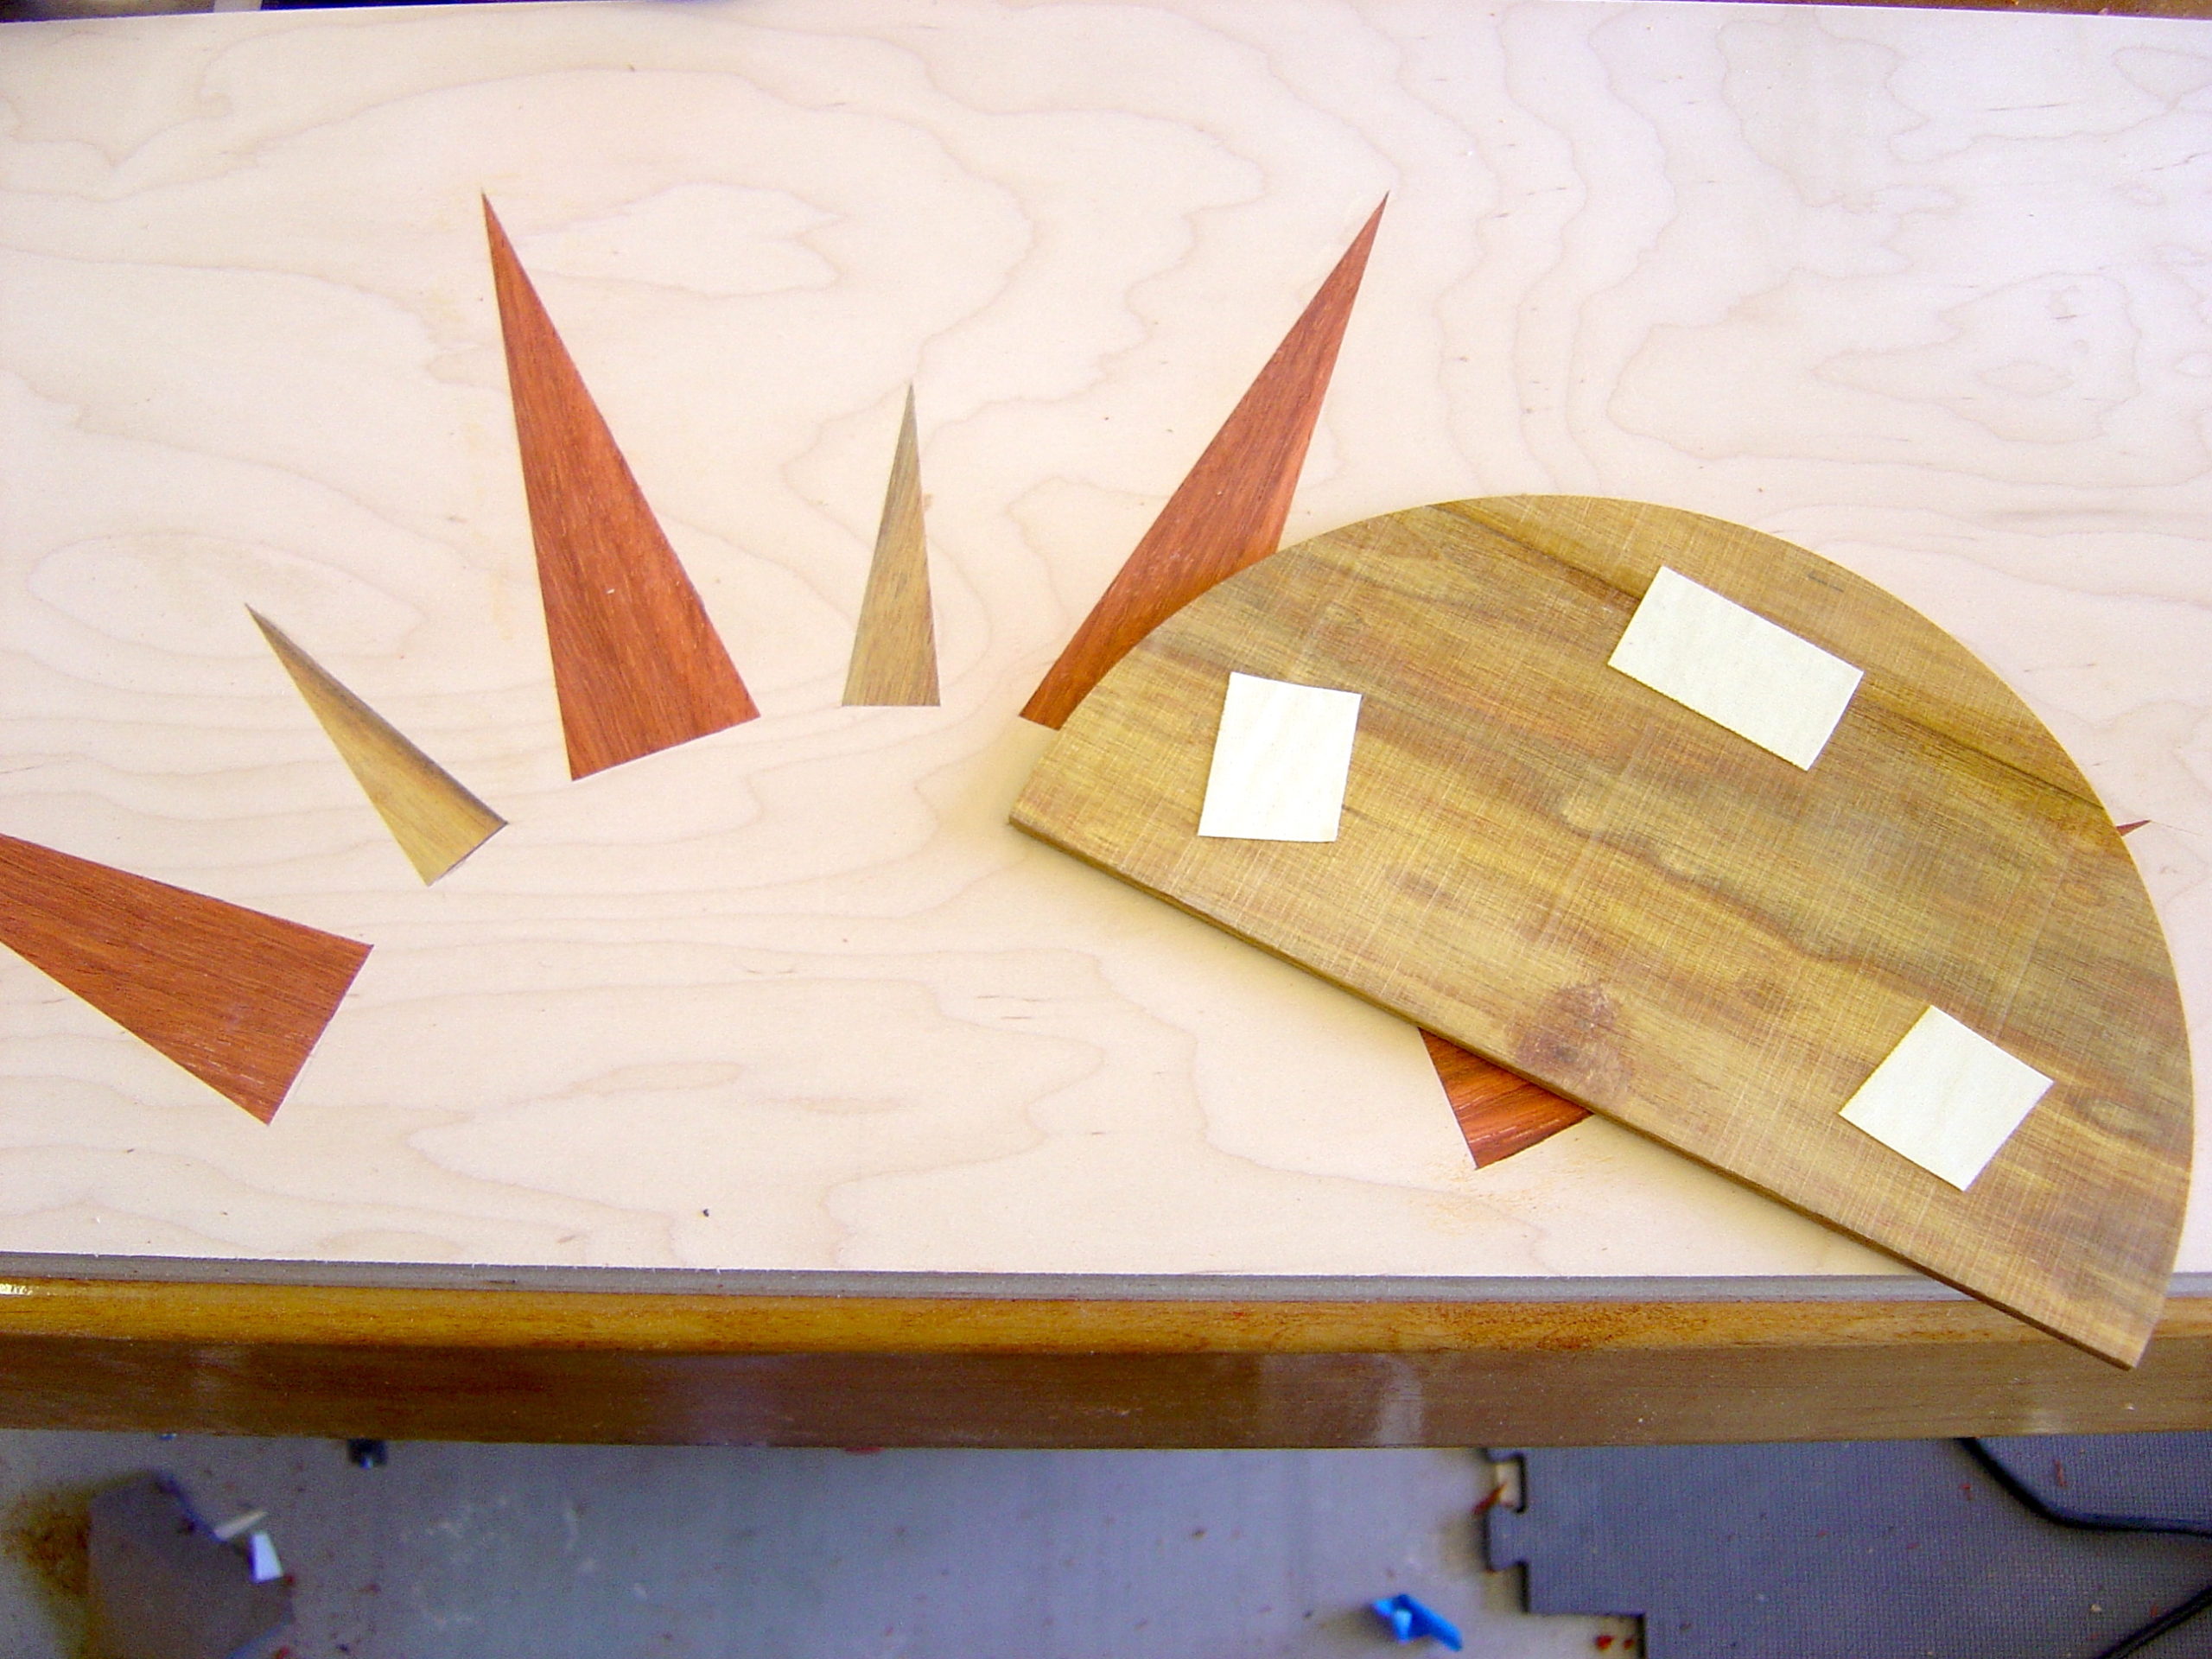
If you haven’t already done so, you want to prepare your inlay stock at this point. I milled up few pieces of padauk for the large spikes and canarywood for the small spikes and the body of the sun. I like to aim for 1/16″-1/8″ thickness for my stock. My drum sander belt is broken so these are a bit larger than I was shooting for. Since I have repeated geometric shapes, my next step was to make a template for each piece out of 1/4″ ply. I simply used the carbon paper to trace the design onto the ply and cut it at the bandsaw.
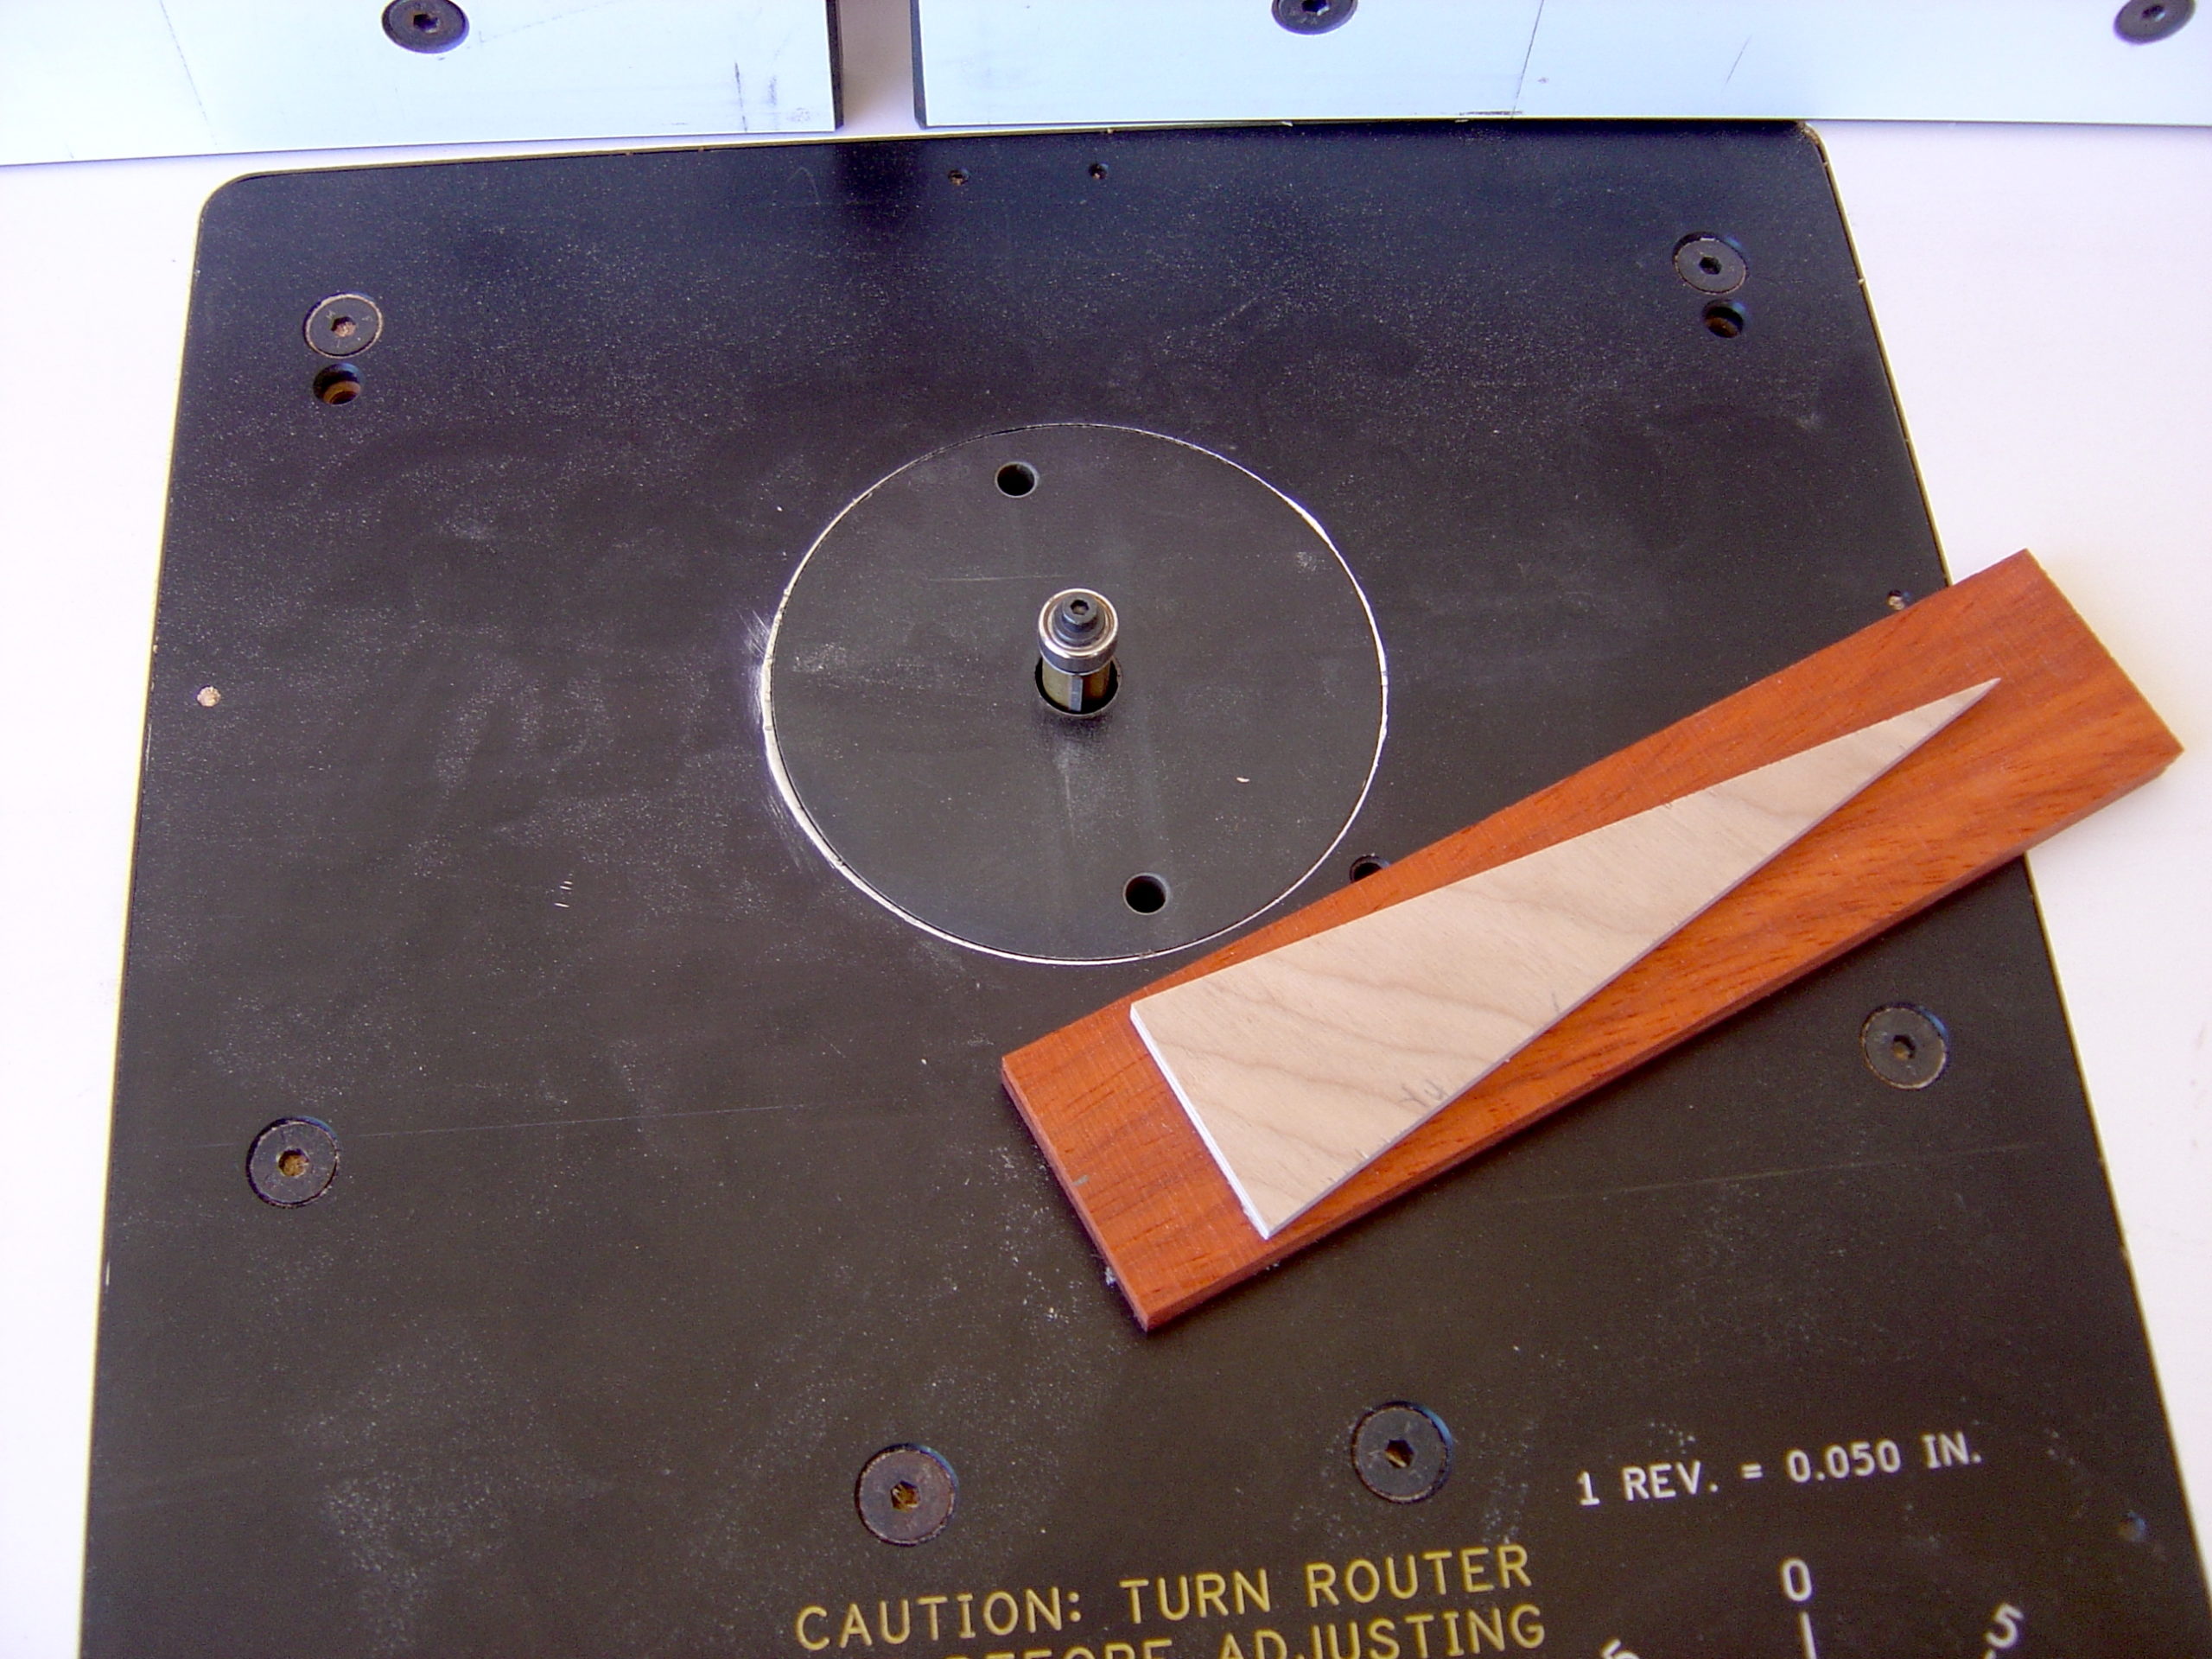
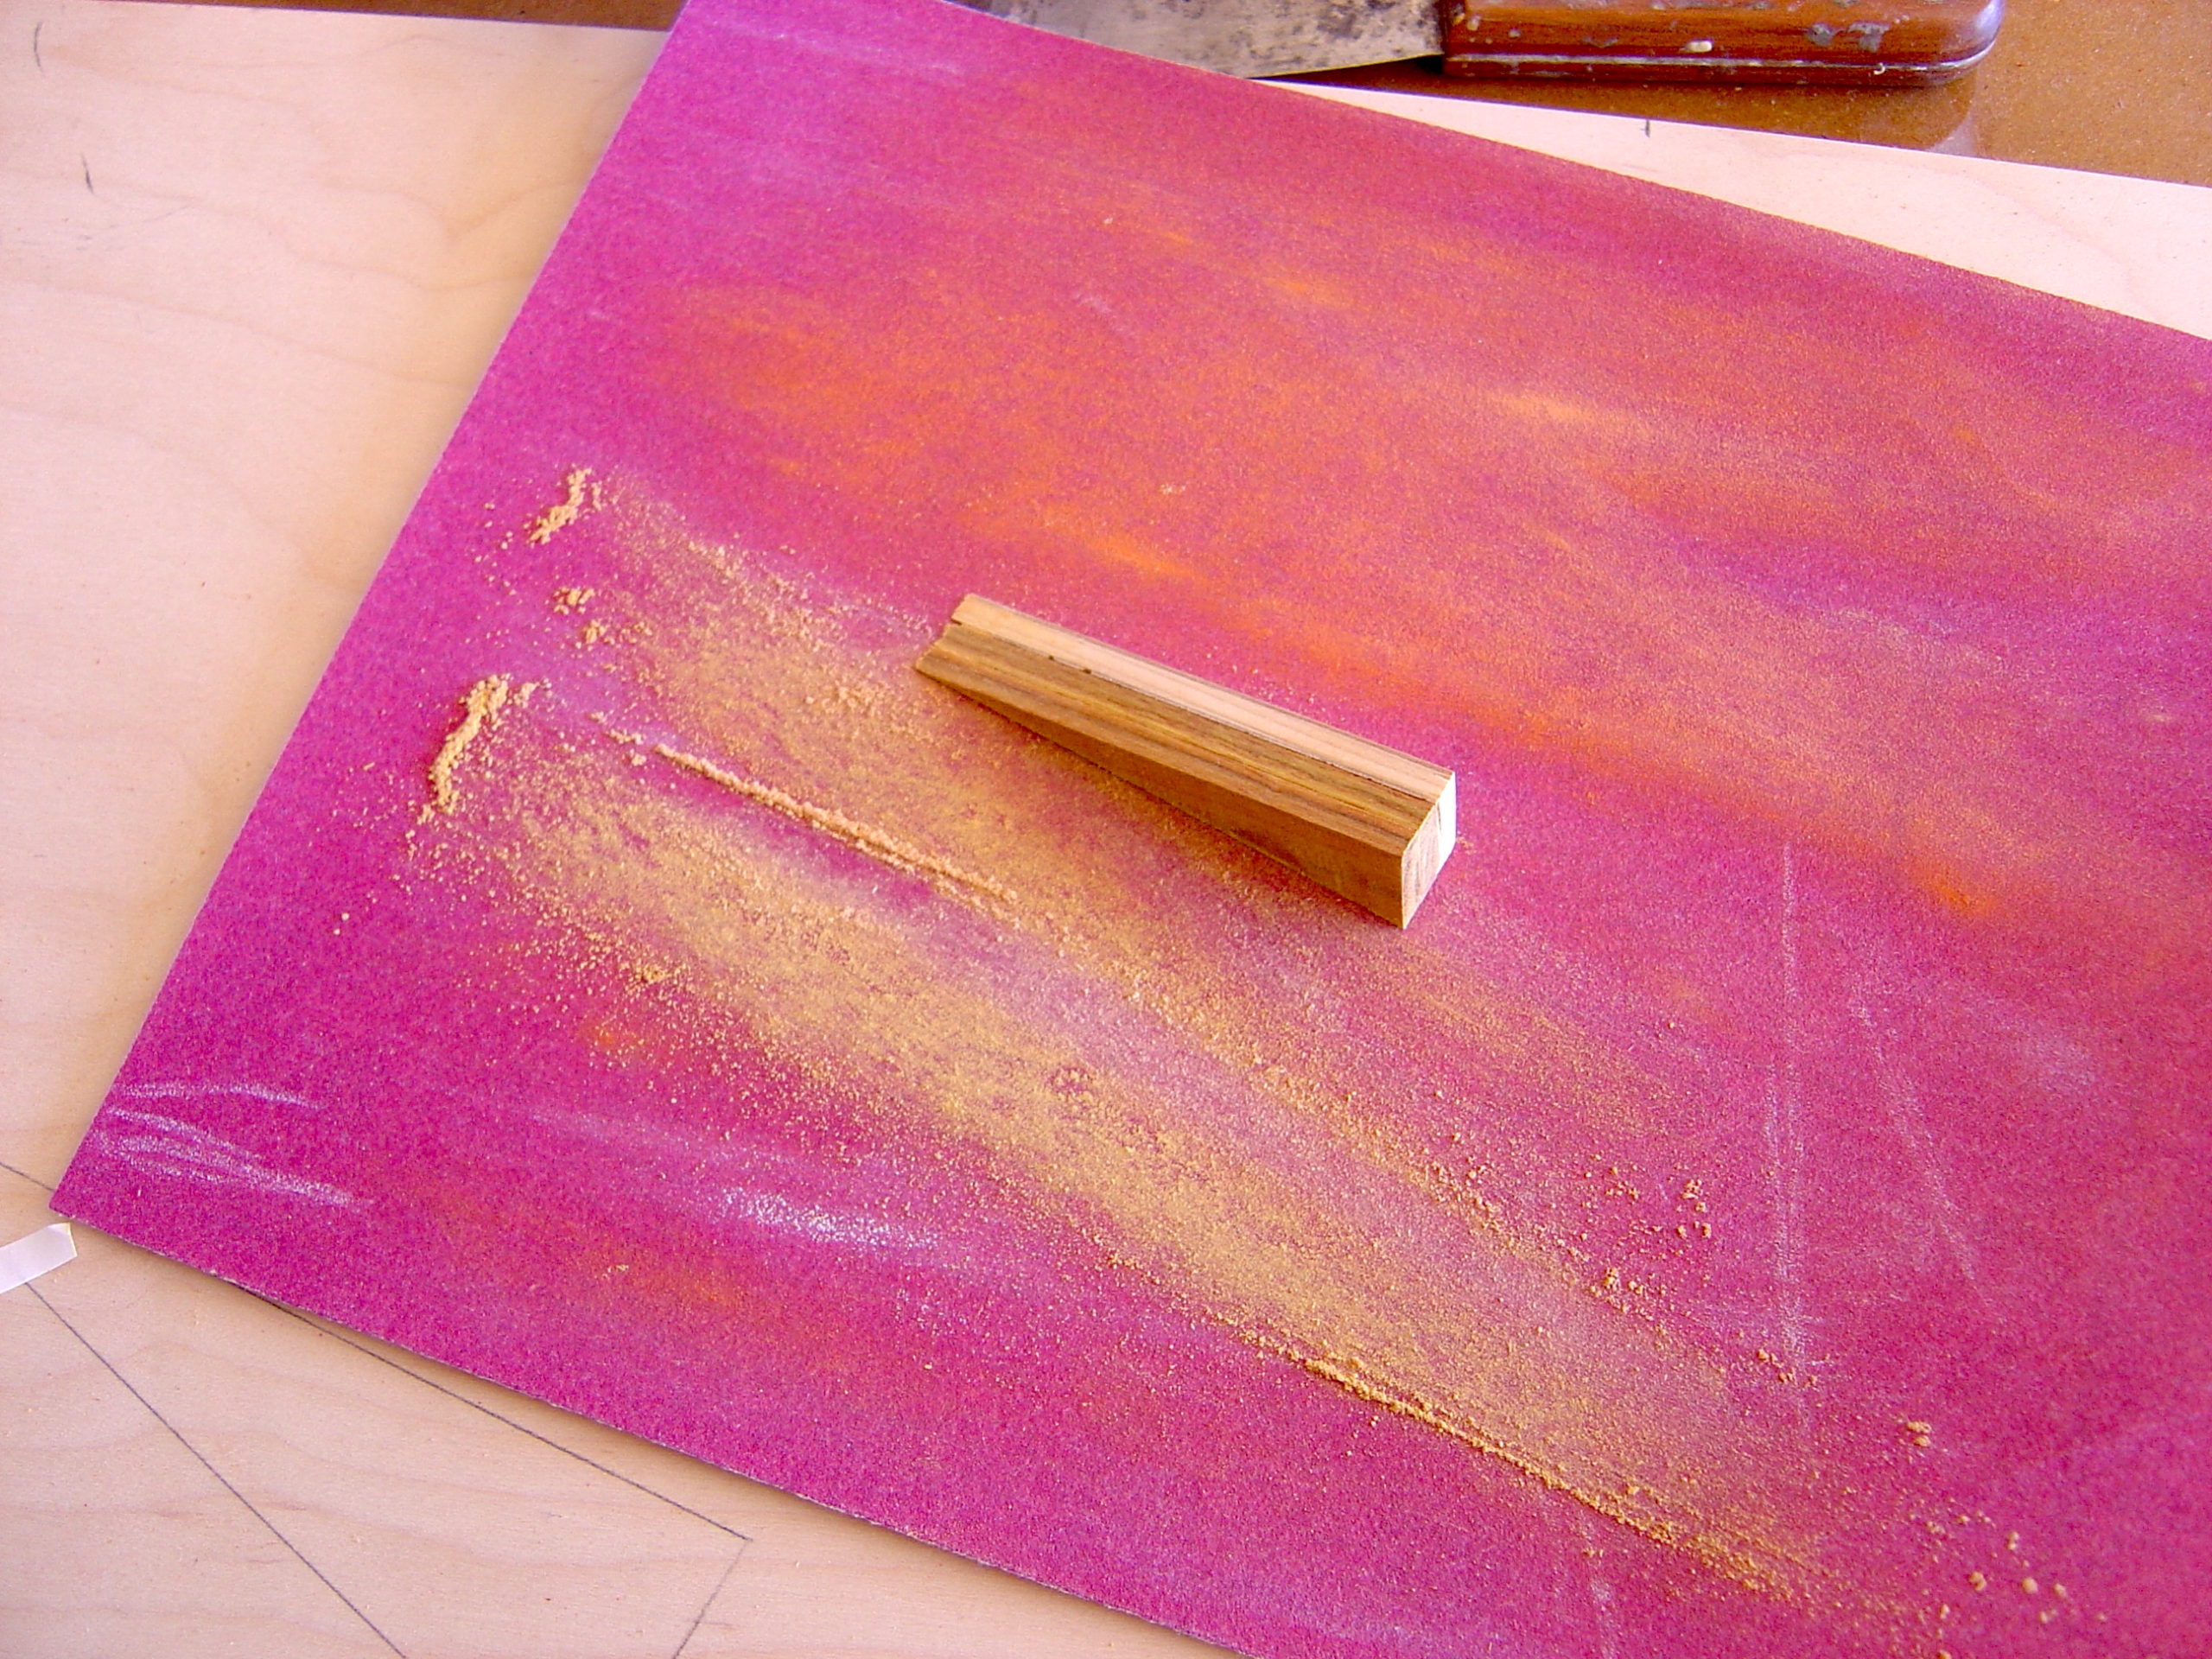
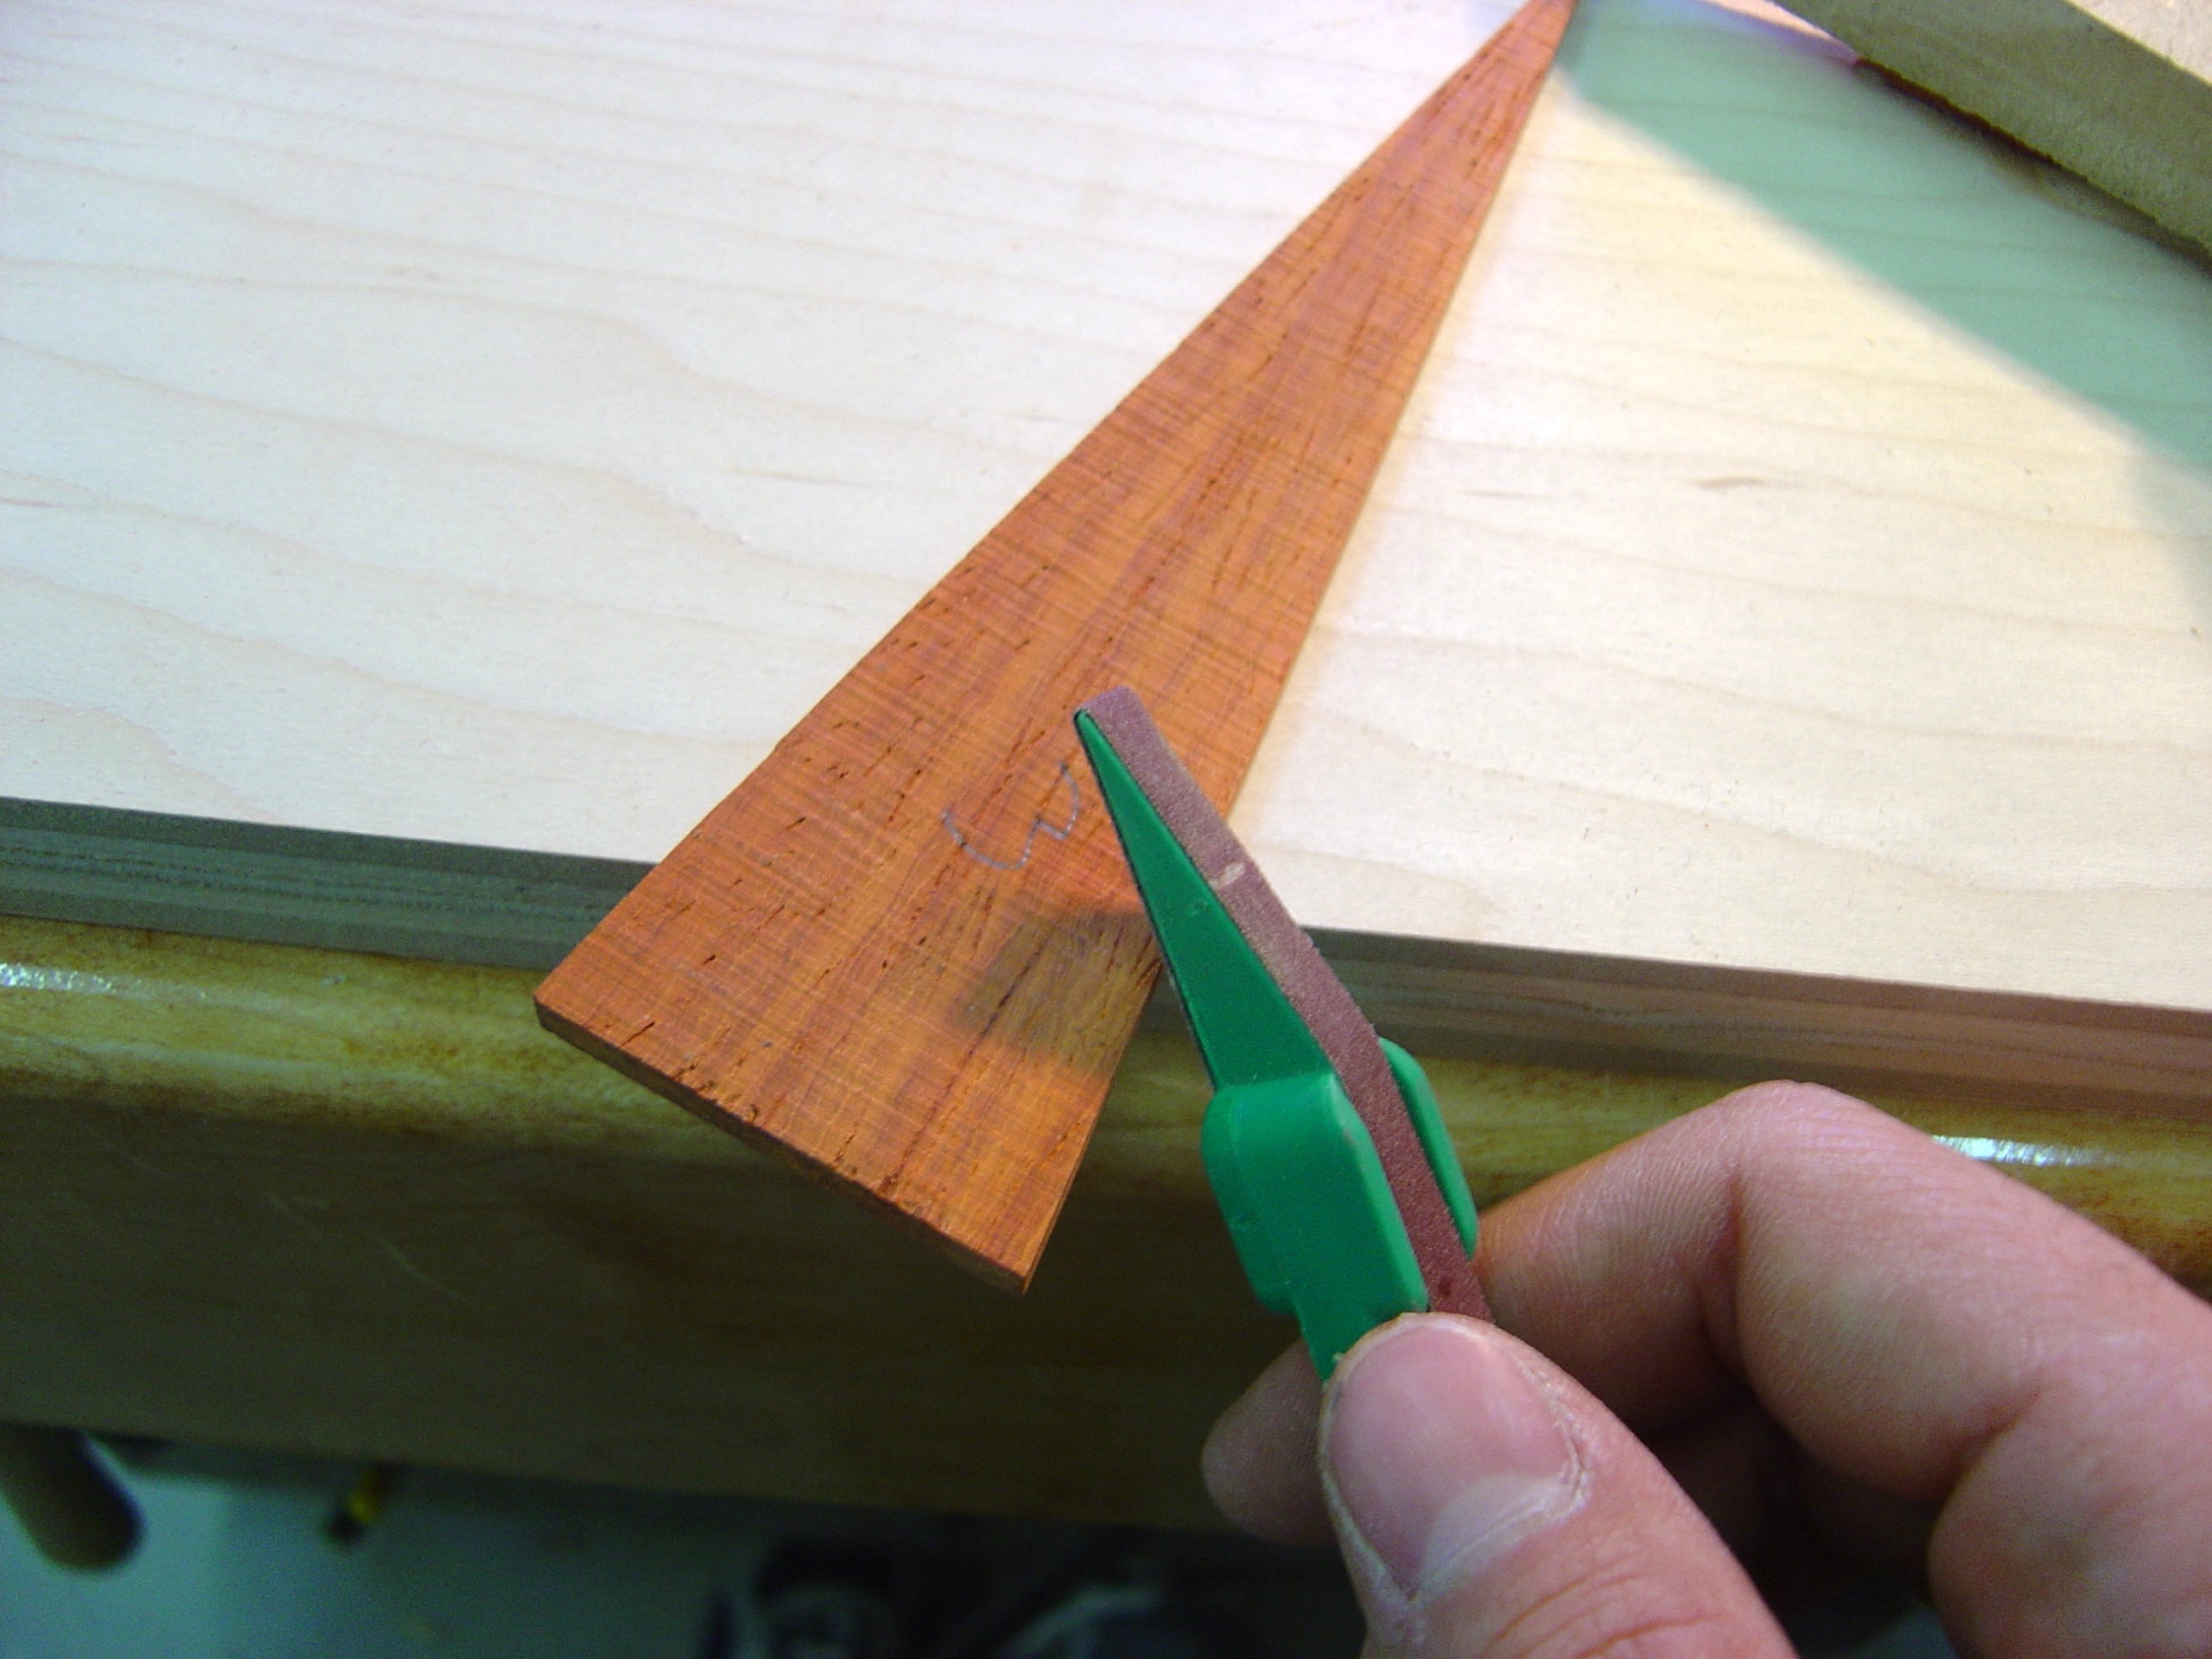
Then I finessed the edges with sandpaper. If I were doing a leaf design, I would just trace my design directly to my inlay material and cut it out at the bandsaw or scroll saw. So now I use my templates to make my actual inlay pieces. I double-stick taped the template to my inlay stock, rough cut them on the bandsaw, then flush-trimmed them at the router table. These pieces are awefully small to rout, but with the proper precautions, it is possible. Any spots that send up the caution flags were touched up using sandpaper. Then I quickly cut the cararywood into a half circle using a quick rig at the bandsaw.

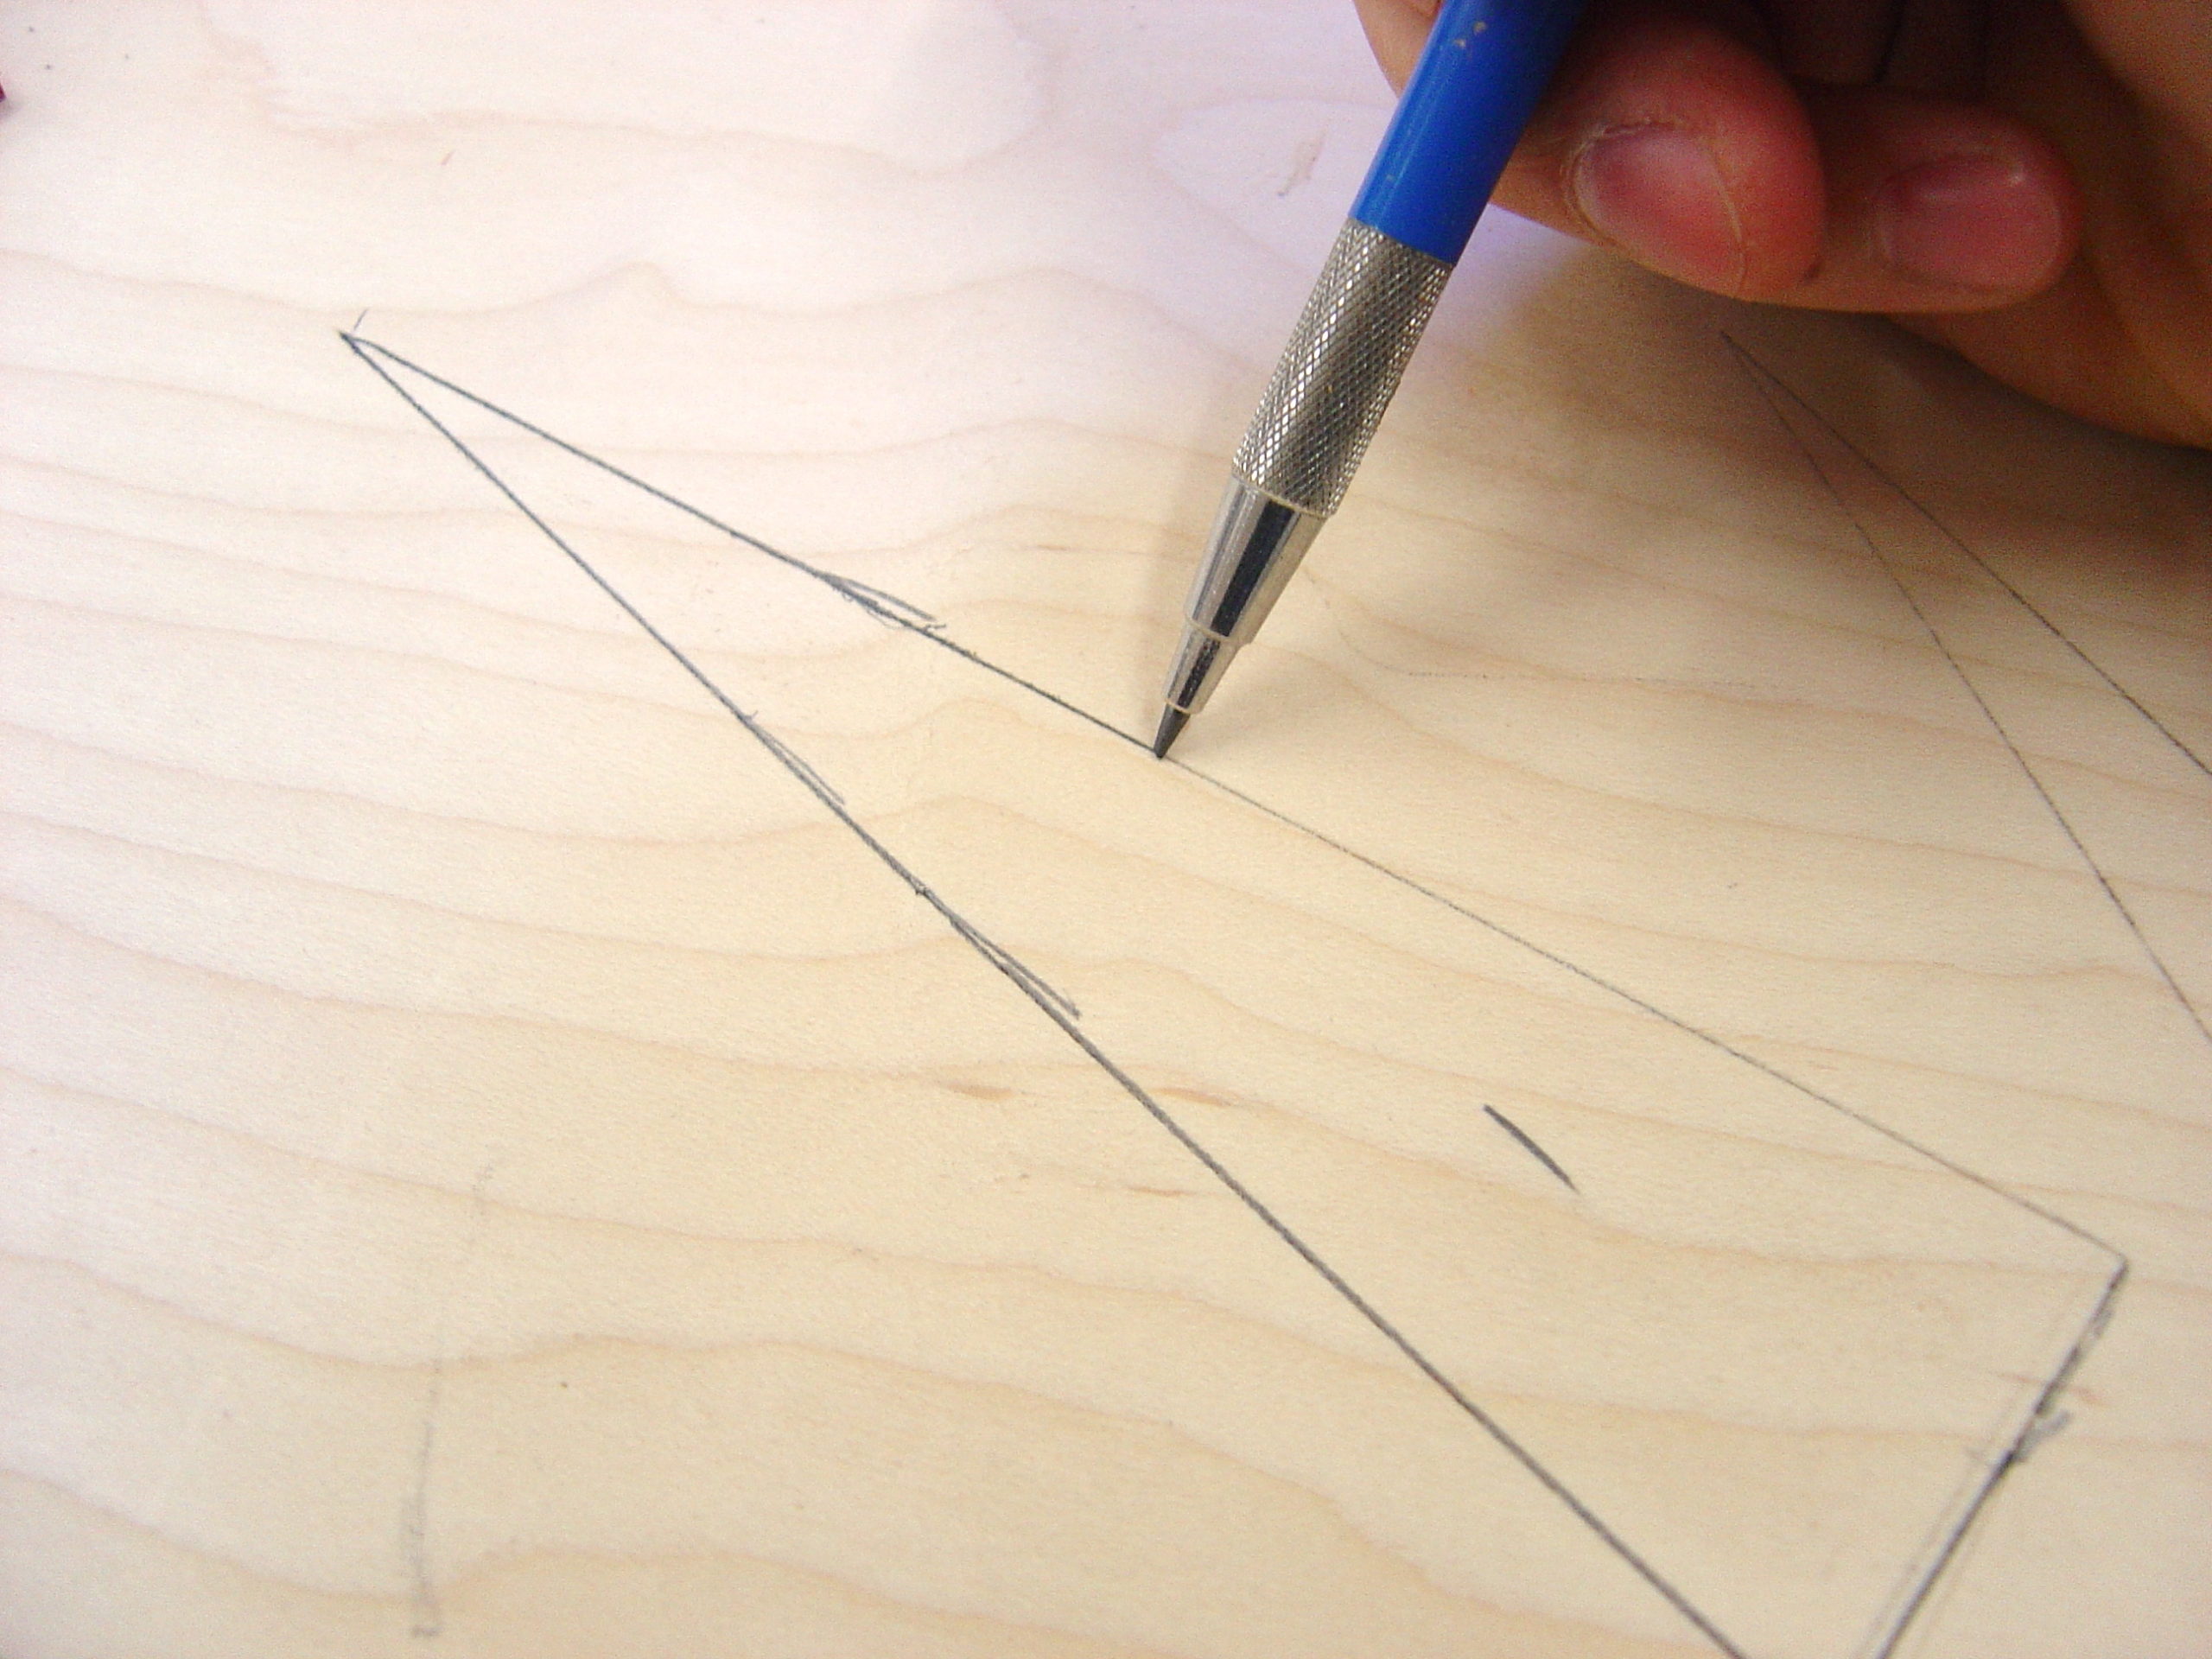
Now comes the fun part. This part of the process is exactly the same whether you are doing straight lines, geometric shapes, or complex designs. Start by double stick taping the piece to be inlayed into the substrate. Notice that the spikes are being done before the circle. This is because I want to circle to overlap the spikes. If I did it the other way, the continuity of the circle would be ruined. This concept is very important when creating the illusion of depth. The next few steps require a steady hand and patience. Lay off the coffee for a few hours. Or if you like a challenge, drink three cups before you start like I did. With an X-acto knife, carefully trace the outline of the inlay piece. Don’t rush this part. Start with a light touch just severing the top fibers. After a few passes you can increase the pressure and you will have a nice sharp outline.

Once the entire piece is outlined, carefully remove it with a putty knife. Now we need to make that outline a bit more visible. Simply grab your pencil and trace around the outline. Its OK to be sloppy. Then erase the line using strokes perpendicular to the outline. This will make sure the pencil residue gets loaded into the cut while cleaning the rest of the marks.

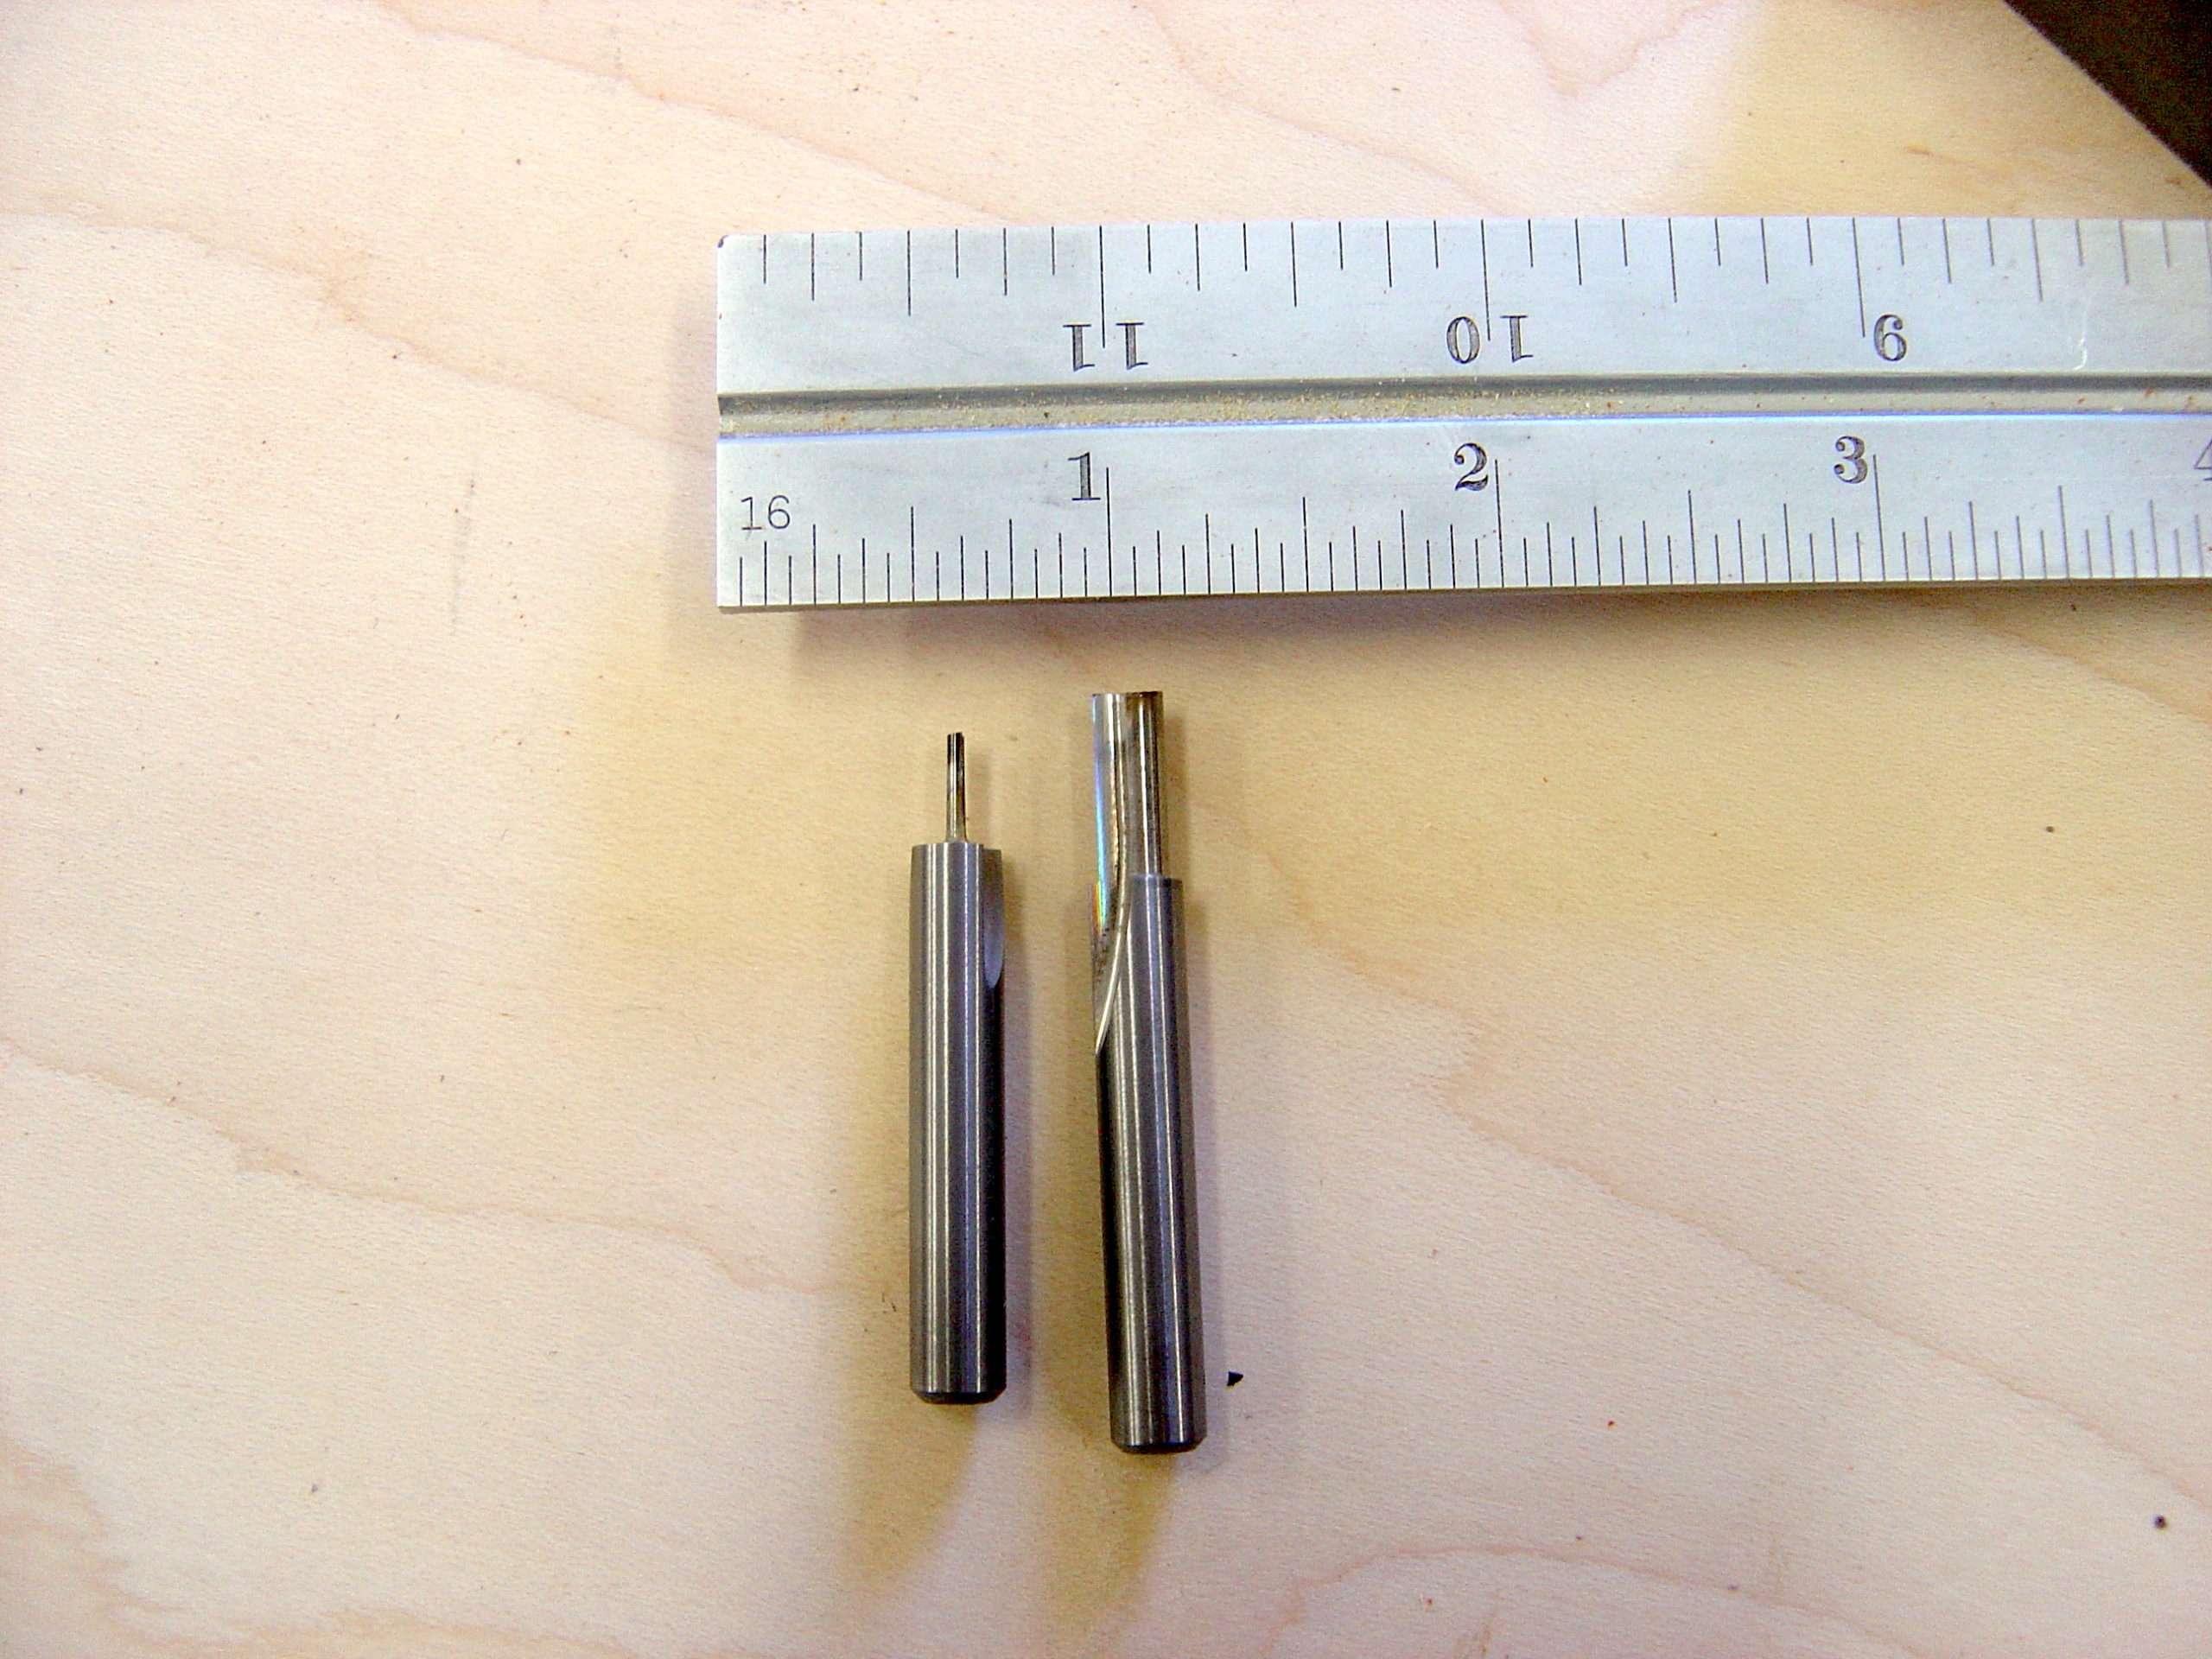
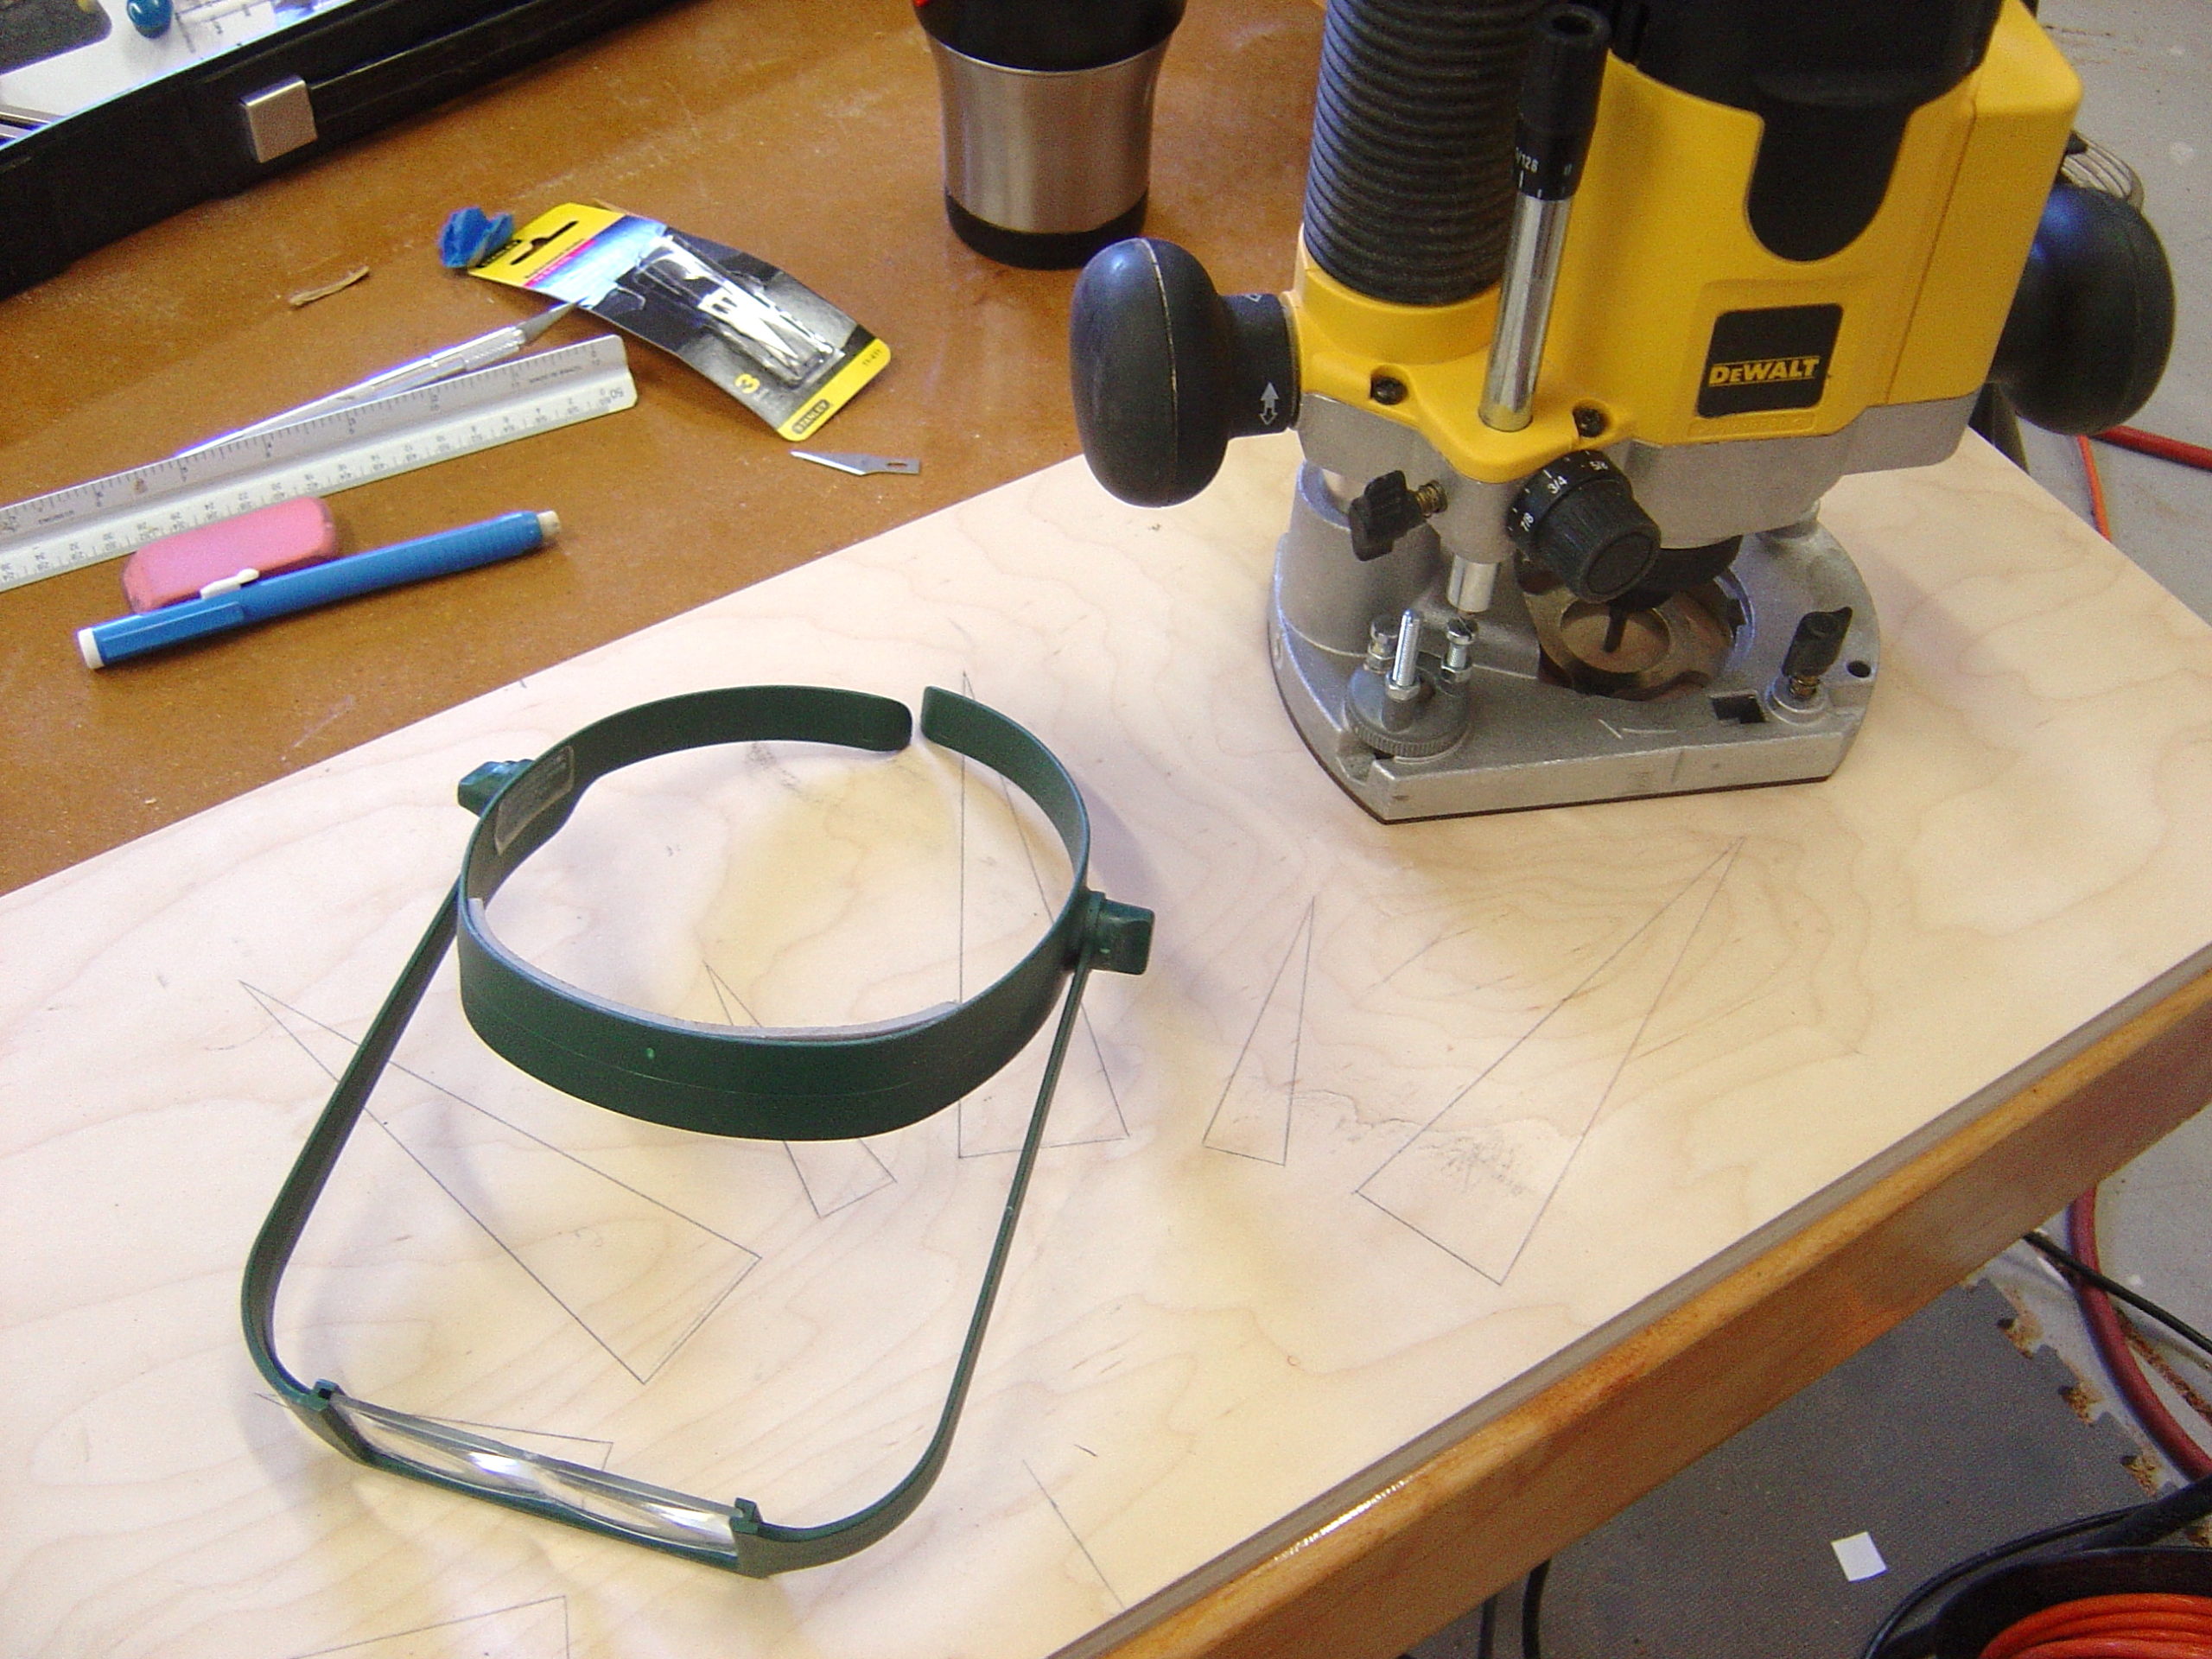
Now it’s time to do the routing. I generally use two bits. I hog out the material with a decent sized straight bit. Then I sneak up on the line with a 1/16″ bit. Yes, its THAT small!!! Set the router to cut just a bit shy of the thickness of the inlay material, strap on your helmet, and pray for mercy. A critical tool in this process is the hands-free magnifier. With good lighting, they are worth their weight in gold. Which is probably about $20. Coincidentally that is how much they cost.
Unfortunately, no picture can do this part justice. With the 1/16″ bit, you really need to be careful when sneaking up to your line. I usually lock the router in the on position and put both hands on the base of the router. This gives me exceptional control. If you aren’t comfortable with this type of maneuver, then don’t do it. But I can’t think of any other way to get the control I need. A key point here is to watch the tearout of the router bit as you approach your line. The cool part is that as you sneak up to the line the little tearouts are clearly evident. But as soon as you kiss the line, the tearouts fly out leaving a nice clean line. That’s how you know you are there. Pre-cutting with the X-acto knife is what makes this possible.
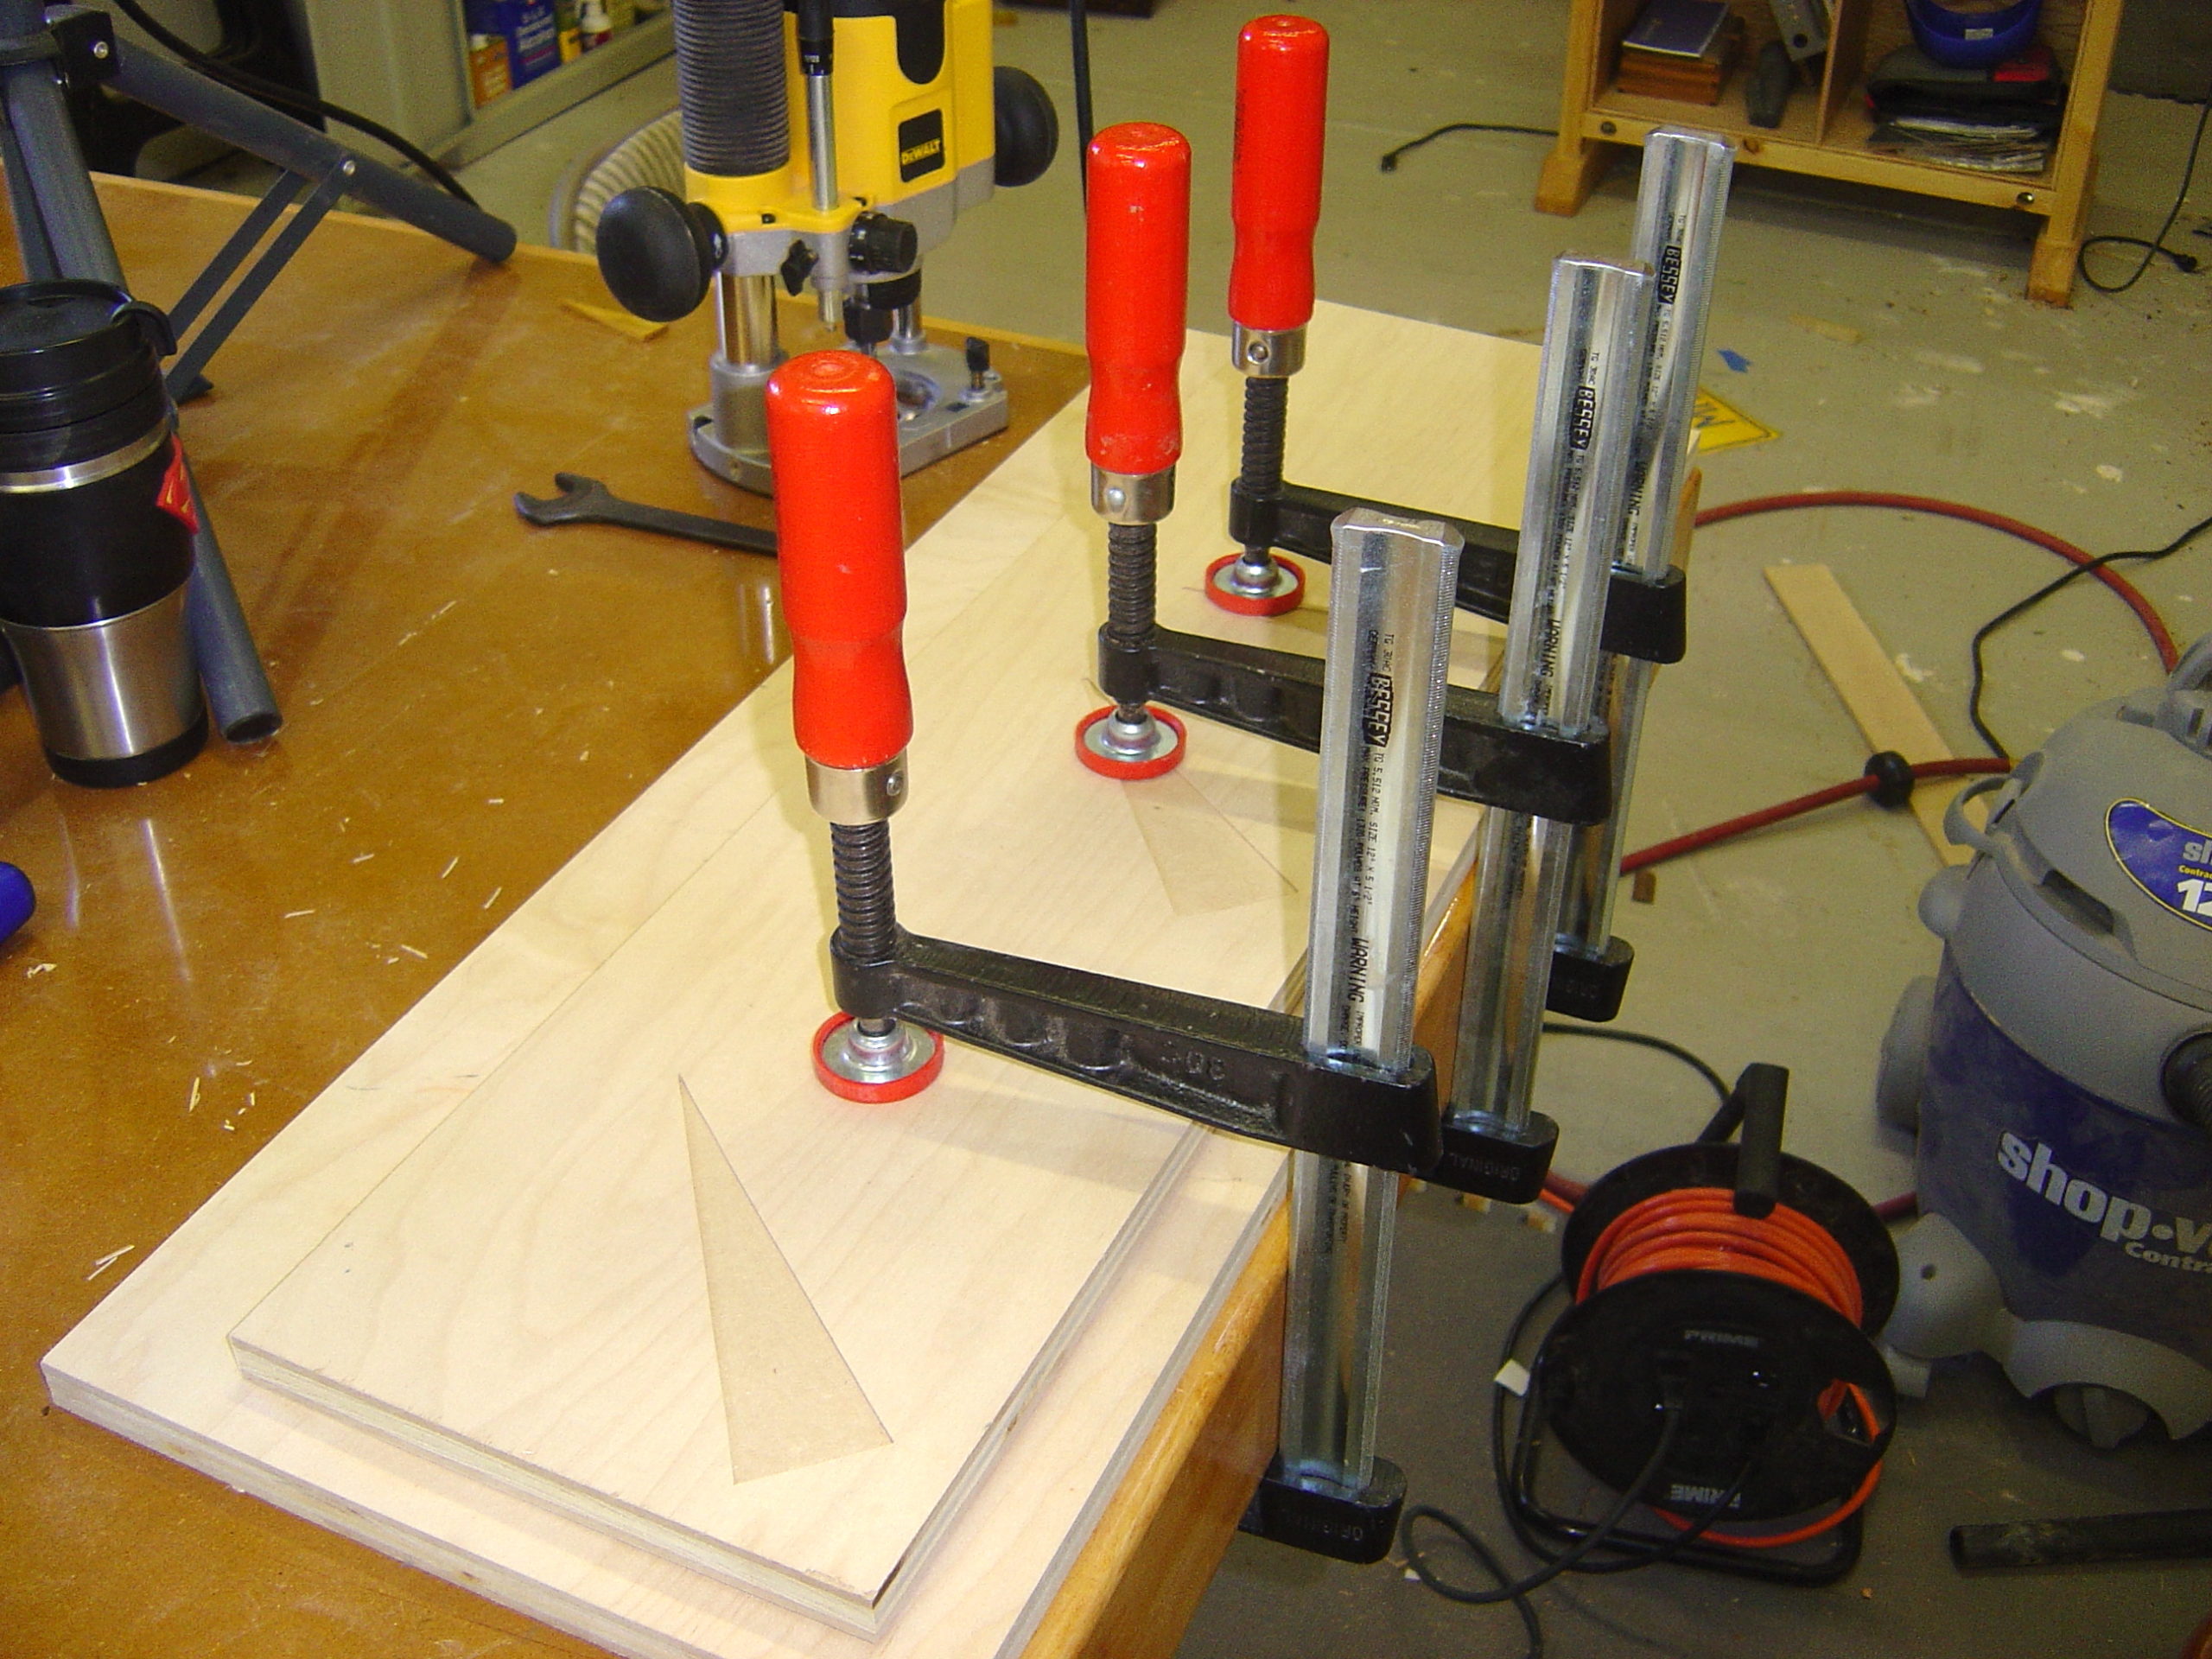
Once the routing is complete, it’s time to test the fit. The piece will rarely drop right in. Usually the recess needs a bit of work. I use the X-acto knife and a chisel to hit the corner and clean up my edges. As a final touch, I sand a slight chamfer into the inlay piece. This ensures a nice tight wedged fit. Once all the pieces fit nicely, I glue them in place and clamp them down with some sort of caul. In this case, a piece of scrap ply does a fine job.
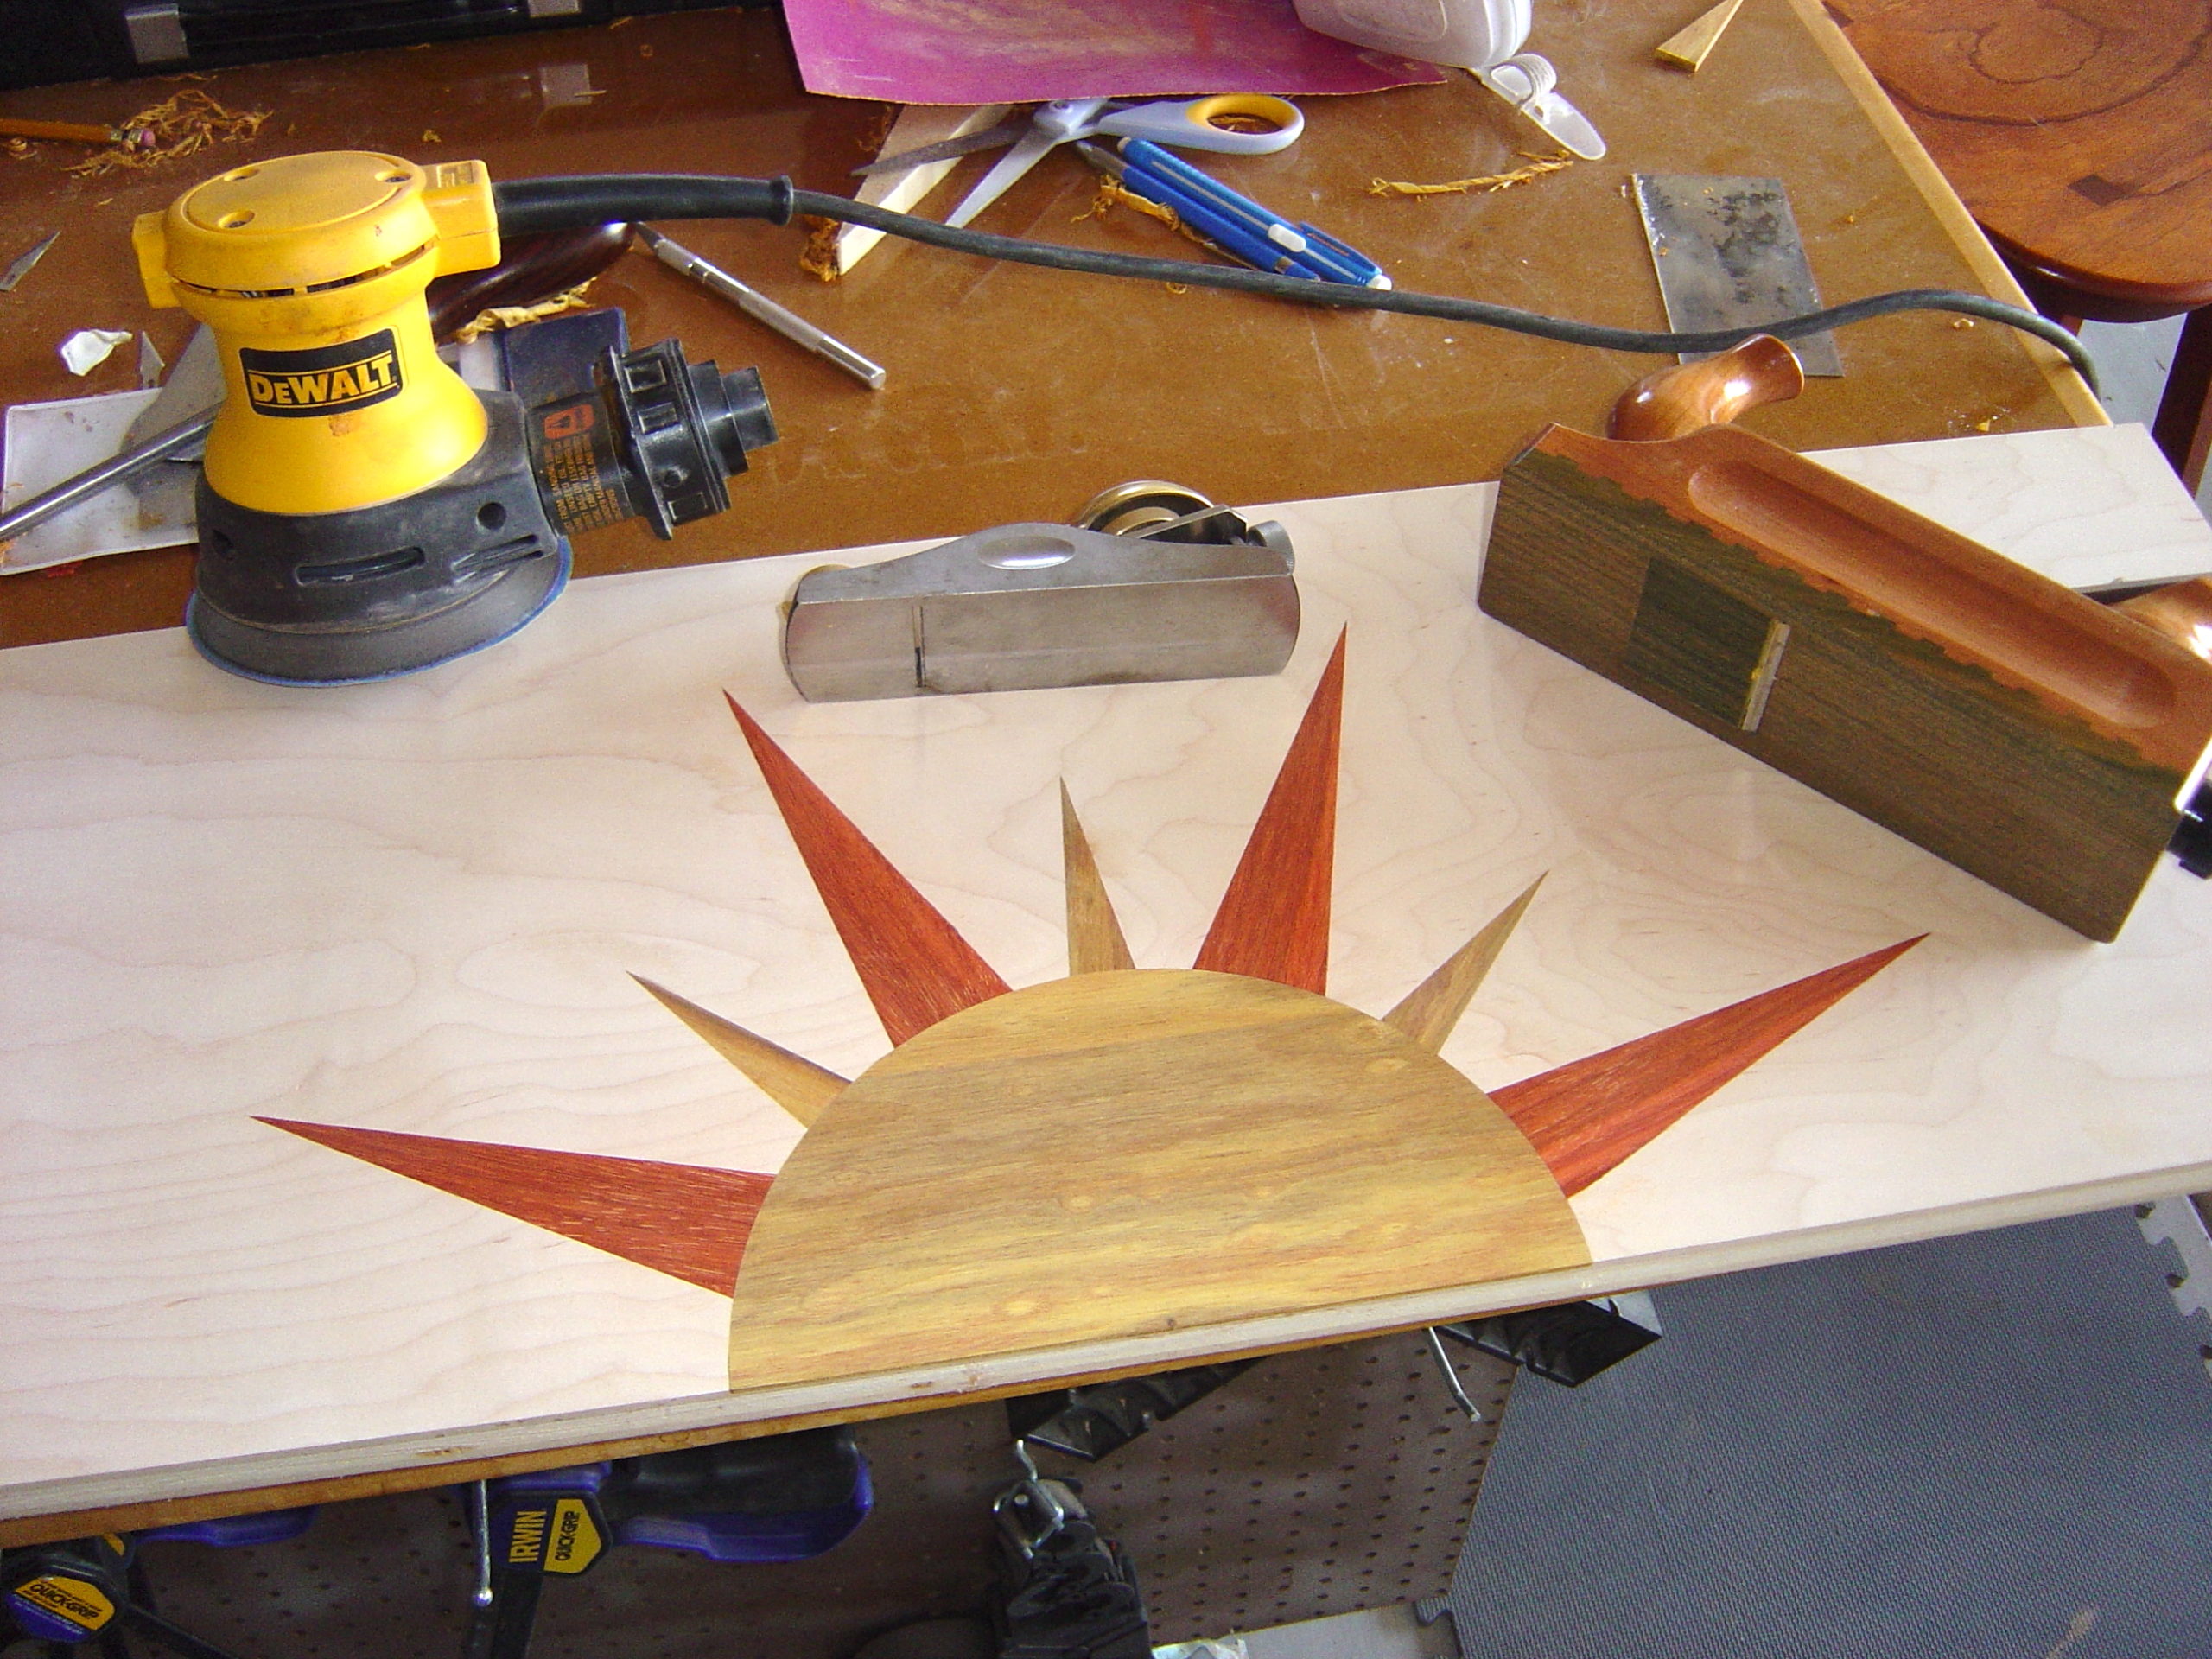
At this point, I took a lunch break. Turkey, Swiss, on wheat. Light mayo. Yogurt (mixed berry). Back to the shop. Now we need to flush everything up. You can use a variety of tools for this. I like to use a block plane to remove the bulk, then I switch to a card scraper or a cabinet scraper. I finish up with a quick sanding. This is also a perfect time to hide any flaws or oopsies. Cyanoacrylate (CA) glue and a little dust from the offending inlay can give nearly undetectable repairs. A quick sanding at 150 and we are ready to add the circle part of the sun. The circle pretty much goes in like the other pieces. After hitting the circle with block plane and smoothing plane, I sanded the whole piece to 220.

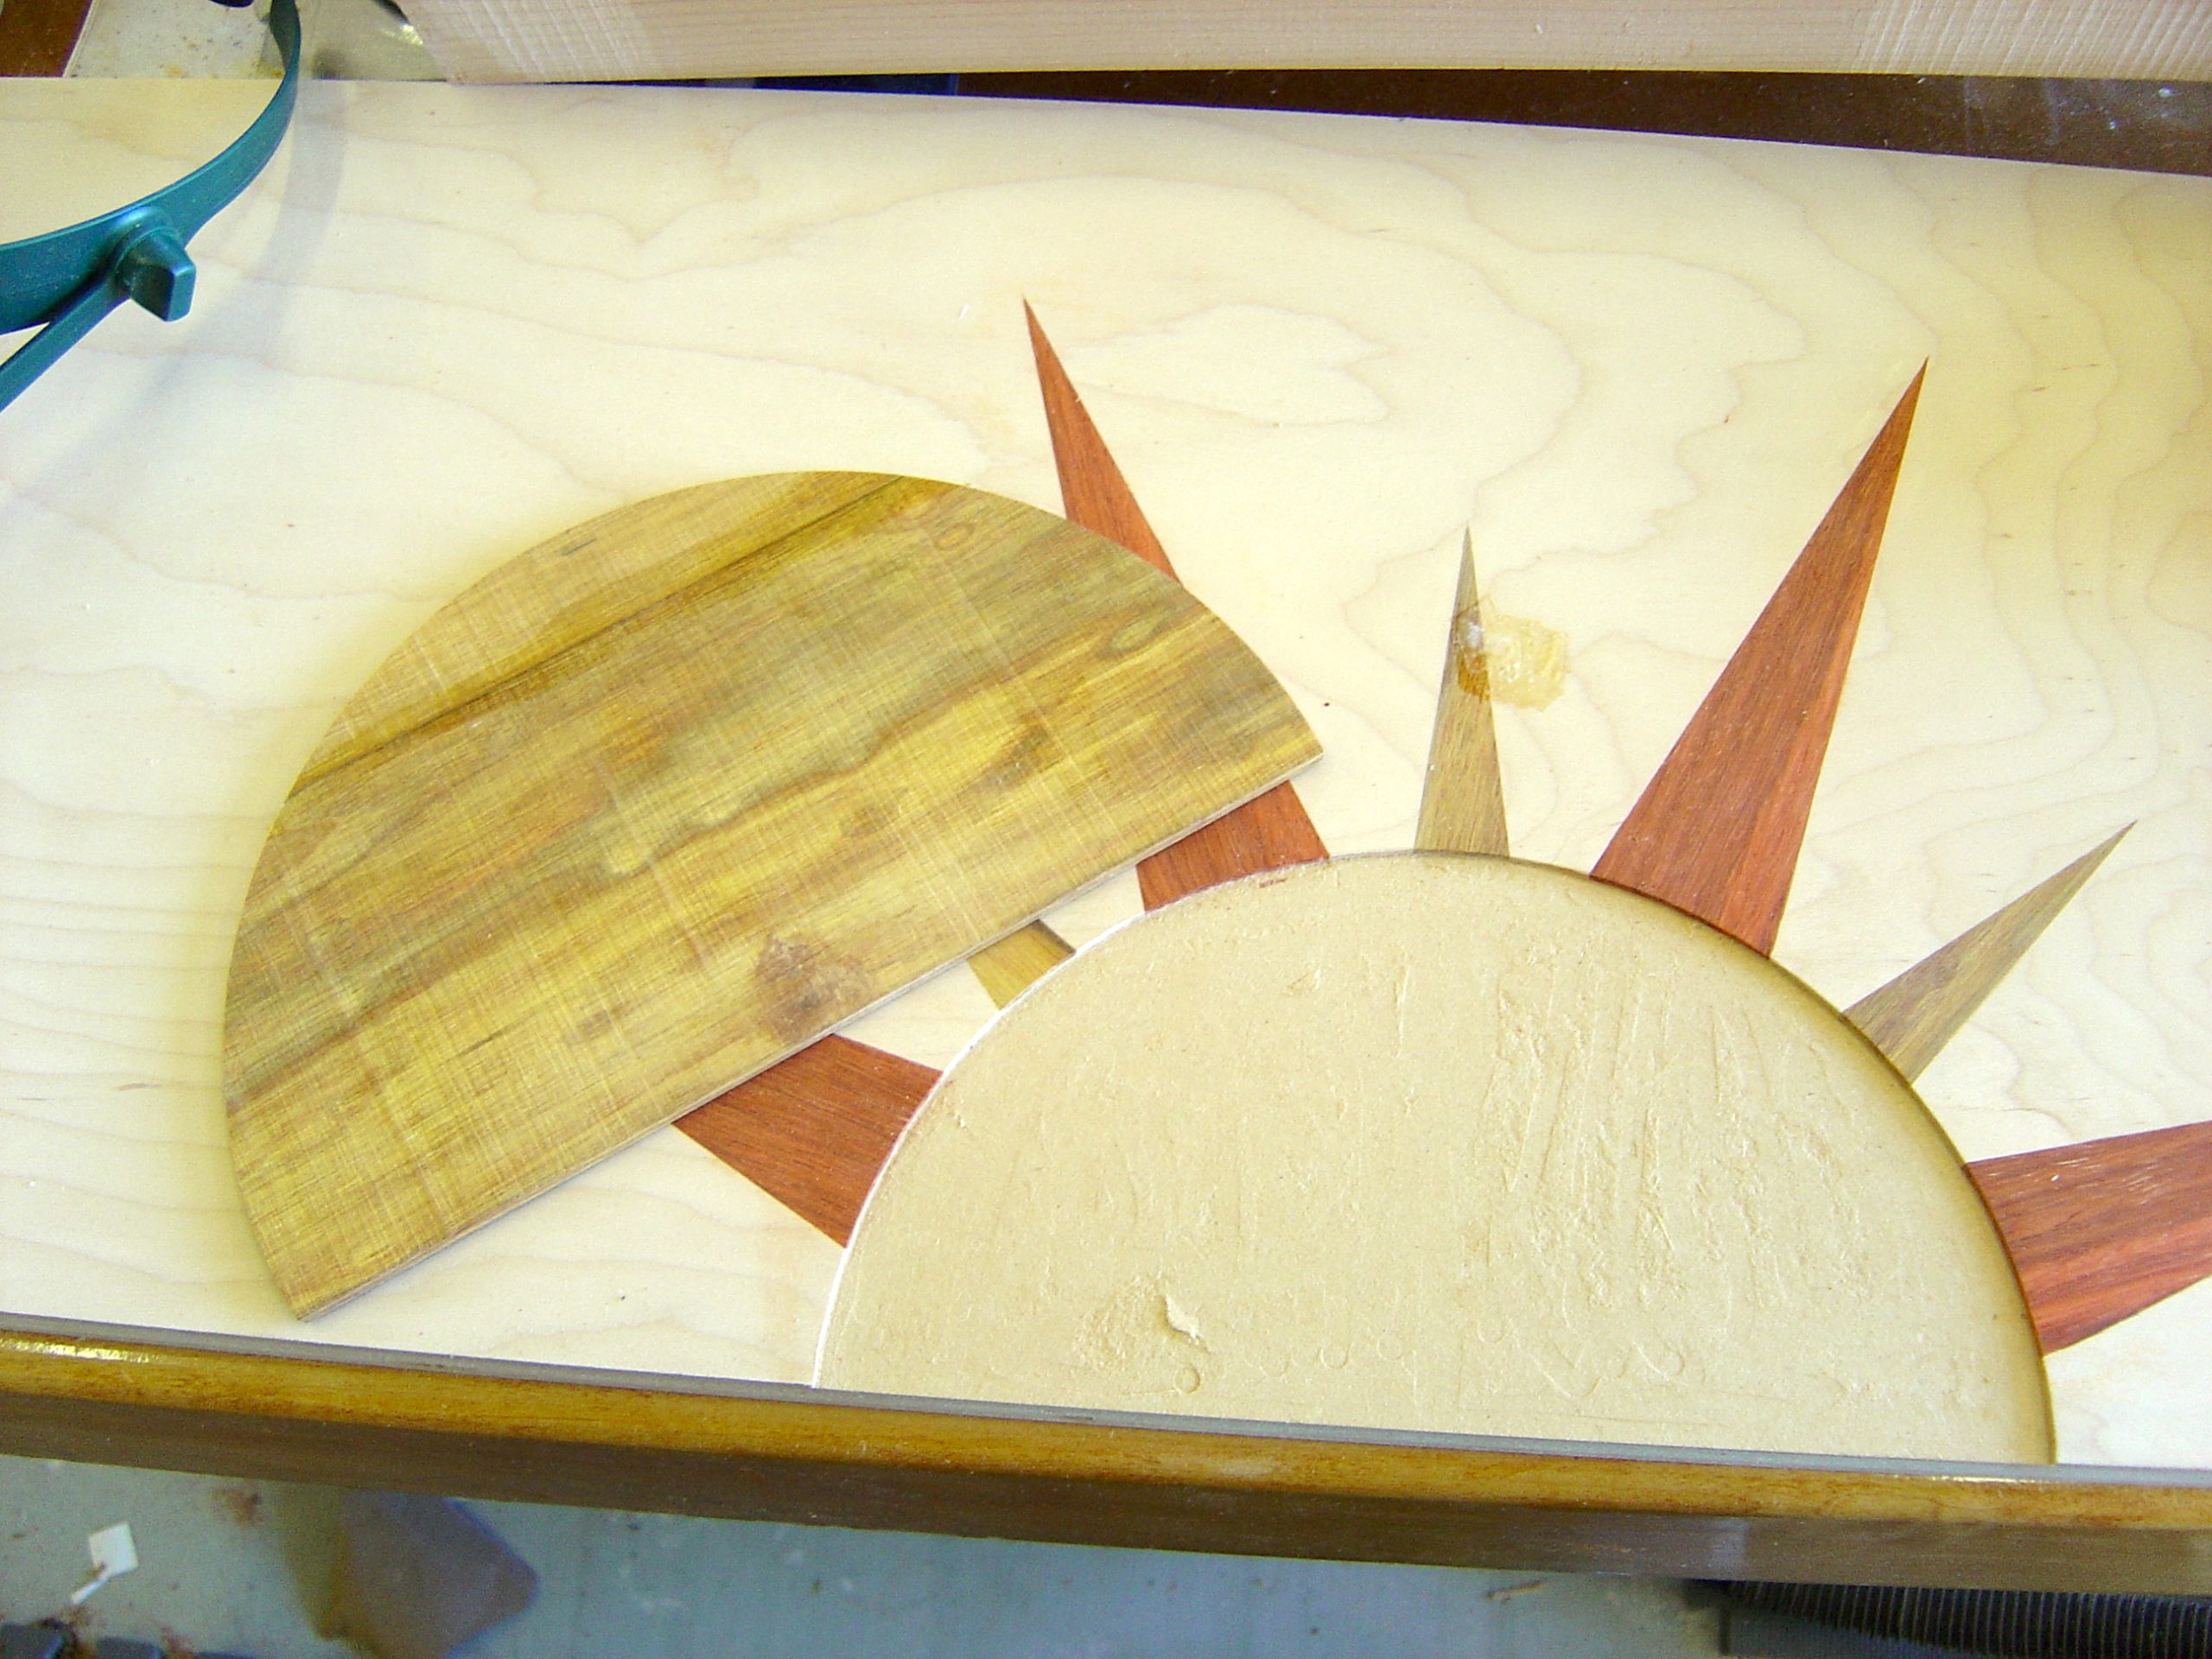
As you can see, it is important to plan out the order in which you will apply the inlays. As mentioned before, I wanted to circle of the sun to be the “top-most” part of the image, so it goes on last. With my leaves, I will do one half of a leaf at a time. The leaf that is in the background is done first. The overlapping leaf is then done on top of the first leaf, giving the impression of depth.
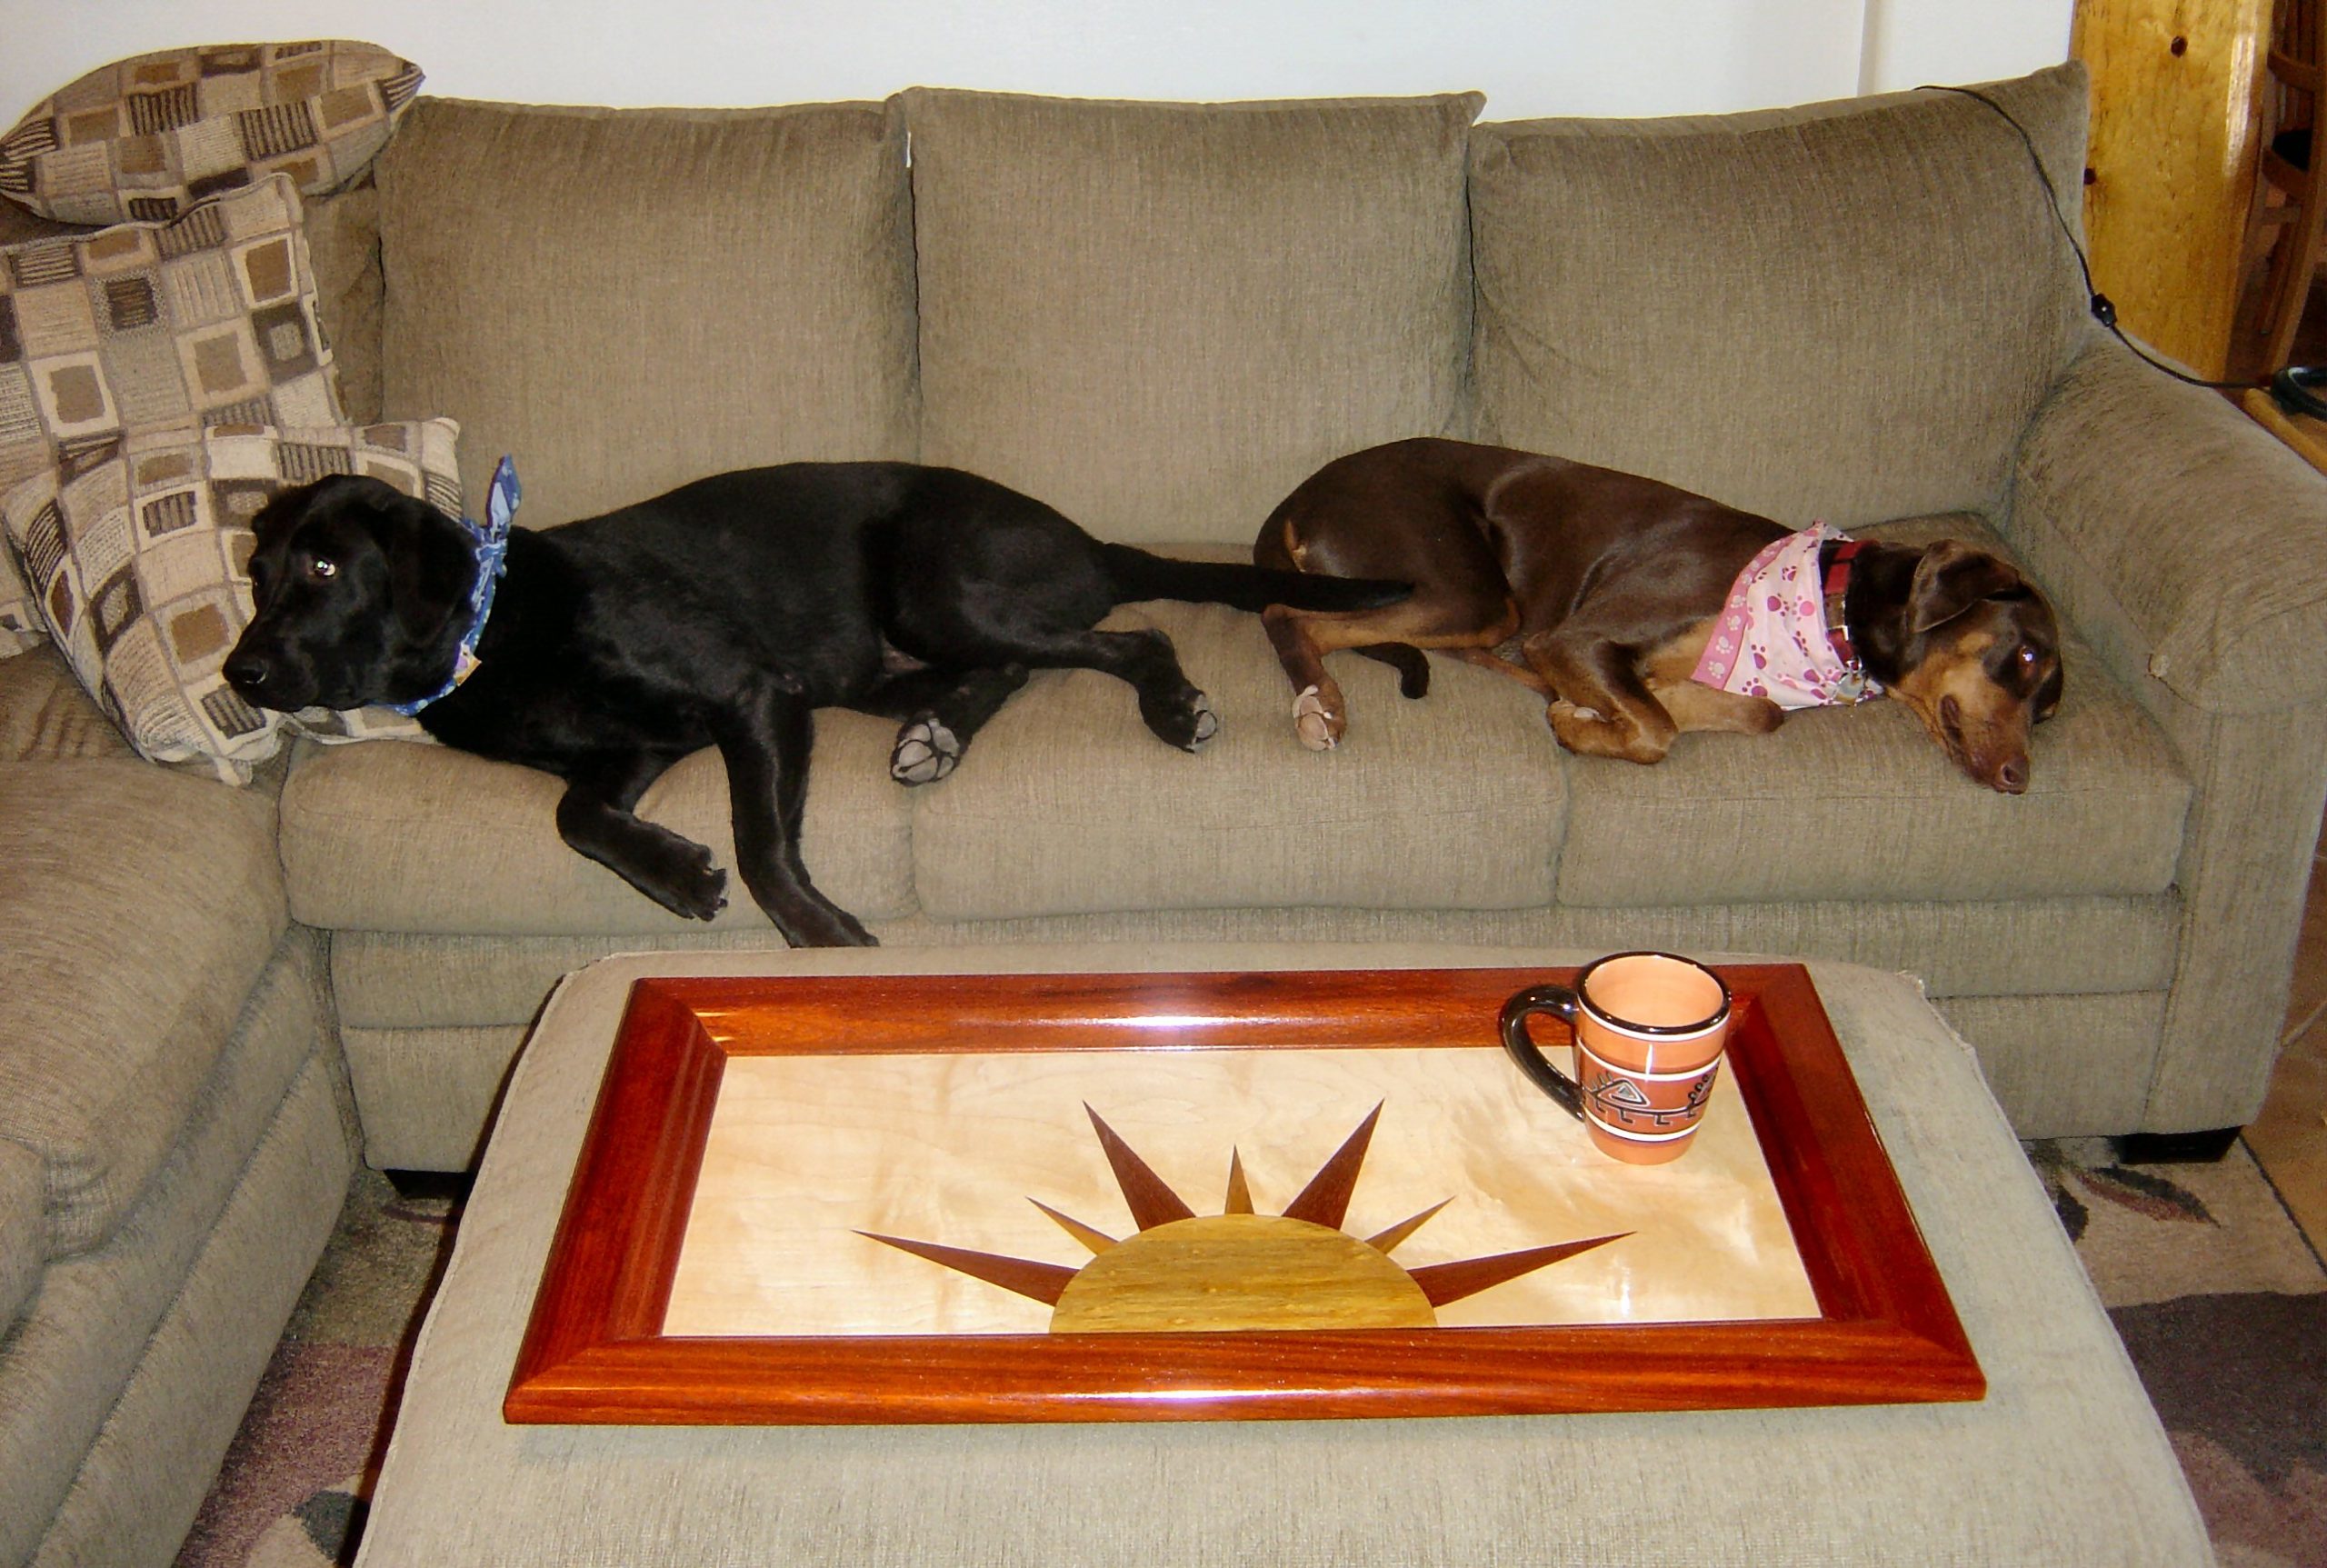
And here is the final product with the sculpted padauk frame and several coats of lacquer.