Wenge Raised Panel
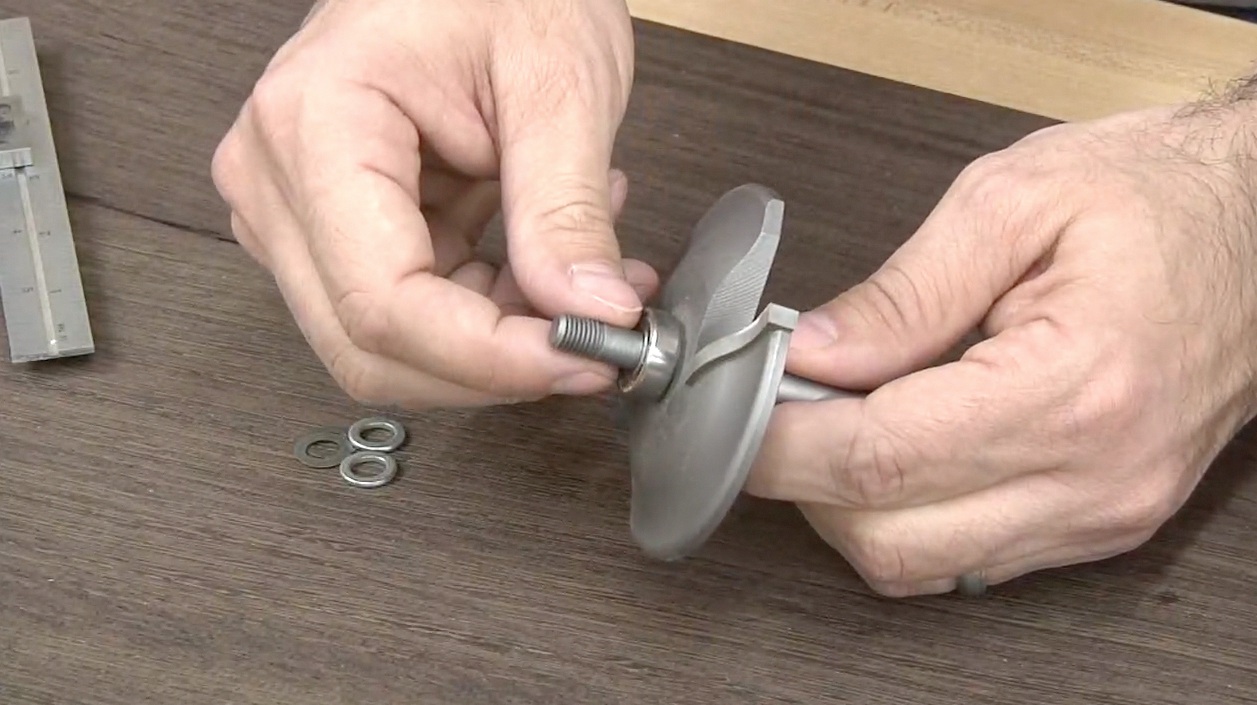
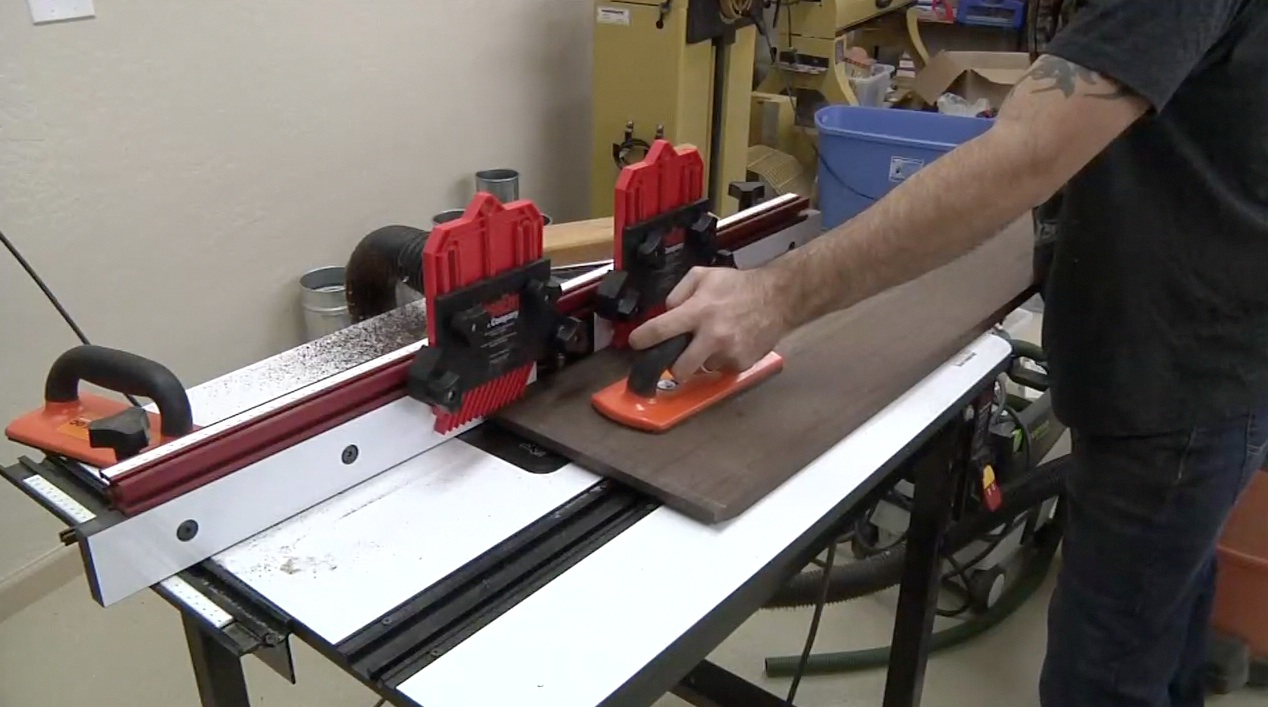
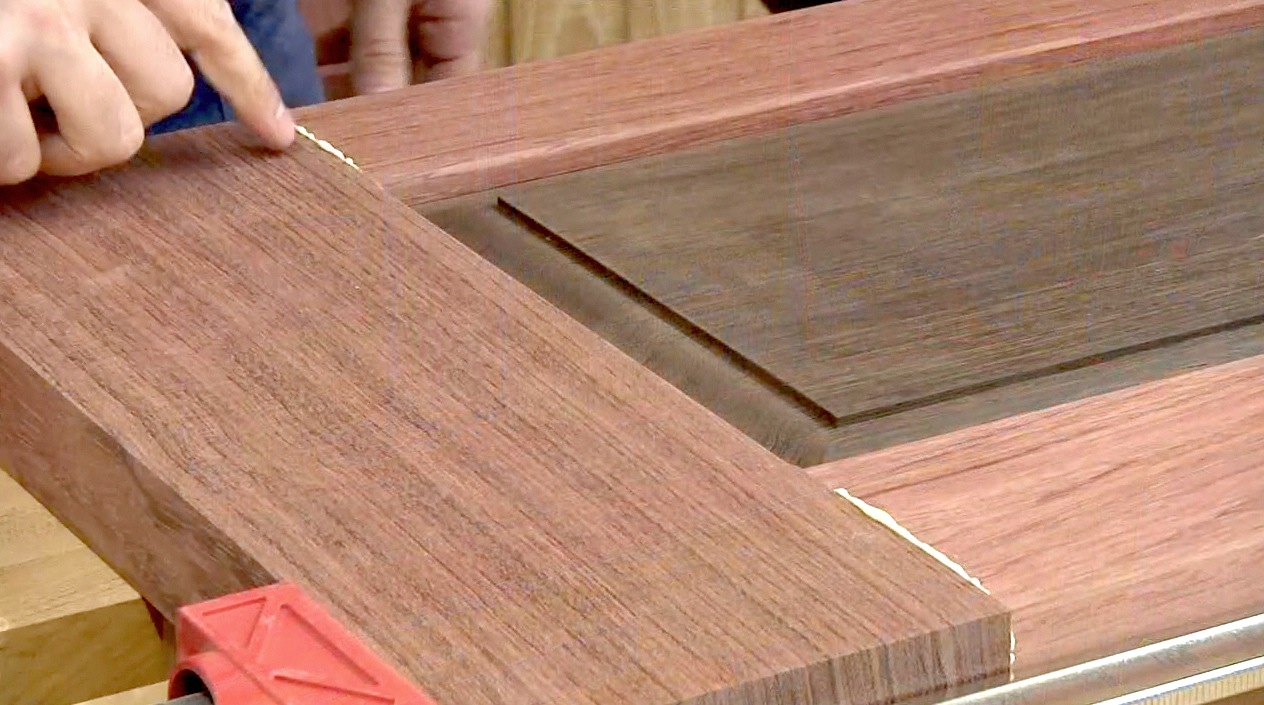
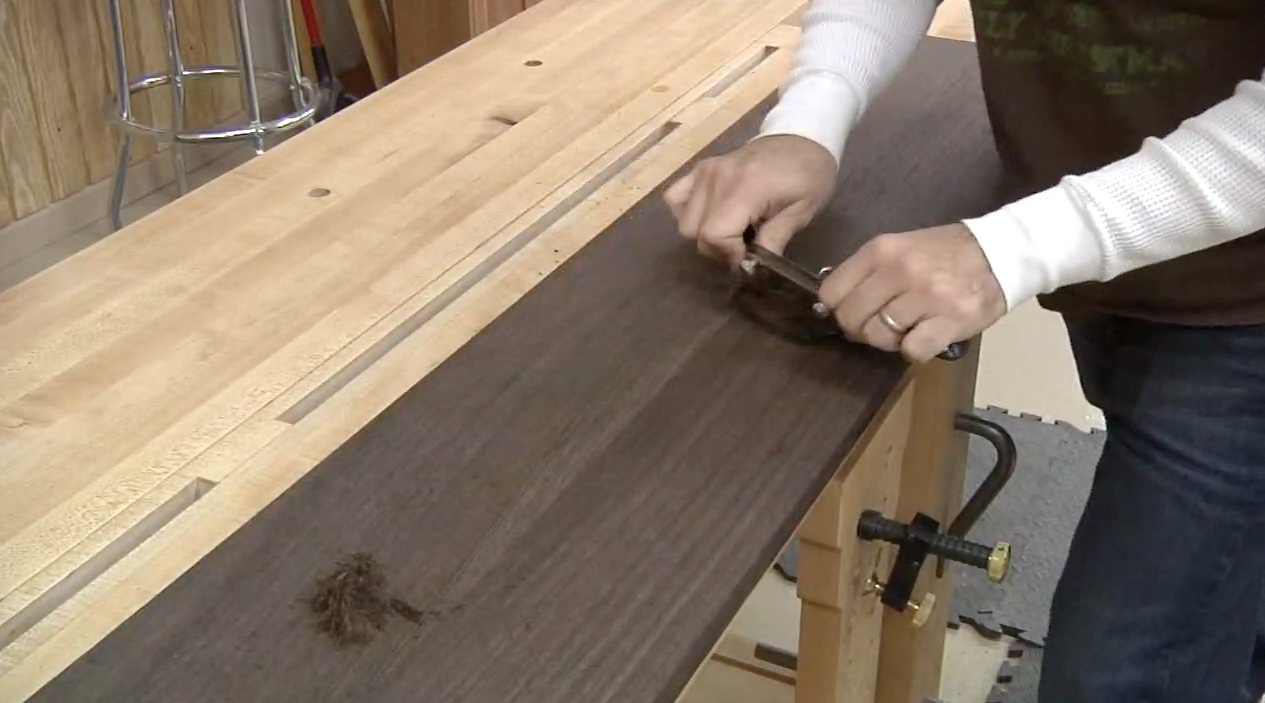 The headboard’s raised panel will be constructed from two pieces of wenge. The boards are milled flat and glued together using Dominos for alignment help. Once the glue was dry, I scraped the glue line and then drum-sanded the board nice and smooth. To make the raised profile, I used a standard raised panel bit with the back-cutter removed. This gives me a larger “tongue” to work with later. With several passes at the router table, the profile is looking good!
The Lower Frame
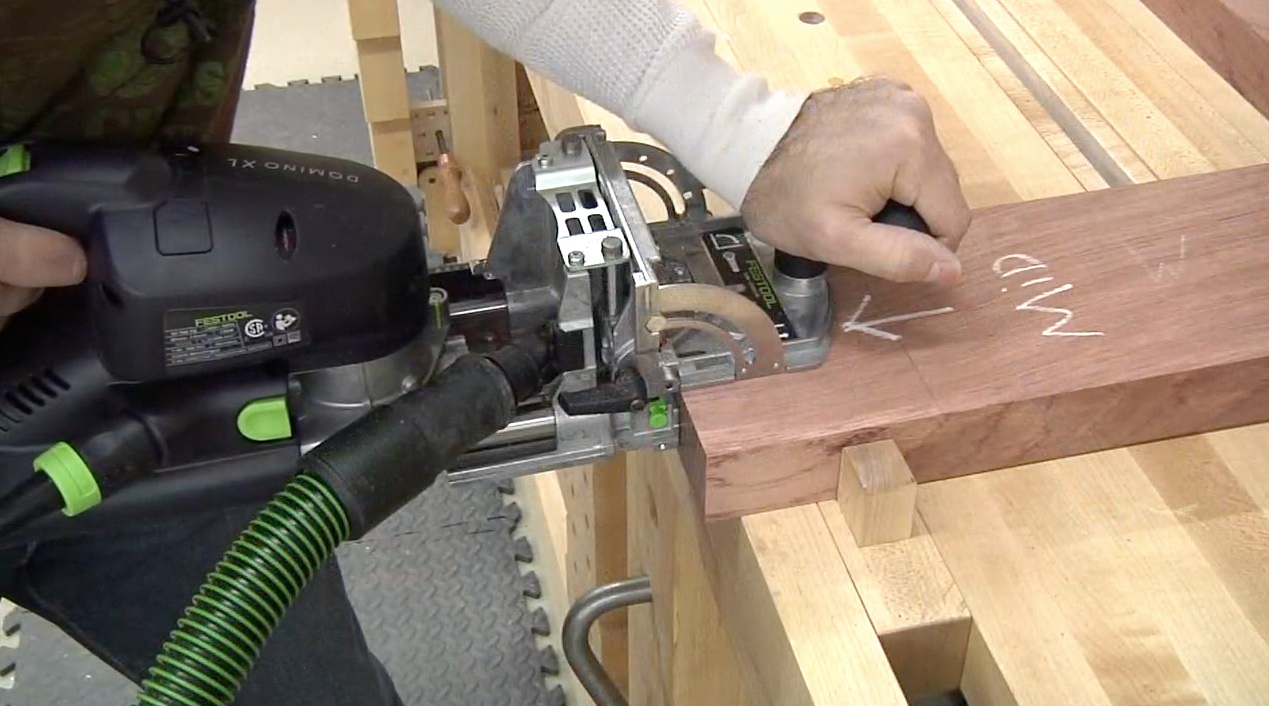
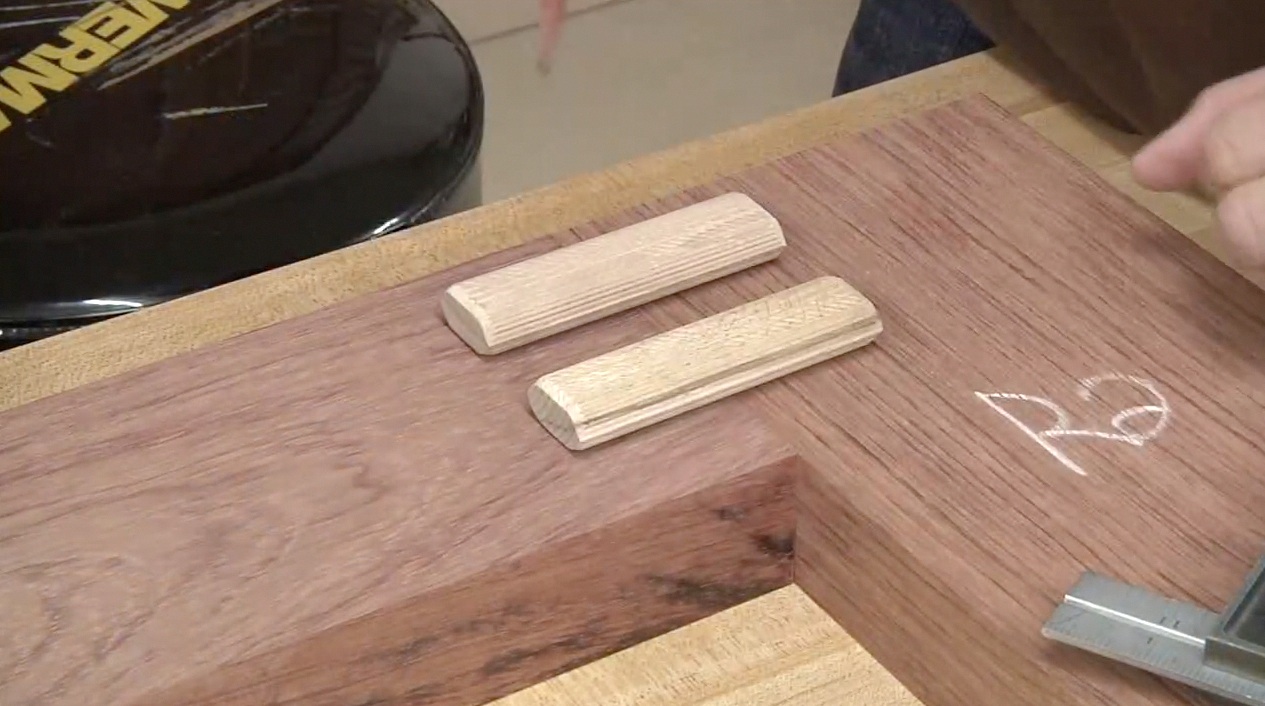
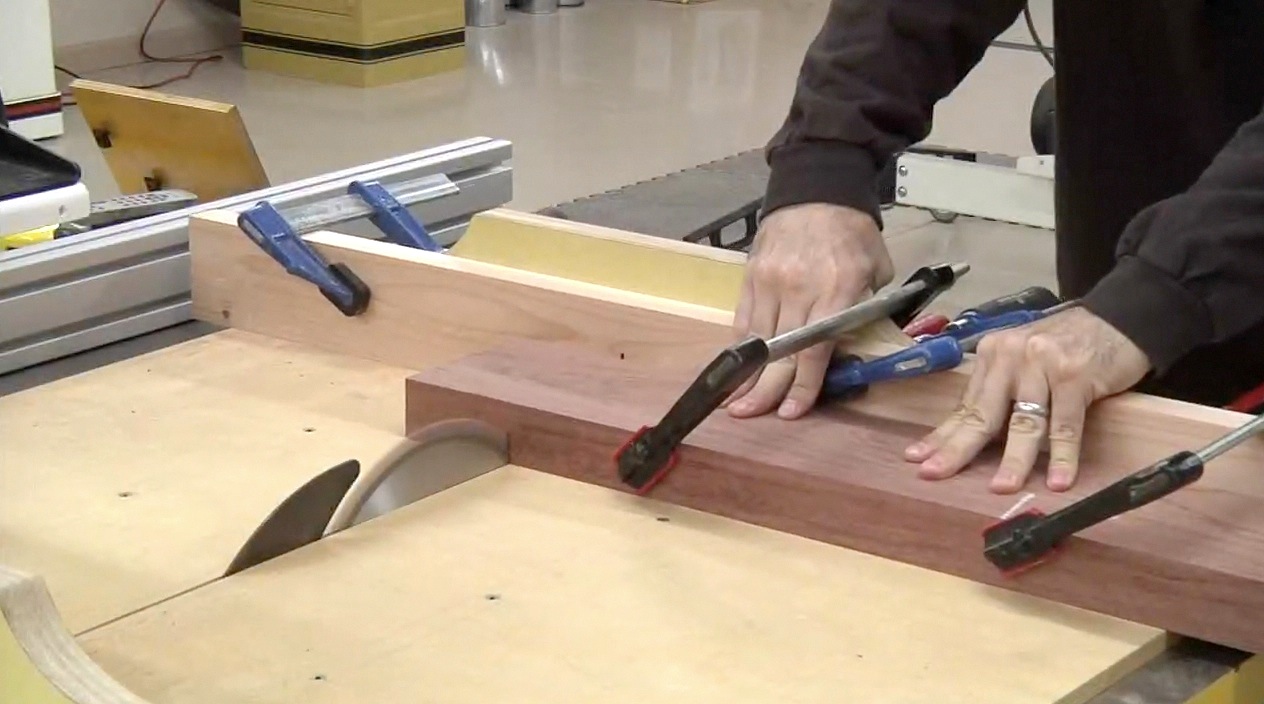 The frame parts of our headboard are carefully selected and cut for grain continuity. The cross-cut sled at the tablesaw is a great way to cut these thick 8/4 boards accurately. Once cut to size, the assembly of the lower frame is done using Domino XL joints. The Domino XL DF700 is the big brother to the smaller Domino DF500, and it is capable of making larger joints appropriate for things like entry doors and beds.
The Upper Frame
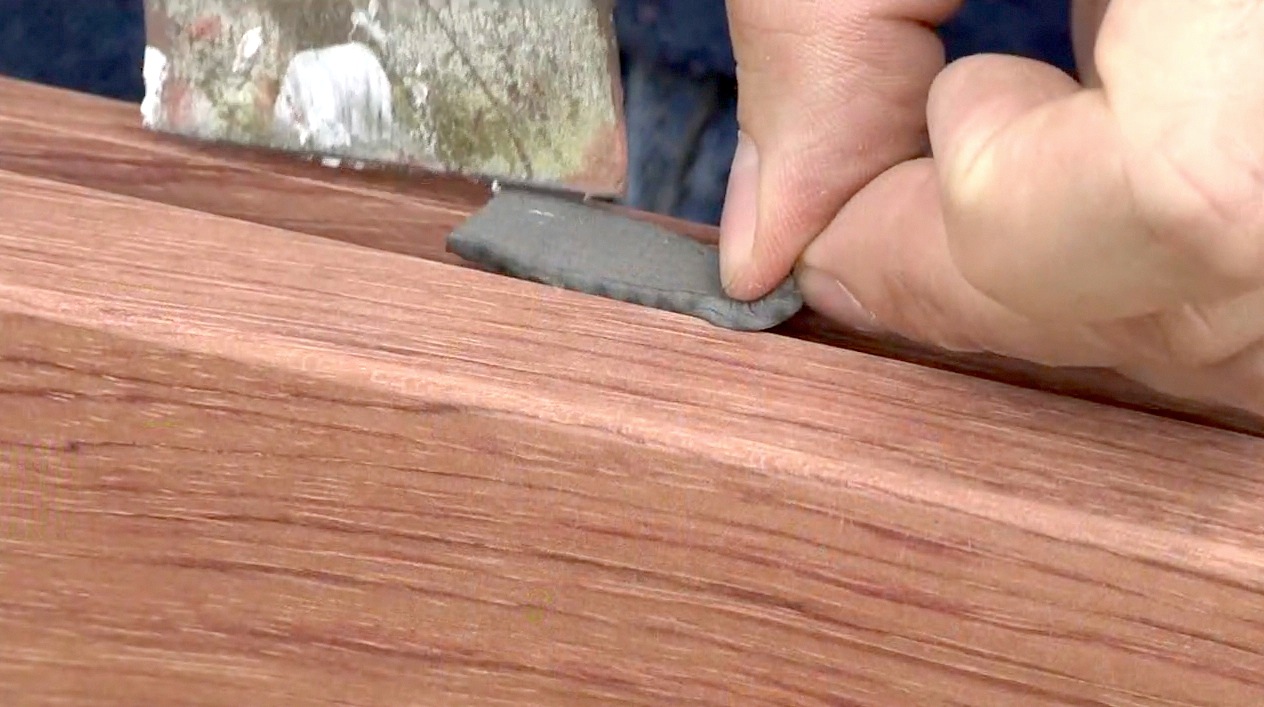
 The upper frame is cut and assembled in much the same way as the lower frame, only a groove is cut around the inside perimeter. I used a router for the stopped grooves on the side pieces and the table saw for the through grooves in the longer top and bottom pieces. Because the grooves are cut deeper to allow for movement, there’s a possibility that the panel could move and even rattle when housed in the frame, so I insert small strips of foam to help cushion the panel. I guess you might call this poor man’s Space Balls.
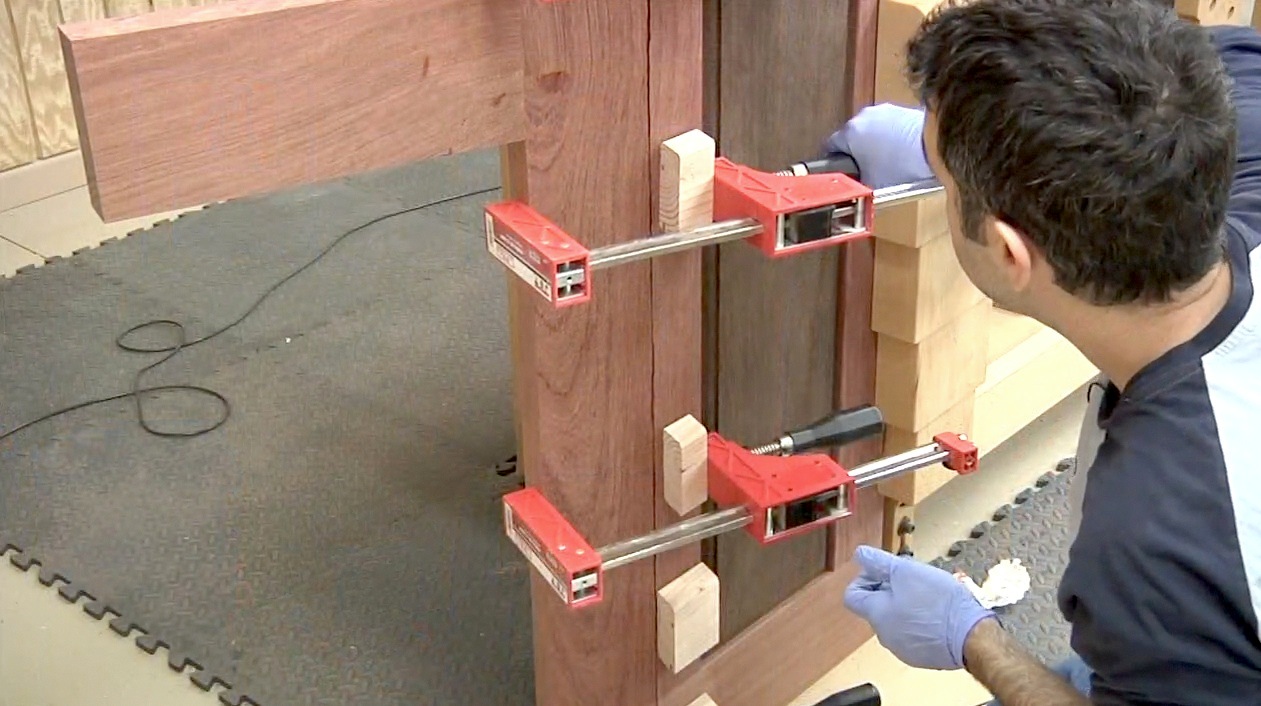
The frame is assembled with glue and Dominos using some of the longest clamps I own. I knew there was a reason I bought those!
Mortises
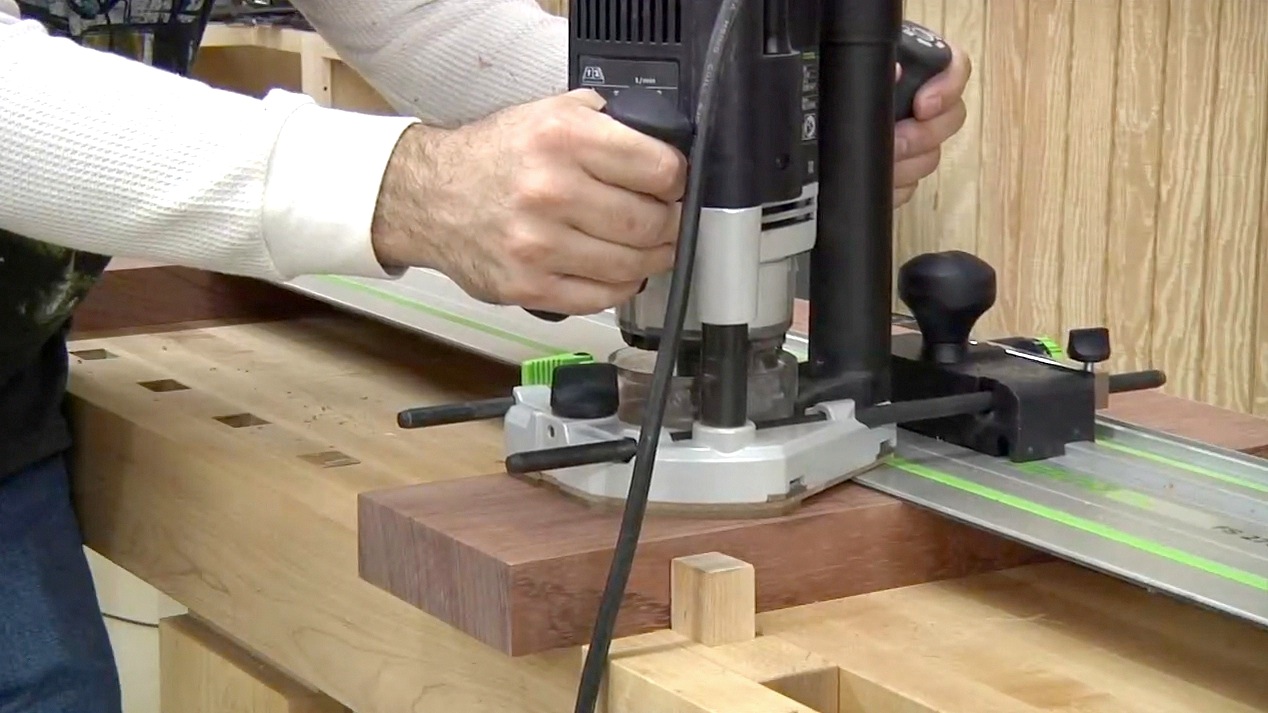
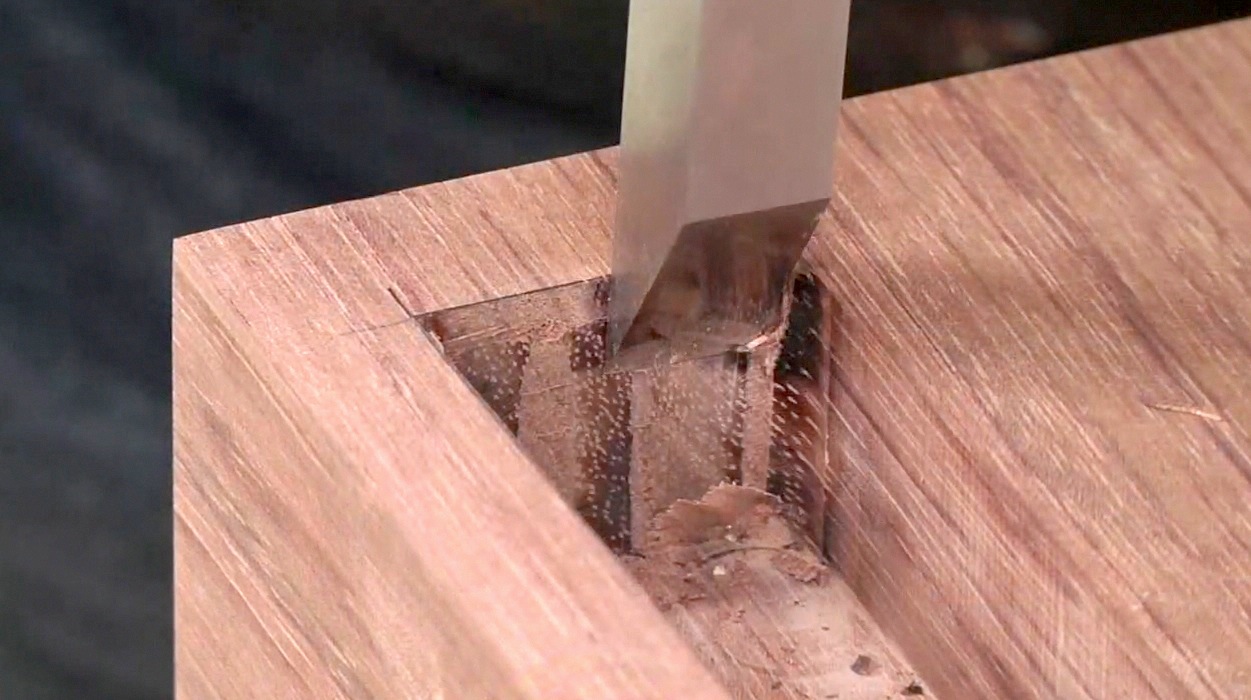
Both the footboard and headboard receive mortises for the bed rails. It’s much easier to make the mortises in the lower half of the headboard frame prior to assembly. Using a router and a large straight bit, the material is removed in several passes. Final cleanup is done using a chisel.
The Dreaded Bevel
One of the trickiest parts of this project was the final assembly of the headboard. Because the top portion tilts back at 20 degrees, a bevel needed to be cut on both the top and bottom pieces (10 degrees each). A question I always seem to get is “Why can’t we just cut a 20 degree bevel in one piece and keep the other square?” The reason is because the 20 degree bevel actually makes the mating surface just a bit wider than the adjoining piece. So in order to keep the width of the mating surface equal on both pieces, the same exact bevel must be cut on both pieces. I almost made this mistake myself and thanks to a knowledgable Guild member, the crisis was completely avoided.
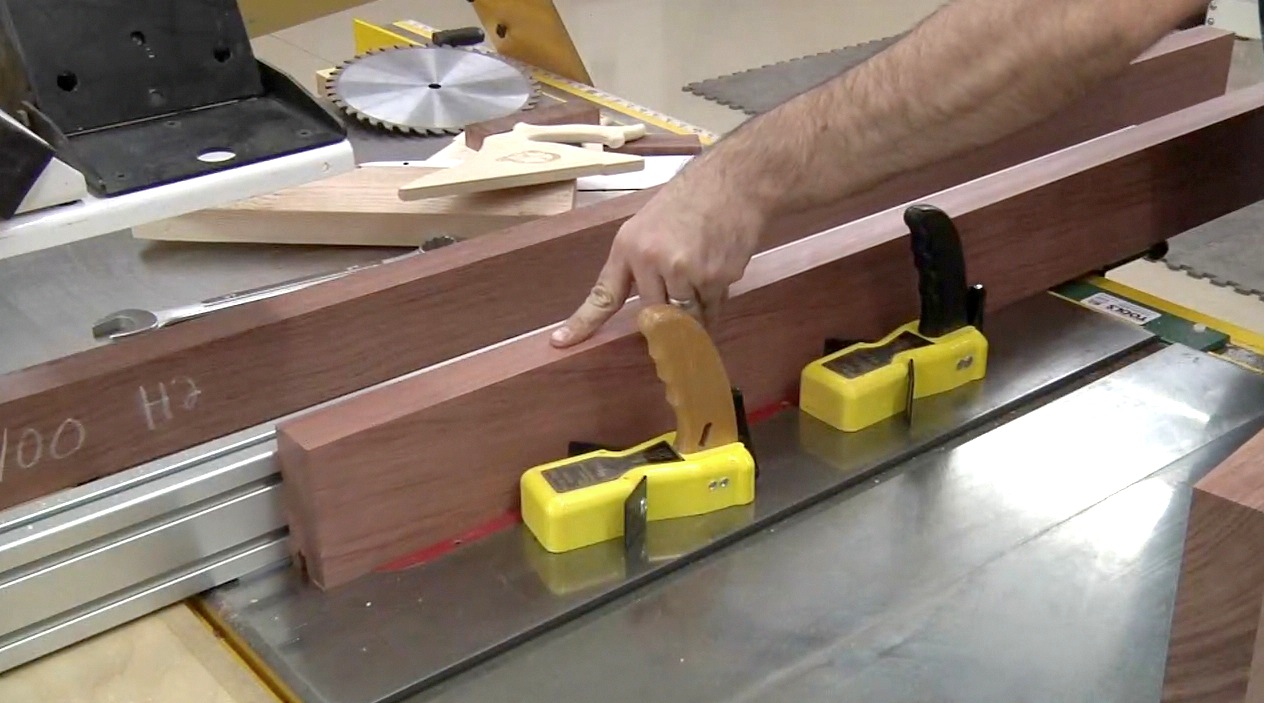
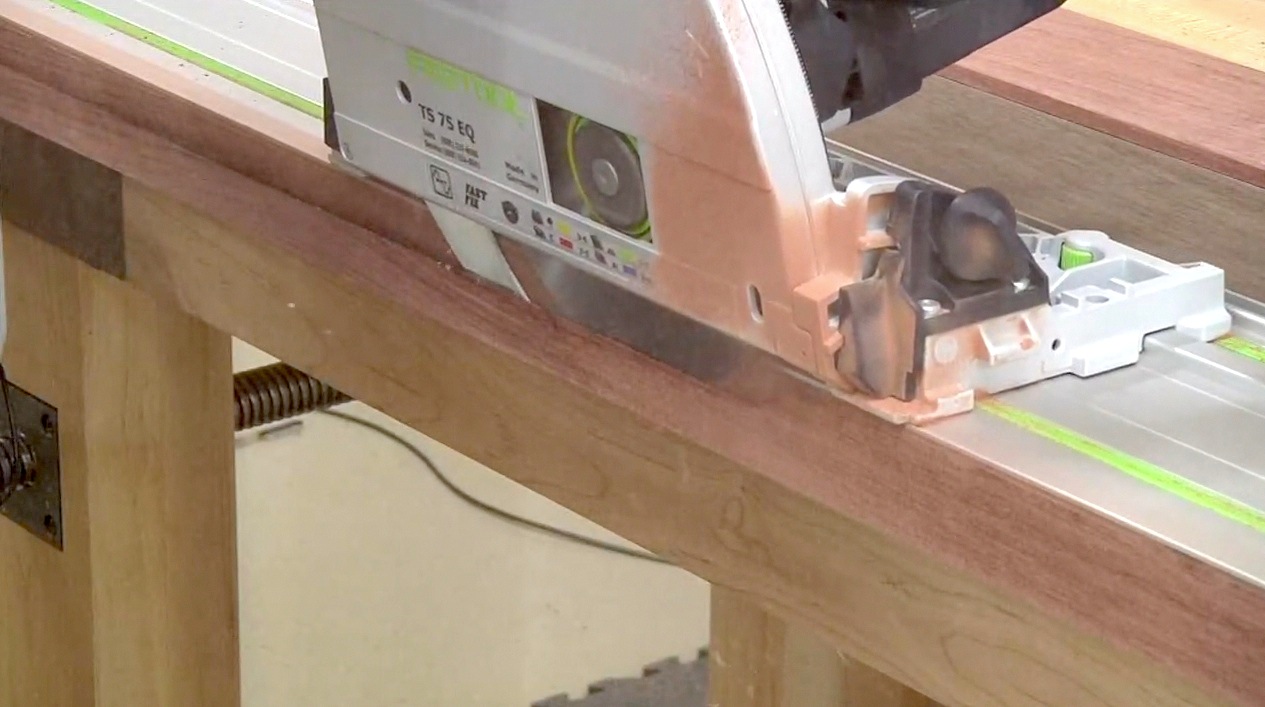
The long bevel was cut using a Festool tracksaw. Believe it or not, the saw is capable of making a glue-ready joint and I took full advantage of that fact. After cutting each piece, I attached 2×4 scrap cauls to aid in clamping. Without a doubt, this was one of the more stressful glueups of my career. Long bevels are always tricky but when they are part of two large and heavy workpieces, the complexity goes up a notch or two. Thankfully, everything worked out and the joint came together. Epoxy was the glue of choice for this primarily because I needed as much working time as possible.
Products Used
Resources


